
That Singer 66-1 treadle machine gathering dust in your attic represents more than just a sewing tool—it’s a tangible piece of history that once cost half a month’s wages. When you discover a vintage Singer treadle sewing machine at an estate sale or in your grandmother’s basement, you’re holding craftsmanship from an era when quality meant building machines to last decades. This comprehensive Singer treadle sewing machine restoration guide transforms your seized antique into a smooth-operating masterpiece with proper techniques that preserve its historical value while making it functional again.
Whether you’ve inherited a family heirloom or scored a flea market find, restoring a Singer treadle sewing machine requires specific knowledge most modern sewers lack. This guide walks you through every critical step of bringing your vintage 66-1 back to life—from identifying its exact production date to achieving perfect tension on your first test stitch.
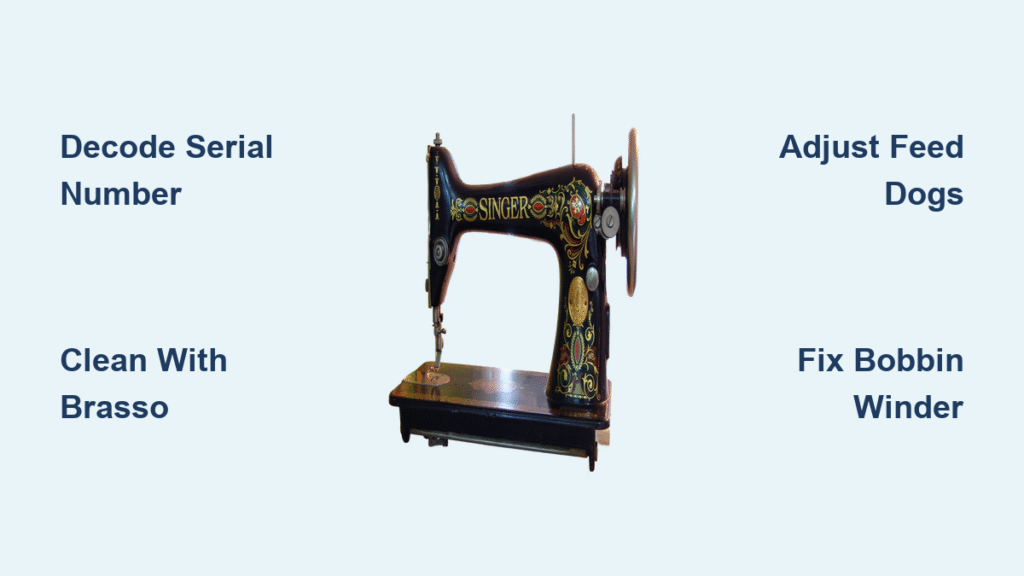
Decode Your Singer 66-1’s Serial Number to Unlock Its 1920 History
Your Singer’s serial number reveals its complete manufacturing story. The G8155131 serial on your machine places it in the June 23, 1920 production batch of 50,000 machines manufactured at Elizabethport, New Jersey. This specific range (G8120226-G8170225) confirms production during late 1920 or early 1921, when these machines sold for $44.40-$67.20—equivalent to nearly $1,000 today.
Spot Authentic Red Eye Decals From 1906-1923 Production
The distinctive red scroll decals (not later gold designs) identify your machine as part of Singer’s exclusive “Red Eye” era. These treadle machines represent a fascinating period when consumers actively chose manual operation over emerging electric models like the Singer 101.
Critical identification markers:
– Red scroll pattern decals (avoid machines with gold accents)
– Dial-based stitch length adjustment (not lever mechanism)
– Original bobbin case design unique to early 66-1 models
– Cast iron base with specific treadle connection points
Assemble Your $8 Singer Treadle Restoration Toolkit

Professional restoration doesn’t require expensive tools. This budget-friendly setup keeps parts organized and prevents costly mistakes during your Singer treadle sewing machine restoration.
Organize Tiny Parts With Embroidery Floss Boxes
Skip expensive professional organizers—use a $4 embroidery floss box with masking tape labels across row tops. This system prevents the #1 restoration mistake: losing small screws and springs that are impossible to replace.
Essential organization supplies:
– Embroidery floss box with 24+ compartments
– Masking tape for clear row labeling
– Sharpie markers for component identification
– Digital camera for step-by-step documentation
Free Seized 100-Year-Old Screws Without Stripping Heads
Screws frozen for decades require gentle persuasion. Rushing this step destroys screw heads and creates expensive problems that derail your Singer treadle sewing machine restoration.
Prepare Problem Screws With Dental Tools
Excavate debris from screw heads using a toothpick or small flathead screwdriver before attempting removal. This simple prep step prevents the frustration of rounded screw heads that require professional extraction.
Critical disassembly sequence:
1. Photograph every angle before touching anything
2. Label each component immediately after removal
3. Store small parts in numbered compartments
4. Remove feed dogs before attempting bobbin case removal
Restore Metal Components Without Damaging Original Patina

Transform blackened brass into gleaming gold while preserving century-old character. Proper cleaning maintains your Singer treadle sewing machine’s historical value better than aggressive restoration.
Clean Metal Surfaces With Brasso and Toothbrush
Apply Brasso metal polish with a soft toothbrush using small circular motions. This method removes decades of grime without damaging original surfaces like harsh chemicals would.
Safe deep cleaning process:
– Use 800-grit wet-dry sandpaper only for caked-on residue
– Rinse thoroughly with clean cloth after polishing
– Dry completely before applying sewing machine oil
– Allow 6-8 hours for complete cleaning of all components
Protect Original Red Scroll Decals During Cleaning
Those distinctive red decals define your machine’s era and value. Aggressive cleaning removes them permanently, destroying historical authenticity.
Decal preservation techniques:
– Dust gently with soft paintbrush only
– Use water-misted cloth for stubborn spots (never commercial cleaners)
– Apply sewing machine oil overnight to restore enamel luster
– Buff gently with microfiber cloth to enhance contrast
Fix Feed Dog Problems That Cause Fabric Stalling
Low feed dogs cause fabric to bunch or stall—this common issue derails many Singer treadle sewing machine restoration projects. The solution requires precise adjustment of hidden mechanisms.
Adjust Feed Dogs With Hidden Screw Mechanism
Locate the adjustment screw behind the needle plate and turn clockwise to raise the feed dogs. Test with fabric scraps until the mechanism lifts fabric smoothly without skipping stitches.
Critical adjustment signs:
– Fabric feeds unevenly or bunches under needle
– Thread loops form on fabric underside
– Machine makes grinding noise during operation
– Feed dogs barely protrude above needle plate
Repair Non-Functional Bobbin Winders Without Replacement
Most 66-1 machines suffer from bobbin winder problems due to missing parts or previous “repairs” using incorrect hardware. Diagnosing the specific issue saves costly part replacements.
Solve Common Bobbin Winder Failures
Current winder problems:
– Missing positioning screw (most common issue)
– Incorrect bolt causing gear misalignment
– Thread accumulation in mechanism requiring tweezer extraction
– Gear installed upside-down during previous repairs
Immediate workarounds:
– Use modern machine for bobbin winding while sourcing parts
– Order complete replacement assembly from Central Michigan Sewing Supplies
– Document before disassembling to ensure correct reinstallation
Achieve Perfect First Stitches With Proper Testing Protocol
Your initial test run validates the entire Singer treadle sewing machine restoration. Follow this exact sequence to avoid common failures that make restorers think something’s still wrong internally.
Execute First Stitch Testing in 5 Critical Steps
- Thread machine per original ISMACS manual instructions
- Wind bobbin on modern machine for consistent thread supply
- Hold top thread to side while turning hand wheel slowly
- Pull bobbin thread up gently after first rotation
- Test on cotton fabric scraps before attempting projects
Tension troubleshooting checklist:
– Start with medium stitch length setting
– Adjust top tension first before touching bobbin
– Check for thread snags in bobbin compartment
– Document final settings that produce balanced stitches
Preserve Original Character While Restoring Function
Resist the urge to achieve “like new” appearance. Age indicators tell your machine’s story and maintain collector value better than aggressive restoration.
Maintain Historical Authenticity With Smart Decisions
Character preservation rules:
– Never re-paint original surfaces or decals
– Leave minor scratches and wear patterns intact
– Preserve all original patina on metal components
– Document before/after photos showing restoration progress
Winter storage best practices:
– Apply light oil coating to all metal surfaces
– Cover with breathable cotton cloth (not plastic)
– Store in temperature-controlled area away from moisture
– Check monthly for rust development during storage
Your restored Singer 66-1 now represents more than a functional sewing machine—it’s a living connection to 1920s craftsmanship where quality meant building machines to last generations. The rhythmic treadle motion and precise mechanical action demonstrate why these machines remained popular decades after electric alternatives appeared. Each stitch you sew continues a century-old legacy of durability that modern machines rarely match.
Keep detailed notes of your Singer treadle sewing machine restoration process. When friends ask about your beautiful vintage machine, you’ll have the knowledge to guide them through their own restoration journey while preserving historical authenticity. Connect with the International Sewing Machine Collectors’ Society for technical documentation and join Reddit communities where experts share solutions to specific problems you may encounter down the road. Your restored machine isn’t just functional—it’s a conversation piece that keeps sewing history alive with every pedal stroke.


