

That vintage Singer sewing machine you rescued from a dusty attic or flea market deserves more than a coat of generic black spray paint. When chips reveal rust or sunlight exposes faded patches on your Featherweight or 99K, off-the-shelf paint turns gray or blue against the original deep, warm japanned finish. This isn’t just about looks—it’s about honoring a century of craftsmanship. You’ll discover why Singer’s factory process was irreplaceable, how to replicate that legendary black with a $15 custom mix, and when bold color transformations actually enhance your machine’s story.
Most restorers waste months chasing hardware store paints that never match. I’ve seen beautiful machines ruined by rushed prep work or improper clear coats that crack when the needle moves. But by the end of this guide, you’ll know exactly how to prep cast iron frames without damaging delicate engravings, mix a finish that fools museum curators, and decide whether to restore authentically or embrace turquoise for porch display. Let’s fix that finish right the first time.
Why Hardware Store Black Paint Ruins Singer Sewing Machines
The Double-Dip Secret Behind Original Japanned Finish
Singer’s iconic black wasn’t paint—it was a carbon black powder suspended in lacquer, applied through two factory dips and oven-cured for hardness. This created a finish with depth and warmth that modern single-coat enamels can’t replicate. When you spray standard black paint on your 1920s Singer 66, the result appears flat and blue-gray because it lacks the layered translucency of true japanning. Even GM’s Chevrolet S10 lamp black paint—a close match—fails as a solution since it’s not lacquer-based and degrades within months.
How Temperature Sabotages Your Restoration
Cold metal is the silent killer of Singer paint jobs. If you prep your machine in a 40°F garage, condensation forms as it warms indoors, trapping moisture under new paint. Within weeks, bubbles erupt where rust seemed gone. Always bring machines inside for 24 hours before sanding. And never spray below 50°F—low temperatures prevent proper chemical bonding, leaving finishes chalky and prone to chipping around the handwheel.
Mix Singer’s Authentic Black Finish for $15

Your Step-by-Step Japanned Finish Recipe
Forget expensive custom orders. This field-tested formula matches original Singer black using three accessible ingredients:
What You’ll Need:
– 2 tsp alcohol-soluble ebony black aniline stain (one ounce bottle makes 8+ mixes)
– 2 oz 99% isopropyl alcohol (dissolves stain)
– 16 oz dewaxed amber shellac (forms durable base)
Critical Mixing Steps:
1. Combine aniline stain and alcohol in a glass jar. Seal tightly and let sit 24 hours (shaking won’t dissolve it fully).
2. Slowly whisk this solution into shellac—never reverse the order.
3. Strain through a fine mesh paint filter (coffee filters clog instantly).
4. Store in an airtight glass container away from light.
Pro Tip: Test on a hidden spot first. Original japanned surfaces won’t lift this formula, but modern repaints might react. Discard after 6 months—it thickens beyond use.
Brush vs. Spray: When to Use Each Method
For hairline cracks or small chips: Load a 000 artist brush and apply one hair-thin coat. Let dry 2 hours. The shellac base self-levels, eliminating brush marks. Over-applying causes drips that won’t blend.
For full-frame restoration: Use an HVLP sprayer at 27 PSI. Hold 8 inches from the surface and apply three mist coats (not solid coverage). Wait 15 minutes between passes. Heavy coats pool in screw holes and create orange peel texture.
Transform Non-Functional Singers with Bold Colors
Rust-Oleum Turquoise Process for Display Machines
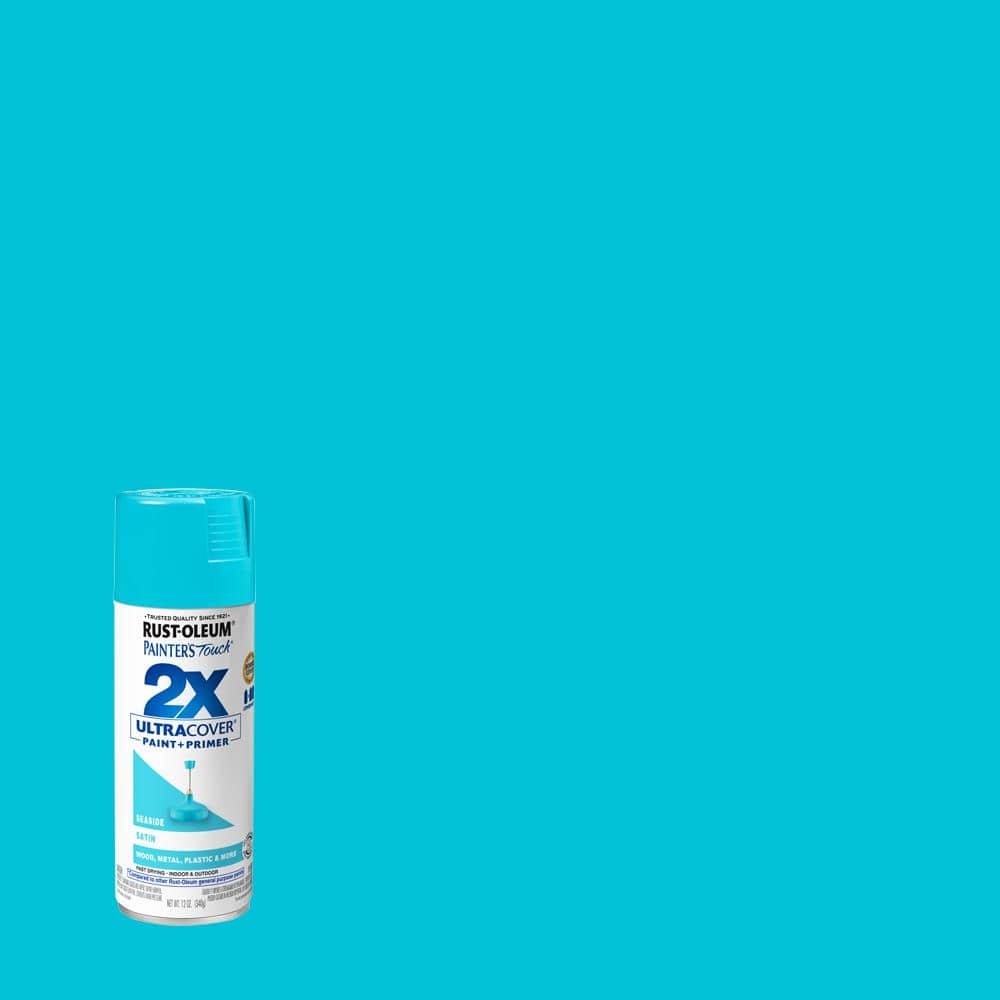
Authenticity matters for working machines—but if your 1950s Singer 201 is destined for porch display, embrace color. Rust-Oleum’s Seaside turquoise (color #2142-30) creates Instagram-worthy contrast against original brass hardware:
Surface Prep Non-Negotiables:
– Remove all hardware (even tiny screws)—tape leaves residue on decade-old metal
– Sand until bare metal shows (use 220 grit on flat areas, 400 grit on curves)
– Blast crevices with compressed air before wiping with alcohol-dampened cloth
Spray Application Rules:
1. Mask remaining parts with FrogTape (regular tape peels old paint).
2. Spray in 50°F+ humidity-controlled space—outdoor breezes ruin smoothness.
3. Apply 4 light coats (15 minutes between), never one thick coat.
4. Wait 48 hours before removing tape. Peeling early causes jagged edges.
Recreate Logos Without Hand-Painting Skills
Original decals are long gone, but vinyl logos look factory-fresh:
1. Download Singer logo SVG files (free on vintagesewing.net)
2. Cut from Oracal 651 black vinyl using Cricut Maker
3. Transfer with Glad Press’n Seal wrap—press firmly over curves
4. Seal under 3 clear coat layers to prevent peeling
Warning: Never apply vinyl over bare metal. It must go on top of your colored base coat, or adhesive eats through paint.
Why Your Singer Paint Job Fails in 6 Months (And How to Fix It)

The Rust-Removal Mistake 90% of Restorers Make
Scraping surface rust isn’t enough. Oxidation hides in microscopic pits under the paint. If your sandpaper reveals any orange flecks, keep sanding until metal shines bright silver. A Dremel with wire brush attachment is essential for cleaning around the tension dial and bobbin case. Missed rust will bleed through new paint within 180 days, creating ugly brown halos.
Clear Coat Thickness That Kills Functionality
Thick enamel topcoats look glossy, but they gum up moving parts. For operational machines:
– Apply only 1 light clear coat over painted areas
– Mask the needle bar, handwheel, and presser foot lever
– Use Minwax Polycrylic instead of Rust-Oleum Crystal Clear
For display-only pieces (like porch rockers), 3 heavy clear coats add protective depth—just keep them away from any mechanism.
Singer Paint Restoration Timeline: One Week, 30 Minutes Daily
Day-by-Day Breakdown for Flawless Results
Day 1: Disassemble machine indoors. Remove hardware with labeled bags. Sand entire frame.
Day 2: Clean with alcohol. Apply first mist coat of custom black mix. Dry overnight.
Day 3: Light sand (600 grit), apply second coat. Add vinyl logo if transforming color.
Day 4: Apply clear coat to painted surfaces only. Wait 24 hours.
Day 5: Reassemble hardware. Buff with paste wax (for authentic finish) or leave glossy (for display).
Reality Check: Deep rust pitting will remain visible after painting—it’s part of the machine’s history. Trying to fill these with epoxy creates worse texture. Embrace the character.
When to Restore Authentically vs. Go Bold
Choose Authentic Black Restoration If:
- You’ll sew with the machine (paste wax maintains flexibility)
- Original japanned finish survives under the needle plate
- You’re preserving family heirloom value (museums reject repaints)
Choose Color Transformation If:
- The machine is non-functional (e.g., seized bobbin gear)
- Rust damaged >30% of the frame
- It’s for decorative display (porch, nursery, retail vignette)
Critical Decision Point: Test your custom black mix on the bottom of the bed. If it blends seamlessly with untouched areas, proceed authentically. If it clashes, turquoise adds joyful contrast.
Long-Term Protection That Lasts Decades
Authentic finishes need zero maintenance beyond dusting with microfiber cloth. For extra luster:
– Rub with Renaissance Wax every 2 years (not car wax—it contains silicones)
– Never use Windex or abrasive cleaners—they strip japanning in weeks
Display pieces require vigilance:
– Store under covered porch (direct rain eats clear coats)
– Touch up chips immediately with your custom mix to prevent rust spread
Your Singer’s finish tells a story—whether it’s the deep black of decades of careful use or the vibrant turquoise of a modern display. By matching Singer’s original japanned depth with that $15 aniline-shellac formula, you honor the engineering that made these machines last 100 years. And when you transform a rusted relic into a porch statement piece with Rust-Oleum Seaside, you prove restoration isn’t about perfection—it’s about purpose. Now that you know why temperature control prevents bubbling, how to recreate logos without steady hands, and when thick clear coats ruin functionality, your next project won’t just look restored—it’ll feel right. Grab that sandpaper, and make history shine.


