

You’re deep into a sewing project when your Singer machine suddenly sputters and stops. Thread tangles into a frustrating bird’s nest, tension goes haywire, or the spool won’t spin at all. If your thread feed has completely failed mid-stitch, you’re likely dealing with a broken spool pin—the small metal post that anchors your thread spool. This critical component bears constant rotational stress and accidental knocks, making it a documented failure point across Singer’s vintage cast-iron models and modern plastic-bodied machines. When it snaps, bends, or strips, your entire sewing workflow grinds to a halt.
The immediate relief? Replacing a singer sewing machine broken spool pin takes under 15 minutes, costs $6–$15 for parts, and requires zero technical expertise. You won’t need professional help or machine replacement. This guide delivers precise steps to diagnose your failure type, source the exact pin for your Singer model, and complete the repair safely—getting you back to stitching before your project deadline.
Diagnose Your Spool Pin Failure Type

Before grabbing tools, pinpoint exactly how your spool pin failed. Misdiagnosis leads to wrong parts or further damage.
Complete Pin Fracture
Look for a clean break where the pin sheared off flush with the machine housing. You’ll see either a shiny metal stub or an empty threaded hole. This occurs when side impacts (like knocking the machine during transport) or overtightened spool caps create shear stress. Critical check: Shine a flashlight into the hole—if you see metal shavings or a jagged edge, the fracture is fresh.
Bent Pin With Wobble
The pin remains attached but leans noticeably to one side. Test by spinning your thread spool manually: if it wobbles violently or produces grinding noises, the shaft has warped. This develops gradually from using rough-textured threads that increase rotational drag, eventually bending the metal beyond recovery.
Cracked Plastic Collar
On modern Singer models (like the 44xx series), inspect the plastic base ring where the pin meets the machine. Hairline cracks here allow the pin to rock or pull out with light finger pressure. This failure stems from repeated thermal expansion—cheap plastic housings weaken when exposed to sewing room temperature fluctuations over years.
Stripped Internal Threads
If your pin spins freely without tightening, internal threads have stripped. Confirm by attempting to screw in the pin: if it won’t seat firmly or rotates loosely, metal shavings will likely surround the hole. This happens when users crank spool caps too tight, stressing the female threads in the machine casting.
Source the Correct Replacement Pin by Model
Using the wrong spool pin risks damaging your machine housing. Match your Singer model precisely.
Vintage Cast-Iron Machines (Pre-1970)
For Featherweights, Models 66, 99, 127, 201, 221, 301, and 401: use short vertical steel pins (OEM part 163233). These feature satin finish, 32mm height, and ¼-20 UNC threading. Pro tip: Verify thread compatibility by checking if your machine uses metal bobbins—this confirms vintage threading standards.
Modern Plastic-Body Models
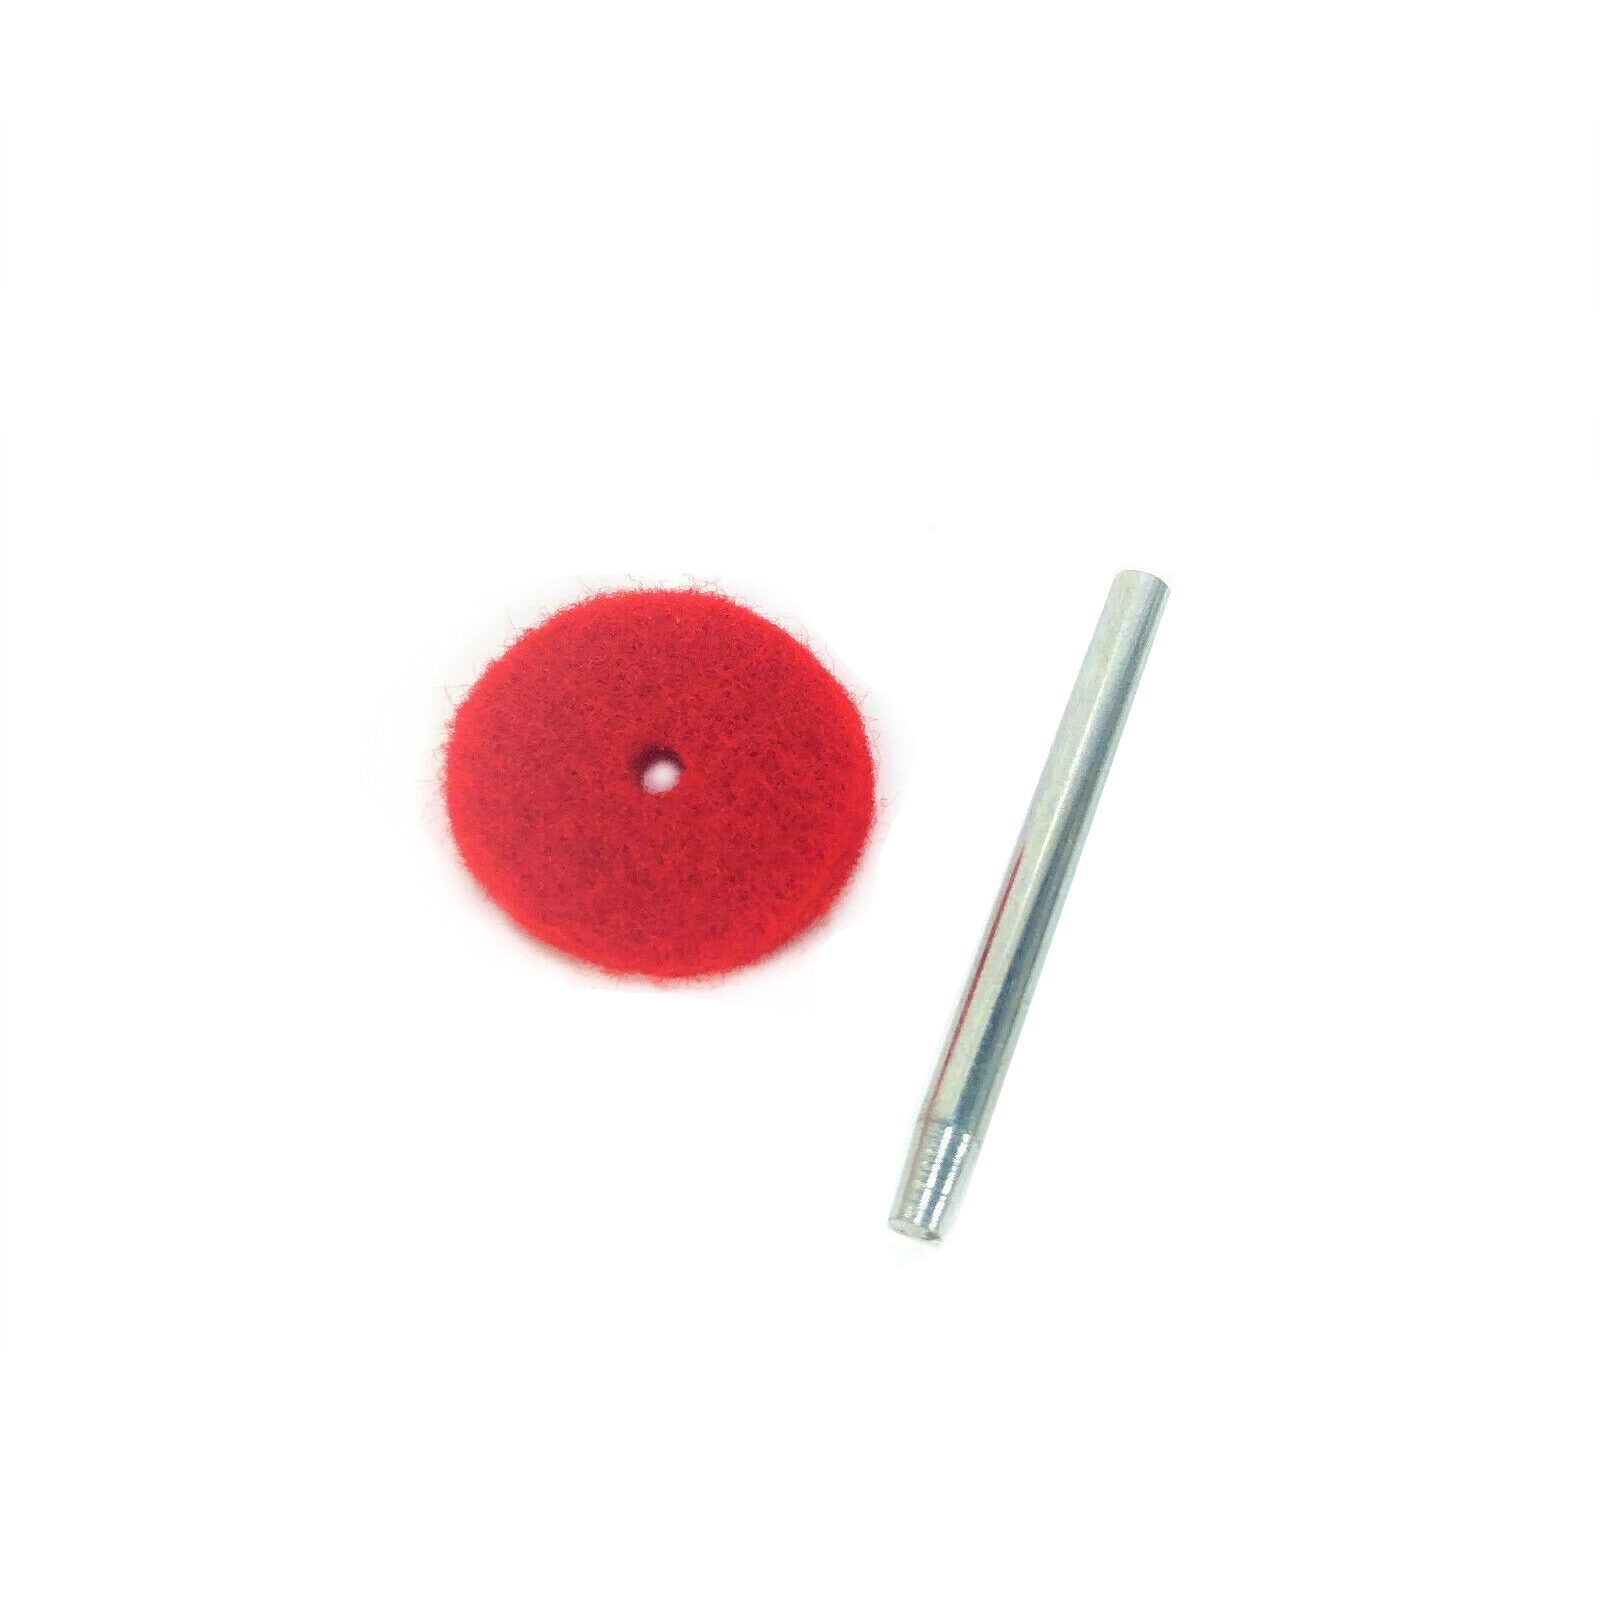
Singer 4423, 4432, 4452, 503, 603, 628, 758, and 8280 units require long press-fit pins with plastic collars (45mm height). These lack threading and rely on friction fit. If your machine has a spring-loaded spool cap, you need this type.
Horizontal Spool Sergers
14U series machines (14U12, 14U32A, 14U85B) use horizontal pin assemblies (OEM 417853-001) that include rubber washers. Never substitute vertical pins here—the angled thread path requires this specific design.
Buy Reliable Replacement Pins
eBay (AGC-SALES Store)
For vintage Singer models, AGC-SALES delivers tested OEM pins at $12.00 with $4 shipping. Their 99.6% positive feedback (47k+ sales) and 30-day returns make this the safest vintage parts source. Order tip: Message them with your machine model—they’ll confirm compatibility before shipping.
Singer Official Store
Modern machine owners should order part 417853-001 ($8.50) directly from Singer. Ships within 48 hours with genuine M5 × 0.8 threading. Avoid Amazon knockoffs—users report aftermarket pins being 0.2mm too narrow, causing wobble.
Local Repair Shops
If you dread DIY, pay $10–$20 for professional installation. Shops often have bins of salvaged pins—they’ll match yours visually in minutes.
Essential Tools for Safe Removal
Gather these before starting:
– ¼″ nut driver or 5mm hex key (for threaded pins)
– Needle-nose pliers (wrap jaws in cloth to avoid scratches)
– Loctite 242 (medium-strength threadlocker)
– Soft microfiber cloth (protects machine finish)
– 3mm drill bit + M5 tap (only if threads are stripped)
Critical safety step: Unplug your machine, remove the needle, and lower the presser foot. A live machine during repair risks accidental needle strikes.
Remove Broken Pins Without Damage
Press-Fit Pin Removal (Modern Models)
- Wrap pliers’ jaws with cloth to prevent housing scratches
- Grip the pin base firmly and pull straight upward with gentle rocking motion
- If stuck, tap the pin’s top lightly with a plastic mallet first
- Clean the hole thoroughly with a cotton swab—dust prevents proper seating
Threaded Pin Removal (Vintage Models)
- Insert nut driver fully to avoid rounding the pin head
- Turn counter-clockwise with steady pressure—never force it
- If the stud snaps: drill out the stub with a 3mm bit, then chase threads with an M5 tap
- Warning: Excessive force cracks plastic housings. Stop if resistance increases suddenly.
Install Your New Spool Pin Correctly
Press-Fit Installation
- Align the pin perfectly perpendicular to the housing
- Press firmly with both thumbs until you hear/feel an audible click
- Test stability with a light tug—no movement should occur
- Pro tip: Chill the pin in the freezer for 5 minutes first—metal contraction eases insertion
Threaded Installation
- Apply one drop of Loctite 242 to the threads (excess seeps into gears)
- Hand-tighten clockwise until snug
- Add exactly ¼ turn with your nut driver—overtightening strips threads
- Immediately wipe excess adhesive with rubbing alcohol
Test Before Resuming Projects
Never skip validation:
1. Load a thread spool with its cap (finger-tight only)
2. Run the machine at slowest speed for 30 seconds
3. Watch for wobble or listen for grinding noises
4. Stitch on scrap fabric—check for even tension and smooth thread feed
Success indicator: The spool spins freely without vibration, and stitches show no skipped threads or tension fluctuations. If issues persist, recheck cap tightness—90% of post-repair problems come from overtightened caps.
Prevent Future Spool Pin Breakage
Transport Safeguards
Always remove spools and caps before moving your machine. Store in a padded case—impacts during transport are the #1 cause of fractures. For vintage machines, add foam padding around the spool pin area.
Correct Spool Cap Technique
Snug fit only—over-tightening creates lateral stress that fractures pins. Finger-tight plus ⅛ turn maximum. If the cap requires tools to remove, you’re damaging the pin.
Monthly Preventive Checks
- Inspect the pin base for hairline cracks (use magnifying glass if needed)
- Replace rough or damaged thread spools—they increase rotational drag
- Clean the pin hole quarterly with a dry brush to remove thread lint
Thread Selection Matters
Avoid metallic threads on vintage Singers—they create excessive vibration. Stick to high-quality polyester threads for smooth feeding. Never use spools with warped cardboard cores—they cause uneven spin.
Emergency Quick Fix
If your pin snaps mid-project:
1. Cut a 2-inch strip of sturdy fabric
2. Tape one end securely to your machine bed
3. Loop the thread through the fabric strip like a makeshift spool holder
4. Complete your seam, then perform the proper repair
Critical reminder: This is temporary only. Continuing to sew without a proper pin risks gear damage from uncontrolled thread tension.
Your Singer machine should now run smoothly with its new spool pin. Keep the old broken part—it helps identify threading specs if you need future replacements. While your tools are out, inspect your bobbin case for nicks and verify needle bar alignment—these often wear concurrently with spool pins. For ongoing maintenance, remember that a singer sewing machine broken spool pin is preventable with proper handling, but when it happens, you now have the fastest path to recovery.


