
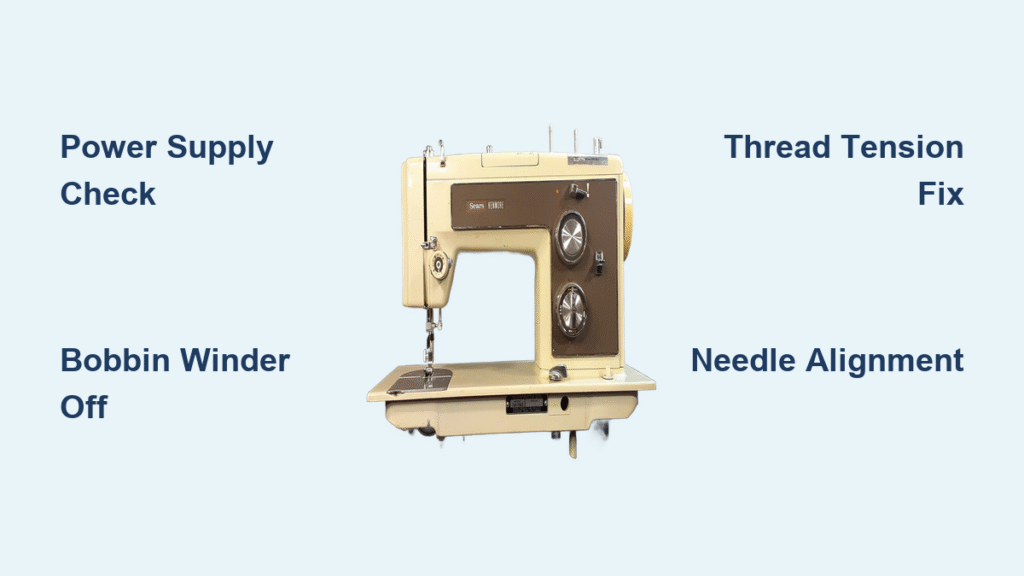
Your Kenmore sewing machine suddenly stops working mid-project, leaving you with tangled thread and unfinished seams. Whether it’s refusing to power on, creating frustrating bird’s nests, or breaking needles at the worst possible moment, these common issues can derail your creative flow in seconds. This practical Kenmore sewing machine troubleshooting guide delivers precise solutions for the most frequent problems, helping you diagnose issues quickly and get back to sewing beautiful projects without costly service calls.
Machine Won’t Power On

Check Power Supply First
When your Kenmore sewing machine remains silent, start with the simplest solutions. Verify the outlet works by plugging in another device—many sewing areas use outlets shared with other equipment that might have tripped a circuit breaker. Next, inspect your power cord thoroughly for frayed wires or damaged sections, especially where it connects to the machine. Some Kenmore models contain an internal fuse; consult your manual to locate and replace it if necessary.
Motor Diagnostic Steps
If power reaches your machine but nothing happens, perform these critical checks. Turn the handwheel gently toward you—smooth movement suggests an electrical issue rather than mechanical binding. Listen carefully for a humming sound; this indicates power reaches the motor but the drive belt may be broken or dislodged. If the handwheel won’t turn at all or feels unusually stiff, this signals internal mechanical problems that require professional attention before further use.
Needle Stops Moving
Bobbin Winder Safety Check
This simple fix resolves many “needle won’t move” emergencies. The bobbin winder mechanism, when engaged, completely disengages the needle movement. Locate the small rubber wheel positioned against the handwheel and ensure it’s fully disengaged by moving it away from the handwheel. This single adjustment restores the mechanical connection between your motor and needle assembly.
Inner Knob Tightening
Your Kenmore’s handwheel contains an inner knob that controls needle engagement. Check if this knob has loosened by attempting to turn it clockwise until snug. When this knob slips, the needle mechanism disengages even though the motor runs—a common issue after bobbin winding or machine transport.
Stitch Selector Position
Verify your stitch selector clicks firmly into a specific setting rather than resting between selections. Kenmore machines often lock the needle mechanism when the selector sits in neutral territory between stitch patterns. Move the selector decisively to your desired stitch and ensure it seats properly.
Thread Looping Under Fabric
Top Tension Quick Fix
Thread nests on fabric’s underside indicate tension imbalance. Set your top tension dial to the medium number (typically 4-5 on Kenmore machines) and ensure thread sits properly between the tension discs. Raise the presser foot to open the tension discs fully, then pull your threaded needle through the machine—resistance should feel consistent, not loose or excessively tight.
Bobbin Tension Balance Test
Remove your bobbin case and gently pull the thread tail—it should unwind with steady, moderate pressure. If you need excessive force to pull thread, your bobbin tension is too tight. If it pulls freely with no resistance, loosen the small screw on the bobbin case by quarter-turn increments. Always test adjustments on scrap fabric before resuming your project.
Complete Re-threading Process
- Raise the presser foot to open tension discs fully
- Remove thread completely from every guide
- Follow the threading diagram printed on your machine
- Ensure thread clicks into the take-up lever
- Lower the presser foot before beginning to sew
Needle Breakage Prevention
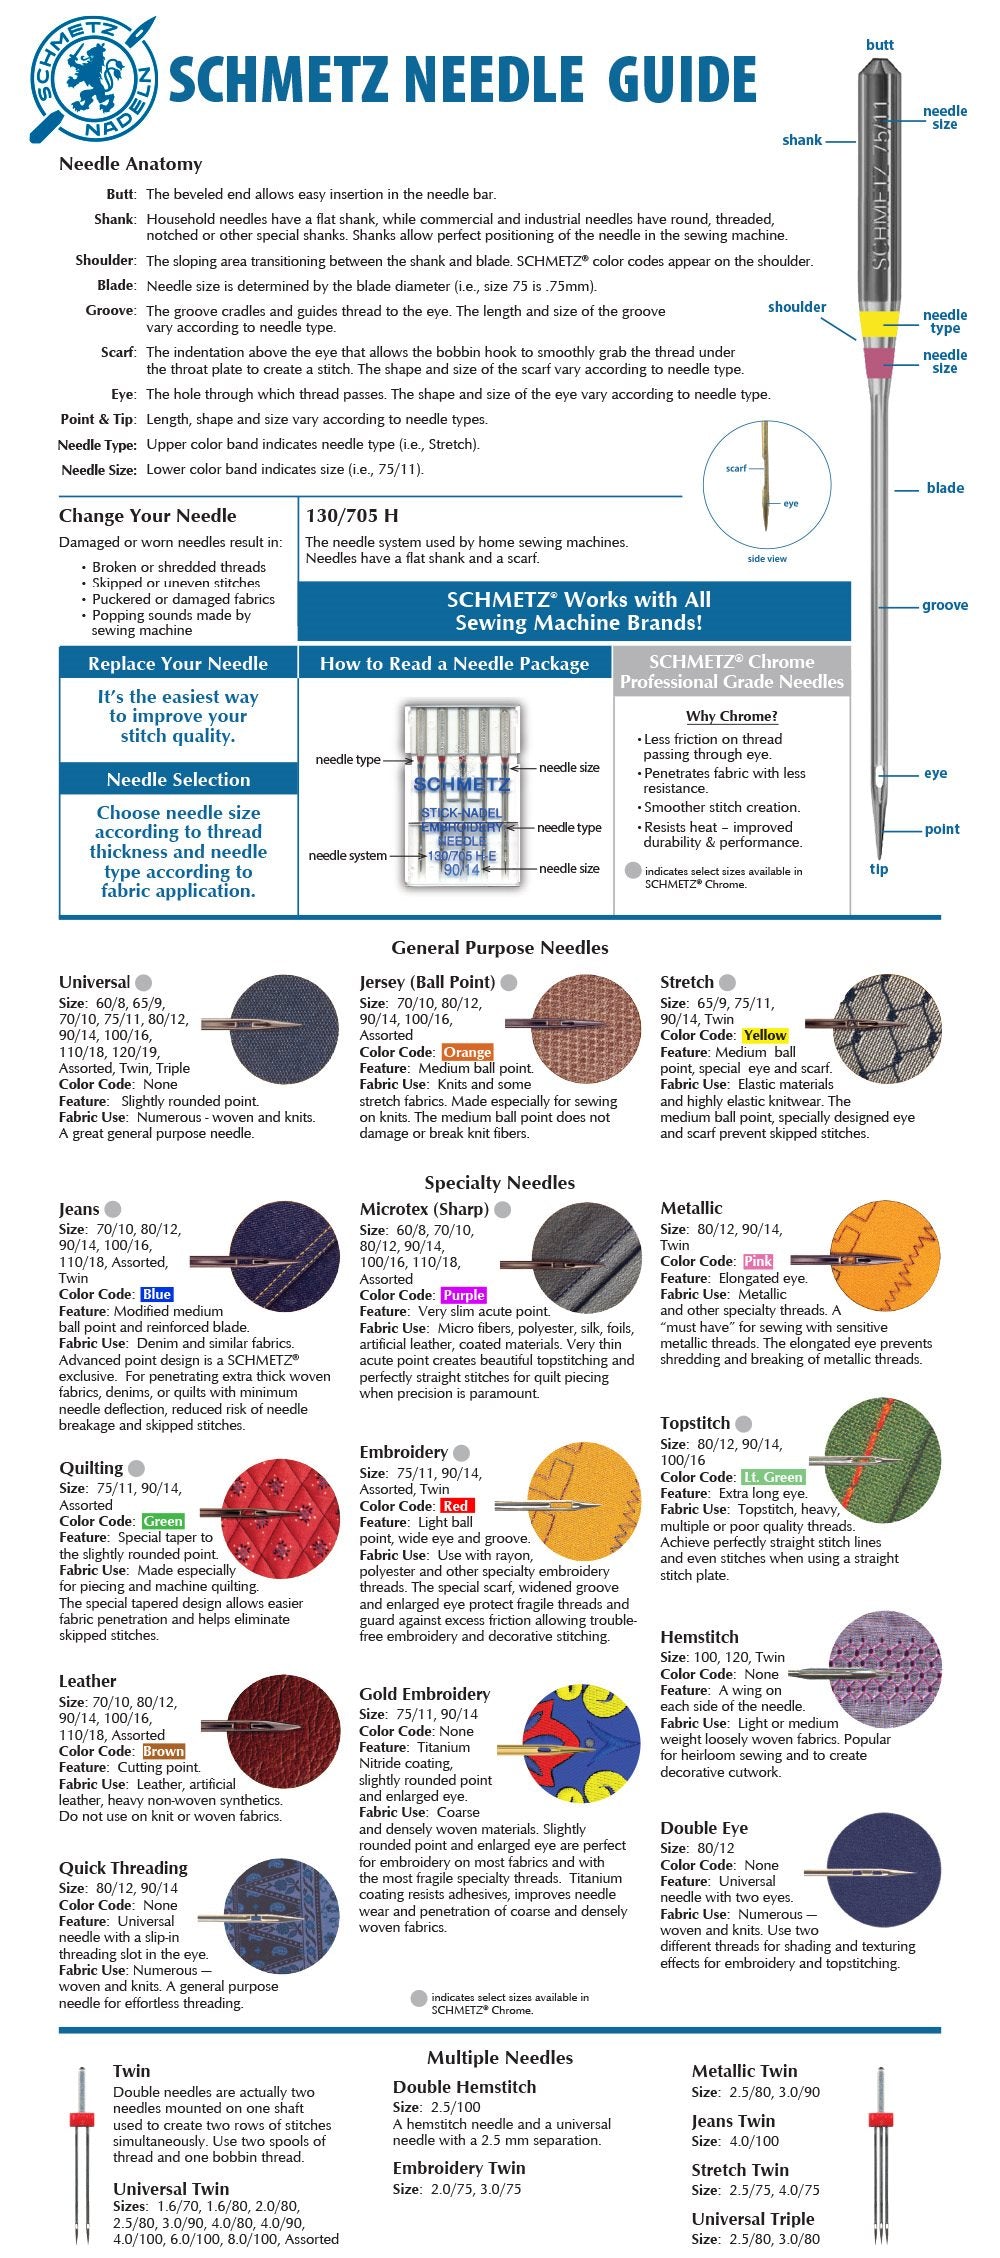
Correct Needle Selection
Using inappropriate needles causes most breakage issues. Match needle size precisely to fabric weight:
– Lightweight fabrics: 60/8-70/10
– Medium fabrics: 80/12-90/14
– Heavy fabrics: 100/16-110/18
Hook Timing Check
Insert a new needle and turn the handwheel slowly while watching the needle’s path. The needle should pass through the needle plate without touching any metal components. If you see contact between needle and hook mechanism, your timing needs professional adjustment—attempting DIY fixes could cause further damage.
Tension Relief
Reduce top tension to medium setting before starting each project. Excessive tension combined with thick fabrics creates a perfect storm for needle snapping. Always test tension on scrap fabric matching your project material.
Thread Breakage Solutions
Needle Plate Inspection
Remove your needle plate and run your finger along the needle hole. Any rough spots or burrs will shred thread instantly. Polish minor imperfections with 400-grit sandpaper or a fine needle file, being careful not to enlarge the hole or change its shape.
Hook Damage Assessment

The hook tip that catches your top thread can develop burrs from needle strikes. Examine the hook carefully under good lighting—any visible nicks require professional attention to prevent continued thread damage. Attempting to file the hook yourself risks altering its precise shape.
Thread Quality Check
Cheap thread creates expensive problems. Switch to quality polyester or cotton-wrapped polyester thread for consistent results. Always match thread weight to your needle size and fabric type.
Fabric Not Feeding
Feed Dog Position
Your Kenmore includes a feed drop feature for free-motion sewing. Ensure you’ve returned the lever to the “up” position for regular sewing. Feed dogs should rise above the needle plate when you turn the handwheel. Many users accidentally leave this in the lowered position after darning or embroidery work.
Lint Removal Process
Thread and fabric fibers pack into feed dog grooves like glue. Clean thoroughly:
1. Remove the needle and presser foot
2. Take out the bobbin case
3. Use a small brush to sweep between each feed dog tooth
4. Vacuum or blow out loosened debris
Pressure System Check
Your presser foot needs proper pressure to grip fabric. Test by lowering the presser foot onto a single layer of fabric—you should feel resistance when pulling the fabric, but not immobility. Adjust pressure if available on your model.
Bobbin Thread Issues
Needle Installation Verification
Insert needles with the flat side facing the hook (typically toward the back on Kenmore machines). The needle scarf (the indented area above the eye) must align precisely with the hook tip for proper thread pickup. Incorrect needle direction causes 90% of bobbin thread pickup failures.
Timing Inspection
When needle and hook timing drifts, the hook misses the top thread entirely. Check timing by turning the handwheel until the needle reaches its lowest point, then rises 2-3mm. The hook tip should sit directly behind the needle at this position.
Take-up Lever Threading
The take-up lever creates the loop that the hook grabs. Verify thread runs through this lever by raising the needle to its highest position and checking that thread moves up and down with the lever. Missing this critical threading point causes consistent thread pickup failures.
Cleaning and Maintenance
Post-Project Cleaning Routine
Establish a cleaning habit after each major project:
– Brush out bobbin case area thoroughly
– Clean under the throat plate where lint accumulates
– Wipe metal surfaces with lint-free cloth
– Check needle condition and replace if bent or dull
Proper Lubrication Schedule
Oil your Kenmore every 6-12 months depending on usage:
– Use only sewing machine oil (never household oils)
– Apply one drop to the hook race (the circular track under the bobbin)
– Add oil to any visible moving joints
– Run scrap fabric through to distribute oil before sewing projects
Belt Inspection for Vintage Models
Antique Kenmore machines use rubber drive belts that deteriorate over decades. Check belt condition by removing the side panel and examining for cracks, glazing, or stretching. Replace belts showing any wear signs to prevent sudden failure.
Tension Adjustment Mastery
Test Sewing Protocol
Create a tension testing routine:
1. Use scrap fabric identical to your project material
2. Sew a 4-inch seam with contrasting thread colors
3. Examine both sides of the seam
4. Adjust tension in quarter-turn increments
5. Retest after each adjustment
Quick Reference Guide
- Top thread visible on bottom: Tighten top tension
- Bobbin thread visible on top: Loosen top tension
- Both threads meet in middle: Perfect tension achieved
When to Seek Professional Service
Clear Warning Signs
Stop troubleshooting and call a technician when:
– Handwheel becomes stiff or won’t turn
– Hook timing appears significantly off
– Vintage models need specialized parts
– Electrical issues persist after cord/outlet verification
– Unusual grinding or clicking noises develop
Maintenance Schedule
Establish professional care cycles:
– Heavy use machines: Service every 2-3 years
– Moderate use machines: Annual inspection
– Light use machines: Service every 3-5 years
– Keep service records to track maintenance history
Prevention Strategies
Daily Best Practices
Protect your investment with simple habits:
– Cover your machine when not in use
– Use quality needles and replace every 8-10 hours of sewing
– Clean lint buildup before it becomes problematic
– Store in dry areas to prevent rust
Pre-Sewing Checklist
Run through this checklist before each project:
– [ ] Insert new needle appropriate for fabric
– [ ] Verify correct thread path and tension setting
– [ ] Test stitch on scrap fabric
– [ ] Check bobbin winding is disengaged
– [ ] Ensure presser foot pressure is appropriate
Your Kenmore sewing machine represents decades of engineering excellence, designed to provide reliable service for generations. By systematically addressing common issues—from simple power problems to complex timing adjustments—you’ll maintain peak performance and extend your machine’s lifespan significantly. Remember that consistent maintenance prevents major repairs, and knowing when to seek professional help protects both your machine and your sewing projects. Keep this Kenmore sewing machine troubleshooting guide handy for quick reference, and don’t let minor issues derail your creative flow. With proper care and prompt attention to problems, your Kenmore will continue creating beautiful stitches for years to come.


