
Your Kenmore sewing machine was humming along perfectly yesterday, but today it’s skipping stitches, creating messy loops, or stubbornly refusing to switch from straight to zig-zag. These kenmore sewing machine stitch problems can transform a simple project into hours of frustration. Whether you’re working with a vintage 1977 model or a newer Ultra Stitch 6, understanding the root causes of stitch issues will save you time, money, and ruined fabric.
Most stitch problems stem from simple mechanical issues rather than catastrophic failures. By learning to properly diagnose and address these common problems, you’ll keep your machine running smoothly for years. This guide covers the exact troubleshooting steps needed to identify and fix the most frequent kenmore sewing machine stitch problems that plague home sewists.
Diagnose Kenmore Stitch Selection Failures
Why Your Kenmore 1731 Won’t Switch from Straight to Zig-Zag Stitch
When your Kenmore 1731 (158 series) locks into straight stitch mode regardless of dial position, the issue typically lies in the worn stitch selection mechanism. This exact problem frequently affects 1977-era machines where decades of use have degraded internal components. Users report their machines produce only straight stitches even when the dial clearly indicates zig-zag or decorative patterns.
Quick Diagnostic Steps:
– Turn your stitch selector dial completely through all settings
– Listen carefully for clicking sounds indicating proper mechanism engagement
– Check if the dial feels loose or spins without resistance
– Observe needle position movement during dial changes
If your machine shows no visible movement when changing stitch patterns, the connection between the dial and internal cam stack has likely failed. This requires professional repair, especially for vintage models where replacement parts are scarce.
Complete Visual Inspection of Stitch Selection Mechanism
Before concluding you need professional help, perform these critical checks:
External Mechanism Assessment:
– Remove the needle plate to access the bobbin area
– Clean visible mechanism with a soft brush to remove lint buildup
– Apply one drop of sewing machine oil to the shuttle center
– Test dial movement after lubrication to see if function returns
Internal Component Verification:
– Remove the faceplate to access the stitch selector mechanism
– Look for broken linkages or visibly worn gears
– Check for thread entanglement in the take-up lever area
– Verify the dial properly connects to the internal cam stack
For many Kenmore 1731 owners, this inspection reveals the problem lies in a worn cam stack or broken linkage that requires professional replacement.
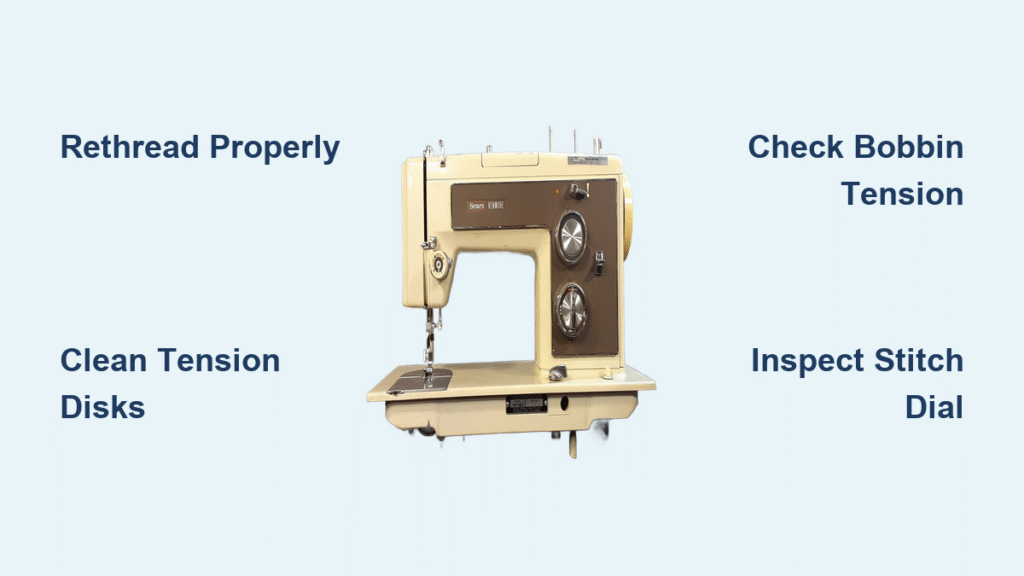
Fix Kenmore Tension-Related Stitch Problems
Why Your Ultra Stitch 6 Shows Loose Upper Thread on Cotton Fabric
Your Kenmore Ultra Stitch 6 Model 13402 likely displays loose upper thread due to incorrect threading rather than actual tension problems. Many users mistakenly adjust tension when the real issue is thread not properly seated between tension disks. This common problem creates uneven stitches and fabric puckering that ruins projects.
Immediate Fix Process:
1. Completely rethread your machine – remove all thread from spool to needle
2. Follow threading sequence precisely – ensure thread passes through all guides
3. Verify tension disk seating – thread must sit between both tension disks
4. Test on scrap fabric – use similar material to your current project
Most tension issues resolve with proper threading technique rather than dial adjustment.
Kenmore Tension Dial Adjustment Method That Actually Works
Effective Adjustment Protocol:
– Turn dial 3 numbers lower, then test your stitch
– Turn dial 3 numbers higher, then test again
– Find the balance point where backstitching doesn’t create loops
– Fine-tune in half-number increments for perfect results
Critical Warning Signs to Watch:
– Thread loops on fabric underside = upper tension too loose
– Fabric puckering or gathering = upper tension too tight
– Frequent thread breakage = tension excessively tight
Remember that tension issues often stem from threading errors rather than incorrect settings.
Professional Method to Clean Sticky Kenmore Tension Disks
Sticky tension disks create inconsistent stitch quality that ruins fabric. Here’s the professional cleaning approach:
Required Tools:
– Non-waxed dental floss (waxed will leave residue)
– Soft lint-free cloth
– Sewing machine oil (tiny amount)
Cleaning Steps:
1. Raise presser foot to fully open tension disks
2. Run dental floss between disks 3-4 times to remove lint
3. Wipe visible lint from disk edges with cloth
4. Test tension on scrap fabric before sewing projects
This simple procedure resolves many tension-related stitch problems without adjusting your tension dial.
Resolve Kenmore Bobbin Tension Problems

Diagnose Bobbin Case Tension Issues Correctly
Low bobbin case tension creates distinct stitch problems. Your removable bobbin case might need adjustment if stitches appear loose on the bobbin side while upper thread looks normal.
Accurate Bobbin Tension Test:
– Hold thread tail, let bobbin case dangle
– Case should drop 1-2 inches with gentle bounce
– Adjust screw 1/8 turn clockwise to increase tension
– Test after each adjustment on scrap fabric
Never adjust bobbin tension more than 1/4 turn at a time – small changes make big differences.
Proper Bobbin Tension Spring Cleaning Technique
Lint buildup in the tension spring prevents proper pressure application. This dramatically affects stitch formation and creates inconsistent results.
Effective Cleaning Process:
– Remove bobbin case from machine completely
– Locate tension spring on case edge
– Use a pin to carefully remove visible lint
– Check spring flexibility with gentle pressure
– Test on scrap fabric before resuming projects
Complete Kenmore Machine Diagnostic Framework
When Your Kenmore Stops Stitching Completely
Complete stitch failure requires systematic checking. Follow this diagnostic order when your machine won’t stitch at all:
Power and Movement Checks:
– Verify power connection and switch position
– Ensure bobbin winder is disengaged
– Check handwheel tightness (tighten inner knob if loose)
– Attempt gentle handwheel rotation
Needle and Threading Verification:
– Install new needle (check for bends)
– Verify needle faces correct direction
– Complete rethreading from spool to needle
– Check needle size matches thread weight
Feed Dog and Drive Belt Assessment for Kenmore Machines
Critical Drive System Checks:
– Watch needle movement during handwheel rotation
– Check for broken or slipped drive belt
– Verify feed dogs are in raised position
– Look for thread jams in bobbin area
If the handwheel turns but the needle doesn’t move, your drive belt has likely slipped or broken.
Essential Maintenance to Prevent Kenmore Stitch Problems
Daily Cleaning Routine That Prevents 90% of Stitch Issues
Prevent most stitch problems with consistent maintenance:
Critical Cleaning Areas:
– Needle plate – Remove lint after each project
– Bobbin case – Clean case and surrounding area
– Tension pathway – Run scrap fabric through threading path
– Thread take-up – Clean mechanism behind faceplate
Monthly Lubrication Points for Your Kenmore Sewing Machine
Your Kenmore needs minimal but specific lubrication:
Apply One Drop Oil To:
– Shuttle center (where bobbin case sits)
– Thread take-up mechanism (after removing thread)
– Stitch selector moving parts (accessed behind faceplate)
Always test on scrap fabric after maintenance to ensure proper stitch formation before starting projects.
Professional Repair Indicators for Kenmore Stitch Problems
When to Seek Expert Help for Your Kenmore Sewing Machine
Some kenmore sewing machine stitch problems require professional intervention:
Definite Repair Shop Scenarios:
– Stitch selector dial mechanism failure (like 1977 model 1731)
– Tension mechanism reassembly needed (model 148.1207)
– Internal gear or cam stack damage
– Electrical issues affecting stitch formation
Self-Service Limitations You Must Respect
Never Attempt These Repairs:
– Internal gear replacement
– Motor or electrical repairs
– Timing adjustments
– Cam stack realignment
Attempting these repairs without proper training often creates more problems than they solve.
Prevent Future Kenmore Stitch Problems
Proper Storage Protocol for Kenmore Sewing Machines
Store your Kenmore correctly to prevent stitch issues:
- Cover machine when not in use to prevent dust accumulation
- Remove thread from tension disks to prevent permanent seating
- Lower presser foot to release tension on disks
- Store needles in protective case to prevent bending
How Thread Quality Affects Kenmore Stitch Performance
Cheap thread creates tension and stitch problems:
Choose Quality Thread:
– Use same thread type in needle and bobbin
– Avoid old or brittle thread
– Match thread weight to needle size
– Store thread away from direct sunlight
Regular Testing Schedule to Catch Problems Early
Catch problems before they ruin projects:
Weekly Quick Test:
– Stitch on scrap fabric before starting projects
– Check tension balance on both sides
– Verify all stitch selections work properly
– Listen for unusual sounds during operation
Your Kenmore sewing machine can provide decades of reliable stitching when properly maintained and promptly repaired. Most kenmore sewing machine stitch problems stem from simple issues like incorrect threading, lint buildup, or tension misadjustment. By following this systematic approach to diagnosis and repair, you’ll solve 90% of stitch problems at home without professional help. Remember that vintage models may develop mechanical wear requiring expert attention, so keep your machine clean, well-lubricated, and test regularly to catch issues before they ruin your projects.


