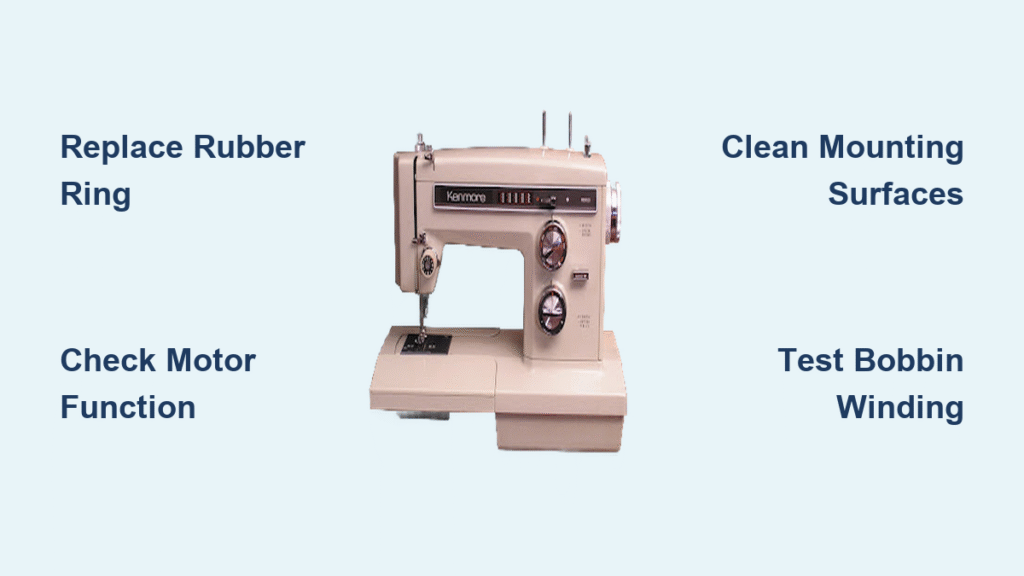
Your Kenmore Ultra Stitch 12 sits silent as you turn the hand wheel, the needle frozen mid-air while thread dangles uselessly. That sinking feeling hits—you’ve got a project due tomorrow, but your 30-year-old workhorse won’t budge. Don’t panic. For vintage Kenmore machines, a stuck needle almost always traces back to five mechanical hiccups you can fix yourself. In 80% of cases, the solution takes under five minutes with just your hands and a screwdriver.
This guide cuts through the confusion with exact steps to revive your machine. You’ll learn why that clutch knob won’t tighten, how to realign hidden washers, and when a $10 belt replacement solves everything. No sewing degree required—just follow the diagnostics in order. Your machine’s rhythmic thrum is closer than you think.
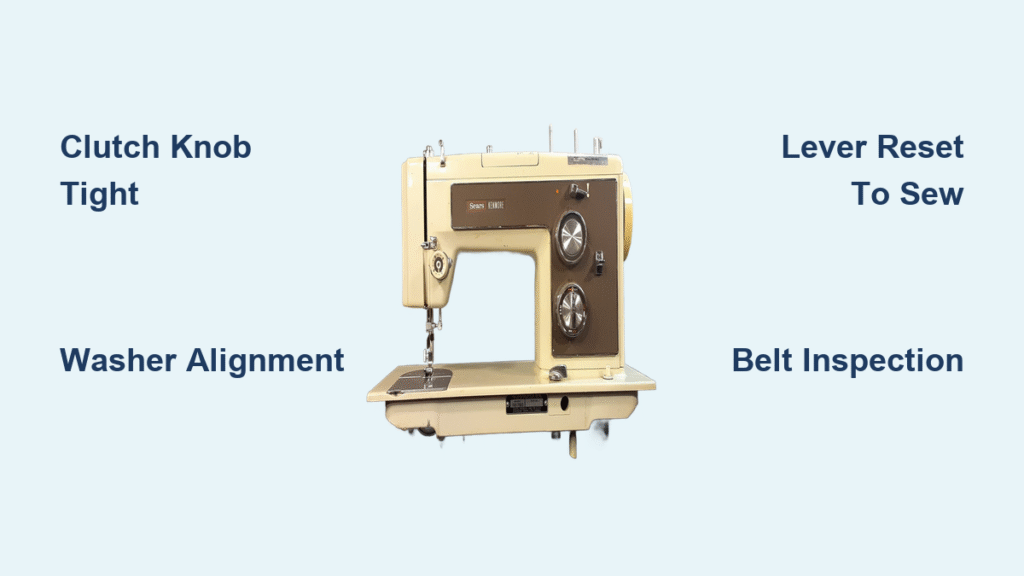
Re-Engage the Disconnected Clutch Knob
Why Your Hand Wheel Spins Freely With Zero Resistance
When the clutch knob faces the wrong direction after bobbin winding, it disconnects the needle drive shaft. You’ll notice the hand wheel turns like it’s in neutral—no tension, no needle movement. This is Kenmore’s safety feature, but it often gets forgotten after threading bobbins.
Immediate Fix:
Grab the inner clutch knob (smaller ring inside the hand wheel) and rotate it clockwise until snug. Listen for a soft click as internal tabs lock into place. Test immediately by turning the hand wheel—your needle should resume its up-and-down motion. If the knob spins endlessly without tightening, skip to washer realignment below.
Pro Tip: Vintage Kenmores hate half-measures. Push the knob firmly until it stops turning—you’ll feel mechanical resistance when properly engaged.
Align the Clutch Washer Tabs Correctly
Why Turning the Clutch Knob Does Nothing
A misaligned clutch washer—often dislodged during bobbin winding—causes the knob to spin freely. This tiny metal disc with 2-4 tabs must slot perfectly into matching grooves on the drive shaft. With four possible orientations, trial-and-error is faster than guessing.
Four-Position Realignment Method
- Unplug your machine and locate the clutch knob’s set screw (use a jeweler’s #00 screwdriver).
- Back out the screw just enough to slide the clutch knob straight off the shaft—don’t lose the screw!
- Rotate the washer 90 degrees and reattach the knob. Test the hand wheel.
- Repeat for all four positions until the needle moves when turning the hand wheel.
Critical Warning: Never force parts together. If the washer resists sliding on, rotate it again—proper alignment requires zero pressure.
Reset the Bobbin-Winder Lever to “Sew” Mode
Why the Needle Stays Frozen After Winding Bobbins
That top-right lever controls power diversion to the bobbin spindle. If left in “wind” position (usually right or forward), it blocks needle movement. Many users miss this because the lever looks disengaged while still partially connected.
Lever Reset Protocol
- Find the lever near the hand wheel (marked with a bobbin icon or “WIND”).
- Push it fully left or backward until it clicks into the “SEW” position—don’t stop at partial resistance.
- Turn the hand wheel while watching the needle bar. If it moves, you’ve solved it.
Common Mistake: Assuming the lever is reset because it moved. Vintage Kenmores require a definitive click—push until you feel solid engagement.
Clean Gummed-Up Clutch Components
Why the Needle Hesitates or Moves Erratically
Decades of sitting idle turn factory oil into sticky varnish. This glues clutch parts together, causing inconsistent needle movement. You’ll feel grinding resistance when turning the hand wheel, or the needle may jerk instead of gliding smoothly.
Precision Cleaning Steps
- Disassemble the clutch knob and washer as described earlier.
- Wipe metal surfaces with a lint-free cloth dampened with sewing machine oil (never WD-40—it eats rubber).
- Apply one drop of fresh oil to the clutch sleeve and shaft.
- Reassemble and rotate the hand wheel 20 times to distribute lubricant.
Expert Note: Household oils like coconut or vegetable oil attract lint and harden faster—use only sewing-machine-specific lubricants.
Inspect Drive Belts and Gears

When the Hand Wheel Turns Normally But Needle Won’t Move
If the clutch is engaged yet the needle stays frozen, power isn’t reaching the needle bar. This means either a broken belt or internal gear damage.
Belt Inspection Checklist
- Remove the top cover (4-6 screws on most vintage Kenmores).
- Check the rubber belt for cracks, fraying, or dislodgement from pulleys.
- Test tension: Press the belt—it should deflect 1/4 inch. Zero give means it’s seized; excessive slack means it’s broken.
Belt Replacement Shortcut
- Note the routing path (take a photo before removing).
- Slide the old belt off the motor pulley and hand wheel.
- Loop the new belt through the same path—Kenmore Ultra Stitch 12 uses a 3/16″ x 24″ belt (part #13001000).
- Adjust motor position until the belt deflects 1/4 inch when pressed.
Red Flag: If the belt spins but the upper shaft doesn’t move, internal gears are stripped—call a technician.
Post-Repair Testing Protocol

Avoid Embarrassing Stitch Failures
Don’t assume success after needle movement returns. Test thoroughly:
1. Re-thread with a fresh 80/12 needle (universal for cotton).
2. Run slow stitches on scrap fabric using the hand wheel first.
3. Listen for irregular sounds—smooth operation means success; grinding means internal damage.
Critical Check: If stitches loop or skip, recheck bobbin tension—gummed oil often affects this too.
Prevent Future Needle Movement Failures
Vintage Kenmore Maintenance Schedule
- Oil every 8 sewing hours (or twice yearly): Apply 1 drop to the clutch shaft and hook race.
- Clean lint after every project: Use a small brush in the bobbin area—caked lint strains the drive system.
- Store properly: Engage the clutch, lower the presser foot, and position the hand wheel with the needle down.
Daily Pre-Use Checklist
– [ ] Clutch knob tightened clockwise until resistance
– [ ] Bobbin-winder lever fully reset to “SEW”
– [ ] Hand wheel turns smoothly (no grinding)
– [ ] Needle moves freely when testing by hand
When to Call a Professional
Stop DIY repairs immediately if:
– Clutch washer alignment fails after testing all four positions
– Belt spins but gears don’t move (indicates stripped internal gears)
– Needle hits the bobbin case (timing is off—requires factory calibration)
– Metal shavings appear in the bobbin area (gear teeth are failing)
These issues need specialized tools and Kenmore-specific timing gauges. A qualified technician costs $75–$120 but saves your vintage machine from catastrophic damage.
Your Kenmore Ultra Stitch 12 isn’t obsolete—it’s just waiting for you to flip its hidden switches. Start with the clutch knob and bobbin-winder lever; chances are you’ll hear that familiar sewing hum within minutes. For the 20% of cases needing deeper fixes, the washer realignment or belt swap takes under 15 minutes. Keep this guide handy, oil your machine regularly, and your 40-year-old sewing partner will outlast every modern machine on the market. Now go thread that needle—you’ve got fabric to conquer.


