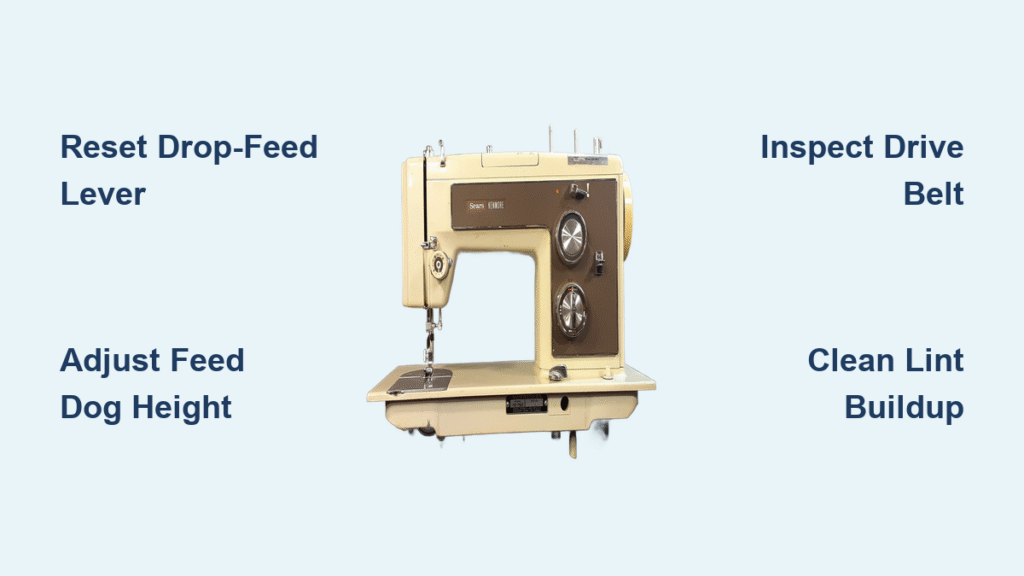
Your Kenmore sewing machine suddenly stops feeding fabric properly—the feed dogs spin uselessly below the needle plate while your fabric refuses to budge. Before you waste $100 on a repair shop visit, know this: 90% of Kenmore feed dog issues can be fixed at home with basic tools in under an hour. Whether you’re working with a vintage 158-series, popular 385.1249280, or Ultra Stitch 8/13453 model, this Kenmore sewing machine feed dog repair guide delivers precise fixes for every symptom. You’ll restore smooth fabric feeding without expensive service calls or confusing jargon.
Why Your Kenmore Feed Dogs Won’t Rise Above Needle Plate
When feed dogs rotate but stay buried beneath the needle plate, fabric won’t advance regardless of stitch settings. This common failure affects Kenmore models 385.1249280, 385.15516000, Ultra Stitch 8/13453, and 385.17626. Users consistently report: “They rotate and go back and forth but don’t come above the needle plate to grab the material.”
Locate and Reset Your Drop-Feed Lever Immediately
Your first critical step is verifying the drop-feed lever position—this solves half of all “feed dogs not rising” cases. Kenmore uses three lever styles across models:
- Slide switch on front panel (common on 385-series)
- Flip lever near stitch length dial (Ultra Stitch models)
- Hidden knob under free-arm cover (vintage 158 machines)
Move the lever firmly to the UP/ENGAGE position, then slowly rotate the handwheel one complete revolution clockwise. This mechanical sync allows the cam mechanism to lift the feed dog rack back into position. If you hear a faint “click,” you’ve successfully re-engaged the feed system.
Adjust Feed Dog Height With Precision Screw

If the lever’s correctly positioned but dogs remain low:
- Remove bottom cover (4-6 screws)
- Locate the small adjustment screw with jam-nut on the feed-dog lifting rock-shaft crank
- Loosen jam-nut with 5mm wrench
- Turn screw clockwise 1/8 turn to raise dogs
- Re-tighten jam-nut while holding screw position
- Test by rotating handwheel slowly
Warning: Over-tightening actually lowers the dogs—adjust in tiny increments and test after each turn. Most Kenmore models require dogs to protrude 1.5-2mm above needle plate for proper fabric grip.
Feed Dogs Spin But Won’t Move Fabric Horizontally
On models like the 385.17626, feed dogs may rise and drop normally but fail to advance fabric, causing loose stitches and fabric slippage. The culprit is typically a disengaged drive system between the triangular metal driver and plastic cam.
Inspect Horizontal Drive Components Thoroughly
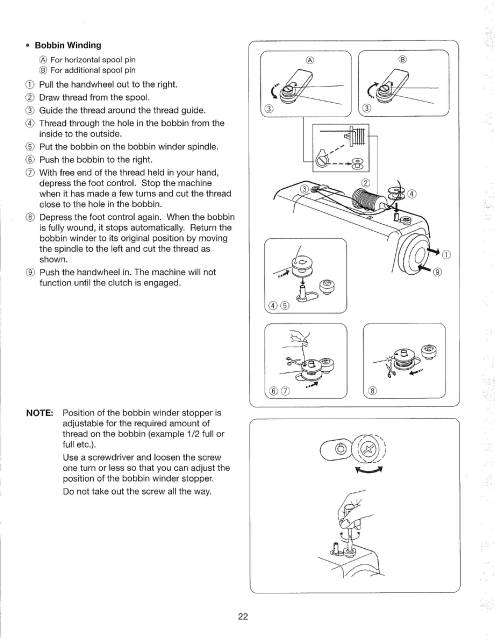
Remove the rear cover to access the drive mechanism and check these critical points:
- Belt tension: Should deflect exactly 6mm under light finger pressure
- Plastic drive gear: Look for cracked teeth or visible wear patterns
- Metal driver alignment: Must seat fully into the plastic cam slot without wobble
Pro tip: Shine a flashlight along the cam path while rotating the handwheel—you should see smooth, consistent movement without hesitation points.
Replace Worn Drive Parts With Correct Components
If the plastic cam shows significant wear or the belt feels loose, replacement is straightforward. Search SearsPartsDirect using your full model number (e.g., 385.17626) for these exact parts:
- Horizontal drive cam assembly ($12-25)
- Drive belt ($5-10)
- Triangular metal driver ($8-15)
Critical note: Many 385-series Kenmores share identical drive components—verify part numbers before ordering to avoid compatibility issues.
Feed Dogs Won’t Re-Engage After Drop-Feed Use
After using drop-feed for darning or free-motion quilting, feed dogs sometimes refuse to rise—a frequent issue on 385.15516000 and vintage 158 models.
Execute Mechanical Re-Sync With Handwheel
- Return drop-feed lever firmly to UP position
- Slowly rotate handwheel one complete revolution clockwise
- If still stuck, remove needle plate and vacuum accumulated lint
- Apply penetrating oil (Tri-Flow or PB Blaster) to linkage points
- Manually exercise mechanism by moving stitch length dial from 0 to 4 repeatedly
Time-saver: While exercising the mechanism, press the foot pedal intermittently to engage motor assist—this often breaks minor jams faster than manual operation alone.
Apply Targeted Heat for Stubborn Seizures
When oil and exercise fail:
- Warm feed-dog area with hair-dryer on medium heat for 2-3 minutes
- Continue cycling stitch length dial while warm
- Re-oil lightly with sewing machine oil once motion returns
- For extreme cases: Briefly apply butane torch to cam pin (1-2 seconds max)
Safety first: Never use open flame near plastic components—heat only the metal cam pin and immediately wipe excess oil before applying flame.
Eliminate Intermittent or Uneven Fabric Feed
Fabric slipping, stitch bunching, or jerky advancement typically stems from three preventable issues: lint compaction, worn dog teeth, or inadequate presser-foot pressure.
Complete Systematic Cleaning in 10 Minutes
Start with these immediate fixes:
- Remove needle plate (2 screws) and vacuum felted lint with crevice tool
- Inspect dog teeth for wear—replace if teeth appear rounded rather than sharp
- Increase presser-foot pressure using top dial (higher number = more pressure)
- Test with scrap fabric before reassembling to verify fix
Expert note: Vintage Kenmore 158 models have particularly narrow lint channels beneath feed dogs—remove the entire dog carrier for thorough cleaning every six months.
Deep Clean Feed Dog Assembly Properly
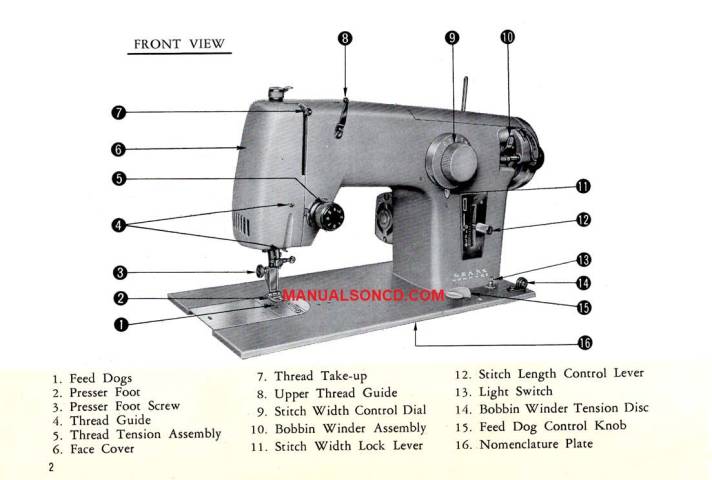
For persistent issues:
- Remove bobbin case and hook assembly
- Pull bottom cover to expose full linkage
- Use compressed air to blast debris from dog channels
- Apply Tri-Flow grease with Teflon to rock-shaft ends
- Oil horizontal drive cam and pin with sewing machine oil
Critical mistake to avoid: Never use WD-40 as lubricant—it gums up with age and attracts more lint than it solves.
Model-Specific Feed Dog Repair Shortcuts
| Model | Most Common Issue | Fastest Fix |
|---|---|---|
| 385.1249280 | Rock-shaft sticking | Exercise spring & re-grease with Tri-Flow |
| Ultra Stitch 8/13453 | Narrow lint channel | Remove entire dog carrier for cleaning |
| Vintage 158 | Hidden drop-feed lever | Locate worn plastic slider under free-arm |
| 385.17626 | Cracked plastic drive cam | Inspect during disassembly; replace if needed |
Prevent Future Feed Dog Failures With These Habits
Save yourself repeated Kenmore sewing machine feed dog repair sessions with these simple maintenance practices:
- After every project: Brush lint from feed dogs using stiff nylon brush
- Every 6-8 hours of sewing: Remove needle plate and vacuum debris
- Annually: Remove bottom cover, oil linkage, and regrease rock-shaft
- Storage secret: Always leave feed dogs UP with fabric scrap under presser foot
Pro maintenance tip: Keep a dedicated “feed dog cleaning kit” in your sewing caddy with Tri-Flow oil, small brush, and lint vacuum attachment for instant problem resolution.
When to Attempt DIY vs Call a Professional
Most feed dog issues are DIY-friendly, but know your limits:
- DIY cost: $12-25 in parts plus 1-2 hours of your time
- Professional cost: $100+ diagnostic fee plus parts
- DIY threshold: If rock-shaft bushing is worn or gear teeth missing, replacement requires press-fit tools
- Warranty status: Most vintage Kenmores are out of warranty—DIY is almost always economical
Red flag: If you smell burning plastic or notice significant metal shavings during disassembly, stop immediately and consult a professional—these indicate serious internal damage.
Essential Tools for Successful Kenmore Feed Dog Repair

Keep these items ready for immediate troubleshooting:
- Tri-Flow Penetrating Oil (2 oz squeeze bottle)
- Tri-Flow Grease with Teflon (for rock-shaft lubrication)
- Magnetic-tip screwdrivers (Phillips #1 and #2)
- 5mm wrench for height screw adjustments
- Hair-dryer for heat therapy
- Compressed air canister or small hand pump
Time-saving hack: Store all these tools in a dedicated “sewing machine emergency kit” that stays with your machine—no frantic searching when problems strike mid-project.
Feed Dog Repair Decision Tree: Fix in 5 Minutes or Less
When feed dogs fail, follow this streamlined diagnostic path:
Feed Dogs Not Working?

├─ Will not rise?

│  ├─ Lever in UP position? → Reset if needed

│  ├─ Handwheel rotated 360°? → Do this now

│  └─ Still low? → Adjust height screw

├─ Rise but no fabric movement?

│  ├─ Stitch length > 0? → Increase setting

│  ├─ Clean under plate? → Vacuum lint

│  └─ No horizontal motion? → Check drive belt

├─ Intermittent feeding?

│  ├─ Presser-foot pressure adequate? → Increase

│  ├─ Dog teeth worn? → Replace if rounded

│  └─ Linkage clean? → Deep clean assembly

└─ Mechanism frozen?

   ├─ Apply penetrating oil + exercise

   └→ Add heat (hair-dryer) for stubborn cases
Your Kenmore feed dog problem is almost certainly solvable at home. Start with the quick checks—lever position, handwheel revolution, and cleaning—because 80% of issues resolve within 15 minutes. When deeper repairs are needed, the precise procedures above will restore flawless fabric feeding without costly service calls. Keep this Kenmore sewing machine feed dog repair guide handy, and you’ll never face a stalled sewing project again.

