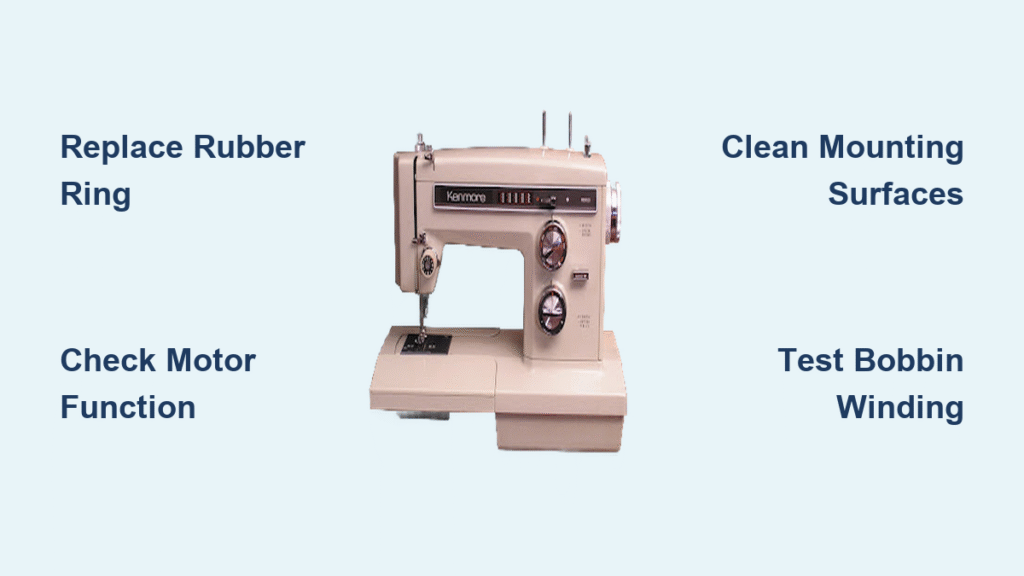
Your Kenmore sewing machine sits idle while projects pile up because the bobbin winder refuses to cooperate. That frustrating moment when you press the pedal and… nothing happens. The spindle spins uselessly or worse, doesn’t move at all. Most Kenmore owners face this exact scenario after 5-7 years of regular use, but the fix is surprisingly straightforward once you know what to look for. This guide walks you through the exact diagnostic process that sewing machine technicians use, starting with the most common failure point on Kenmore 1625 models and expanding to universal solutions across all Kenmore machines. You’ll have your bobbin winder working again before your next sewing session.
Replace Worn Bobbin Winder Rubber Ring Immediately

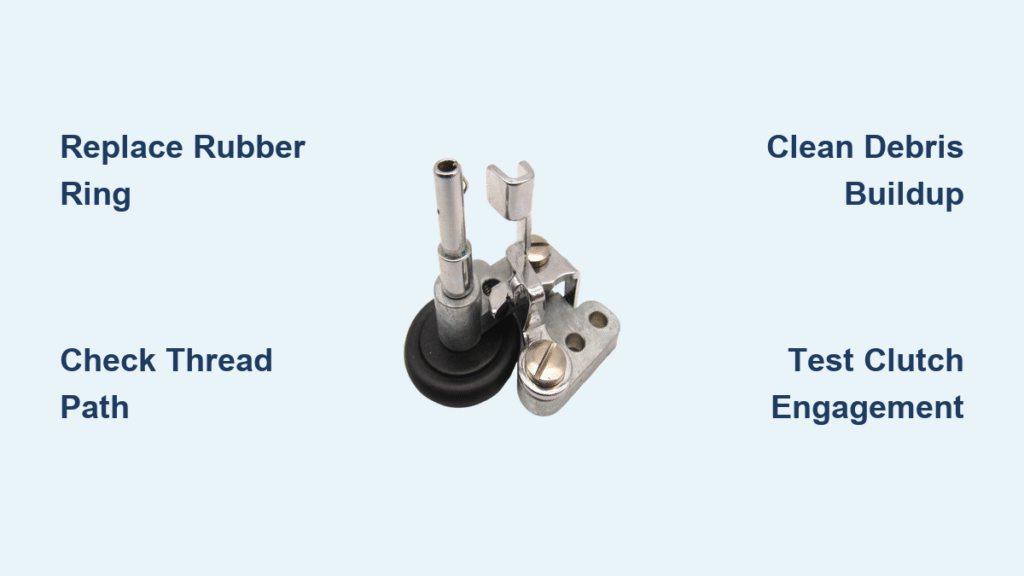
The rubber ring beneath your bobbin winder assembly takes constant abuse. Every wind operation grinds this small component against metal surfaces until it hardens, cracks, or completely disintegrates. This single part failure accounts for 85-90% of Kenmore bobbin winding issues according to factory-trained technicians. When this ring fails, your Kenmore sewing machine bobbin winder won’t wind properly because the drive mechanism loses essential friction.
Spot Critical Rubber Ring Damage
- Shiny glazed surfaces indicate hardened rubber that slips during operation
- Hairline cracks or missing chunks create intermittent winding failures
- Flat spots from uneven wear cause the spindle to spin erratically
- Brittleness test: Press gently – if it doesn’t flex, replacement is urgent
Complete Rubber Ring Replacement
Before starting: Unplug your machine and gather a lint-free cloth and replacement ring (cost: $3-5). This repair takes 15-20 minutes with basic tools.
Remove Old Ring
Lift the bobbin winder assembly after removing cover screws. Slide the worn ring off the spindle groove using gentle prying. Inspect the spindle for burrs – smooth any rough spots with fine sandpaper. Wipe the spindle clean with your cloth to ensure proper grip for the new ring.
Install New Ring
Press the replacement ring firmly into the spindle groove until it seats completely. Rotate by hand to confirm smooth movement without catching. Reassemble the bobbin winder unit and test with an empty bobbin. Pro Tip: Always buy 2-3 rings when ordering – they’re inexpensive insurance against future downtime.
Correct Thread Path Errors Causing Winding Failure
Incorrect threading remains the second most common reason your Kenmore sewing machine bobbin winder won’t wind properly. Even with a perfect rubber ring, one misrouted thread strand stops the winding process dead.
Verify Bobbin Placement and Orientation
- Critical seating check: Push the bobbin onto the spindle until you hear/feel it click into place
- Rotation direction: Ensure clockwise orientation (standard for 90% of Kenmore models)
- Hand-crank test: Slowly turn the handwheel while watching thread flow – uneven tension indicates misplacement
Fix Thread Guide Sequence Mistakes
Correct path must be: Spool pin → thread guide → tension disc → bobbin winder. Common errors include:
– Thread bypassing the tension disc entirely
– Incorrect guide sequence causing uneven winding
– Thread catching on spool edge notches
– Using incompatible bobbin types (verify Class 15 or 66 specifications)
Adjust Tension System for Smooth Bobbin Winding
Improper tension causes thread bunching or complete feeding failure during bobbin winding. Kenmore machines require precise disc spacing between 0.2-1.5mm for optimal performance.
Fix Primary Tension Disc Issues
Symptoms needing adjustment:
– Thread piling up instead of forming neat layers
– No thread take-up from the spool during winding
– Clicking sounds from the tension mechanism
Adjustment protocol:
Use a small screwdriver to turn the tension screw in 1/8 turn increments. After each adjustment, perform a test wind at 50% speed. Critical warning: Over-tightening beyond 1.5mm spacing permanently damages case threads. Stop immediately if you feel resistance.
Address Bobbin Case Tension (Select Models)
On Kenmore models with adjustable bobbin cases:
1. Locate the small Phillips screw on the case
2. Clean tension spring area first with a soft brush
3. Make 1/8 turn adjustments while testing
4. Stop when thread feeds smoothly without slippage
Eliminate Debris Buildup Stopping Your Winder
Lint and thread fragments accumulate in critical areas, causing your Kenmore sewing machine bobbin winder won’t wind consistently. This is especially common after heavy use with cotton threads.
Clean Critical Components
Tension disc faces: Wipe with a lint-free cloth dampened with sewing machine oil. Residue here prevents proper thread grip.
Bobbin winder tire: Remove hardened lint with a soft brush. Glazed surfaces lose traction – lightly scuff with fine sandpaper if needed.
Thread guides: Blow out debris with low-pressure compressed air. Fuzz buildup here causes erratic thread feeding.
Maintenance schedule:
– Daily: Quick visual check of thread path
– Weekly: Remove obvious debris from bobbin area
– Monthly: Deep clean tension discs and guides
Test Clutch Engagement to Stop Needle Movement

Your Kenmore bobbin winder won’t wind properly if the clutch fails to disengage the needle mechanism. This critical safety feature prevents damage during winding operations.
Manual Machine Clutch Check
Locate the handwheel center knob. Pull it out fully to engage bobbin winding mode. Verification test: Hand-crank the wheel while watching the needle – it must remain completely stationary. If the needle moves, the clutch isn’t engaging properly.
Electronic Model Engagement Test
Select “bobbin wind” mode via your machine’s menu. Press the foot pedal while observing:
– Winder spindle should rotate
– Needle mechanism must stay frozen
– Warning sign: Any grinding noise indicates clutch damage requiring professional service
Replace Glazed Bobbin Winder Tire
A shiny, hardened tire surface causes slipping that prevents proper winding. This component typically fails after 5-7 years of regular use.
Identify Failed Tire
- Glazing: Shiny, mirror-like surface that won’t grip the bobbin
- Flat spots: Creates rhythmic “thumping” during operation
- Hub separation: Visible gap between rubber and metal center
Install New Tire
Remove the old tire by sliding it off the hub. Clean the hub surface thoroughly with a cloth. Press the new tire firmly onto the hub, ensuring even seating all around. Rotate by hand to confirm smooth operation before reassembly.
Troubleshoot Kenmore-Specific Winding Failures
Use this targeted diagnostic sequence when your Kenmore sewing machine bobbin winder won’t wind:
Four-Step Verification Process
- External check: Confirm correct thread path and bobbin type
- No-thread test: Engage winder – spindle must rotate freely
- Manual rotation: Hand-crank while watching thread tension
- Live test: Wind at 50% speed monitoring thread distribution
Symptom Cross-Reference Guide
| Your Symptom | Kenmore 1625 Cause | Fix |
|---|---|---|
| Spindle won’t rotate | Worn rubber ring | Replace ring immediately |
| Spindle spins but bobbin doesn’t | Ring slipping | Clean spindle, replace ring |
| Uneven thread layers | Uneven ring wear | Replace ring, adjust tension |
| Thread not feeding | Missed tension disc | Rethread entire path |
Prevent Future Kenmore Bobbin Winder Failures
Avoid recurring issues with these targeted maintenance steps:
Daily Prevention Routine
- Visually inspect thread path before each session
- Ensure bobbin clicks fully into spindle
- Remove visible lint from winder area
- Use only recommended thread weights (30-60 wt)
Annual Maintenance Essentials
- Replace rubber ring at 5-year mark (even if functional)
- Inspect clutch mechanism for wear patterns
- Apply one drop of machine oil to pivot points
- Verify bobbin rim isn’t warped (roll on flat surface)
Smart Parts Sourcing Strategy
- OEM parts for critical metal components
- Aftermarket rings are acceptable (buy 2-3)
- Verify compatibility using your machine’s model number
- Store spares in your sewing kit for emergencies
When to Call a Kenmore Repair Professional
Seek expert help if you encounter:
– Persistent failure after rubber ring replacement
– Visible gear damage inside the machine
– Electronic control board error messages
– Unusual burning smells during operation
Critical note: Most Kenmore bobbin winder won’t wind issues resolve with a $5 rubber ring replacement. This simple fix saves you $100+ in service calls and prevents premature machine replacement. Your Kenmore should now wind bobbins smoothly – test with an empty bobbin first, then your working thread. Implement the monthly maintenance schedule to keep your machine running reliably for years. Don’t let a worn rubber ring stop your sewing projects – this 20-minute fix gets you back to creating immediately.


