
Skipped stitches ruining your heirloom quilt? Thread tangling into frustrating bird’s nests beneath your fabric? Your Juki sewing machine’s timing is almost certainly off. When the needle and rotary hook fall out of sync by even a fraction of a millimeter, even premium thread and perfect tension settings fail. This precise mechanical dance—where the hook must capture the needle thread at the exact moment—makes timing adjustment essential for professional results. Forget generic troubleshooting; this guide delivers model-specific timing correction steps used by professional technicians to restore your Juki’s flawless stitch formation.
Spot Timing Failure Through Mechanical Symptoms
Timing issues announce themselves through unmistakable mechanical behaviors that frustrate even experienced sewers. Skipped stitches occur when the hook completely misses the needle thread loop, leaving gaps in your seam. Thread bunching underneath fabric creates tangled nests because the hook captures thread too early or late. Frequent needle breakage often stems from the hook striking the needle during rotation, while uneven stitch formation shows inconsistent thread interlocking throughout your project.
Visual Needle-Hook Relationship Check
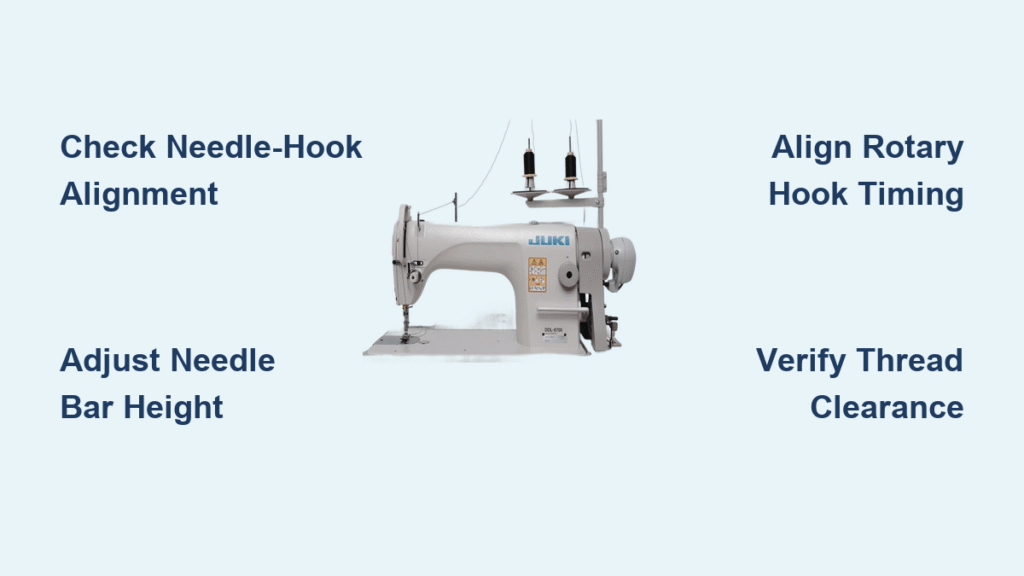
Remove your needle plate and turn the hand wheel slowly toward you while watching the needle and hook interaction. The needle must reach its absolute lowest position and begin traveling upward before the rotary hook point passes behind it. This critical moment—when the hook point aligns with the needle’s scarf (the indentation on the needle’s back)—is where perfect timing happens. If the hook passes while the needle is still descending, timing is too early; if it passes after the needle has risen too far, timing is too late.
Quick Diagnostic Tests You Can Perform Now
Paper penetration test: Sew through a single sheet of printer paper without thread. Clean, uniform holes without tears confirm proper needle/hook clearance. Contrasting thread test: Use bright red thread in the needle and blue in the bobbin. Perfectly interlocked stitches will show balanced thread colors meeting at the fabric’s center. Hand wheel resistance check: Excessive stiffness when turning the wheel manually often indicates mechanical interference from misaligned components—never force rotation.
Critical Safety Steps Before Adjustment
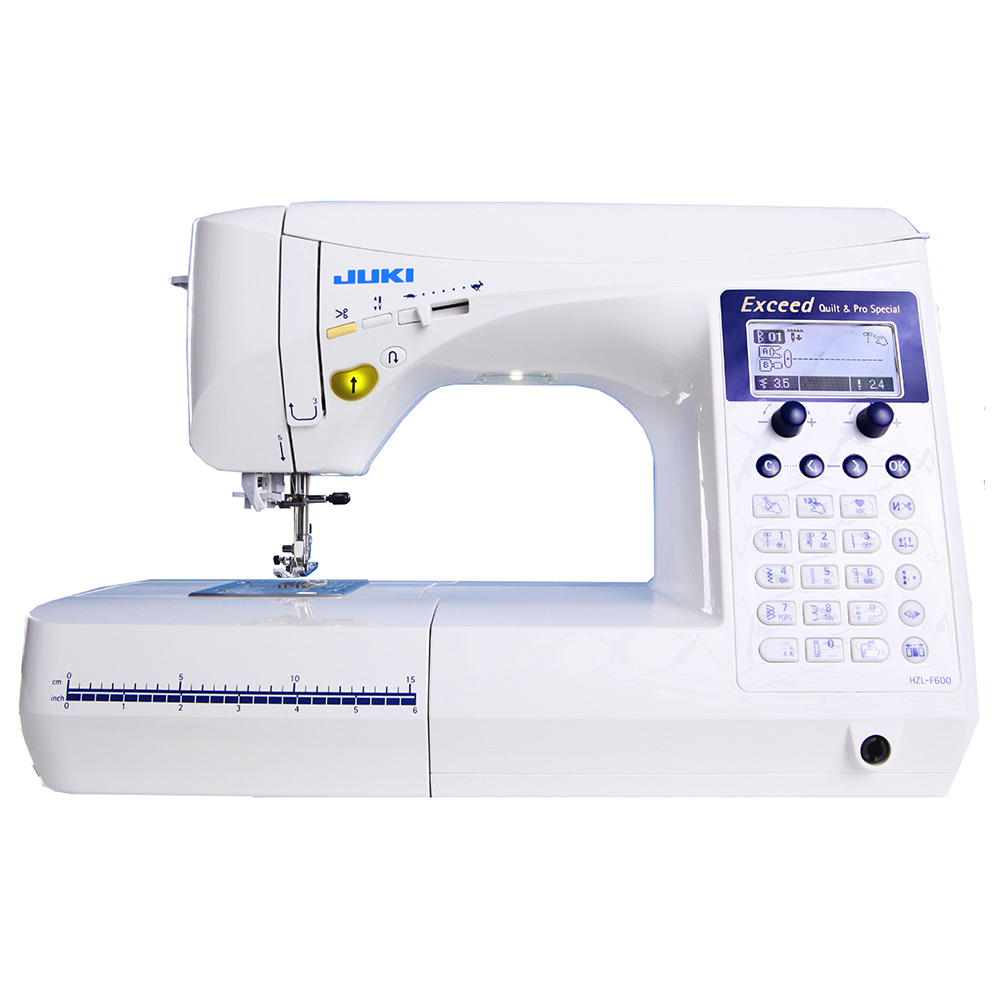
Always unplug your machine completely before starting—accidental activation during timing work can cause severe injury or permanent hook damage. Clear a well-lit workspace and use a magnetic parts tray to prevent losing tiny screws. Consult your specific Juki model manual for warranty implications; industrial DDL series machines allow user adjustments while HZL home models often require professional service to maintain warranty coverage.
Must-Complete Pre-Adjustment Verification
Replace any suspect needles—bent or worn needles mimic timing issues. Verify correct needle installation with the flat side facing the appropriate direction (left for most Juki models). Trace the entire thread path from spool to needle, ensuring thread flows freely through all tension discs and guides. Confirm bobbin quality—rewind if unevenly wound and ensure the bobbin case clicks securely into place. These steps eliminate 70% of apparent timing problems before you remove a single screw.
Access the Timing Mechanism Safely

Cover Removal Sequence for Maximum Visibility
Start by removing the needle plate—typically two screws secure this component. Lift it straight up to avoid damaging feed dogs. Extract the bobbin assembly next, noting the latch mechanism’s orientation. For industrial DDL models, remove the external access panel on the hook race cover. Home HZL series machines require removal of the front face plate—photograph screw locations as you work, as multiple screw lengths are used.
Strategic Component Exposure Technique
Position your machine on a stable surface with the hook assembly facing you. Industrial Juki models provide direct hook access, while home models may require removing the hand wheel cover. Take sequential photos during disassembly—these visual references prevent reassembly errors, especially for spring-loaded components. Keep all screws organized in labeled containers by location and size.
Execute Precision Timing Adjustment
Set Exact Needle Bar Height
With the needle at its lowest point, measure from the needle plate to the needle eye. Adjust to 2.2-2.4mm (model-specific—DDL-8700 requires 2.3mm) using the needle bar connecting rod. Loosen the bushing screws just enough to reposition without creating play. This measurement ensures the hook enters the thread loop at the optimal moment—too high causes skipped stitches, too low risks needle strikes.
Align Hook Timing to the Millimeter
Rotate the hand wheel toward you until the needle reaches its lowest point, then bring it up exactly 2.2mm. At this precise position, the rotary hook point must align with the needle’s center. Loosen main shaft timing gear set screws minimally—over-loosening causes drift. Adjust the hook assembly position in tiny increments, then retighten screws to 15-20 in-lbs torque using a precision torque screwdriver.
Verify Microscopic Hook-to-Needle Clearance
Maintain 0.05-0.1mm clearance between hook point and needle—this is thinner than a human hair. Too close causes needle strikes; too far prevents thread capture. Use feeler gauges for accuracy or visually assess in bright light—the hook should pass the needle without contact but remain close enough to reliably capture the thread loop. Industrial models often include built-in clearance gauges.
Test and Refine Your Adjustment
Manual Rotation Testing Protocol
Slowly turn the hand wheel through 10 complete stitch cycles while observing the needle/hook relationship. The hook should enter the thread loop smoothly without catching or resistance. Listen for abnormal sounds—a faint “click” is normal, but grinding or scraping indicates mechanical interference requiring re-adjustment.
Progressive Testing Protocol
Paper test first: Stitch through single-layer paper without thread—clean perforations confirm proper clearance. Thread test: Use contrasting thread colors to verify balanced interlocking at the fabric’s center. Fabric progression: Test on your typical project fabric, checking stitch consistency on straight seams, curves, and the widest zigzag setting. Speed variation test: Sew slowly, then at medium speed—timing must hold consistently.
Reassemble with Military Precision

Component Reinstallation Sequence
Secure the hook assembly with all screws tightened to specified torque—uneven tightening distorts alignment. Verify needle bar movement—it should travel smoothly without binding throughout its full range. Install the bobbin case ensuring the latch engages with an audible click and rotates freely. Replace the needle plate by tightening screws in a diagonal sequence to prevent warping.
Final Performance Verification
Stitch quality assessment: Sew a 6-inch straight seam examining every stitch for consistency—no skipped stitches or thread loops. Zigzag stability test: Confirm timing holds at maximum stitch width without skipped stitches. Reverse stitching test: Ensure perfect stitch formation when sewing backward. Speed endurance test: Sew continuously for 1 minute at top speed—timing must remain stable.
Model-Specific Adjustment Nuances
Industrial DDL Series Advantages
DDL models feature external timing adjustment through removable side panels—no major disassembly required. Use JUKI part #40163634 needle bar height gauge for DDL-8700 series. These machines tolerate more precise adjustments due to their robust construction—industrial sewers often adjust timing between major projects.
Home HZL Model Limitations
HZL series machines typically have sealed timing components—attempting DIY adjustments voids warranties. If timing marks are misaligned, seek authorized service immediately. Home models lack external access panels, making user adjustments impractical and risky.
Overlock MO Series Complexity
MO series overlock machines require synchronized looper timing in addition to needle/hook timing. This dual adjustment demands specialized knowledge—incorrect looper timing causes skipped stitches even with perfect needle timing. Professional service is strongly recommended unless you have specific overlock experience.
Prevent Future Timing Disasters
Daily Maintenance Habits
Clean the bobbin area after every project—lint buildup gradually shifts timing relationships. Oil only per manual specifications using Juki-approved lubricants—excess oil attracts lint. Inspect needles before each project, replacing at first sign of wear—bent needles instantly throw timing off.
Monthly System Checks
Examine timing mark alignment monthly—any visible shift indicates developing issues. Check feed dog synchronization with needle movement—feed dogs must drop below the needle plate as the needle penetrates fabric. Listen for operational sounds—changes often predict timing problems before visible symptoms appear.
When Professional Service Becomes Non-Negotiable
Seek help immediately when timing marks no longer align after your adjustment attempts, needles break repeatedly after adjustment, or unusual grinding noises emerge from the hook area. Electronic models with computerized systems require authorized service—manual adjustments may damage control boards. Warranty considerations often mandate professional service for timing work—check your documentation before proceeding.
Essential Tool Checklist for Success
Required tools: Phillips and flat head screwdrivers (precision sizes), metric Allen key set, needle bar height gauge (model-specific), lint brush, Juki-approved sewing machine oil, test fabric swatches, contrasting thread spools, LED task light, and small parts organizer. Pro tip: Attach a smartphone to your machine to record the adjustment process—this creates instant visual reference for future work.
Master Final Verification Testing
Complete your adjustment with comprehensive testing on actual project fabric. Sew through multiple layers of your typical material weight. Test decorative stitches if available. Document your settings—note exact screw positions for future reference. When stitches form perfectly, tensions balance automatically, and operation sounds smooth, your Juki’s timing restoration is complete. Perfect timing transforms every sewing session into predictable, professional results—your machine will reward this careful attention with years of reliable service turning creative visions into beautifully constructed realities.


