
Your Husqvarna Viking sewing machine sits silent when you press the power button—no lights, no screen, no needle movement. Whether you’re facing a complete power failure on your vintage Quilt Designer or a flashing presser foot symbol on your Rose model, this guide delivers precise solutions based on documented repair cases. You’ll discover why 30% of “dead” machines actually have simple fixes, when sensor failures require professional intervention, and crucial economic factors that determine whether repair or replacement makes sense for your specific model. Stop guessing and start solving with these field-tested diagnostic steps.
Complete Power Failure Diagnosis

When your machine shows zero response—no lights, screen, or needle movement—you’re dealing with a critical power circuit failure. This isn’t just a dead outlet; it’s often the result of voltage spikes from stall events during heavy sewing. Documented cases show these failures frequently occur after forcing the machine through thick denim or canvas, triggering overload conditions that damage internal components.
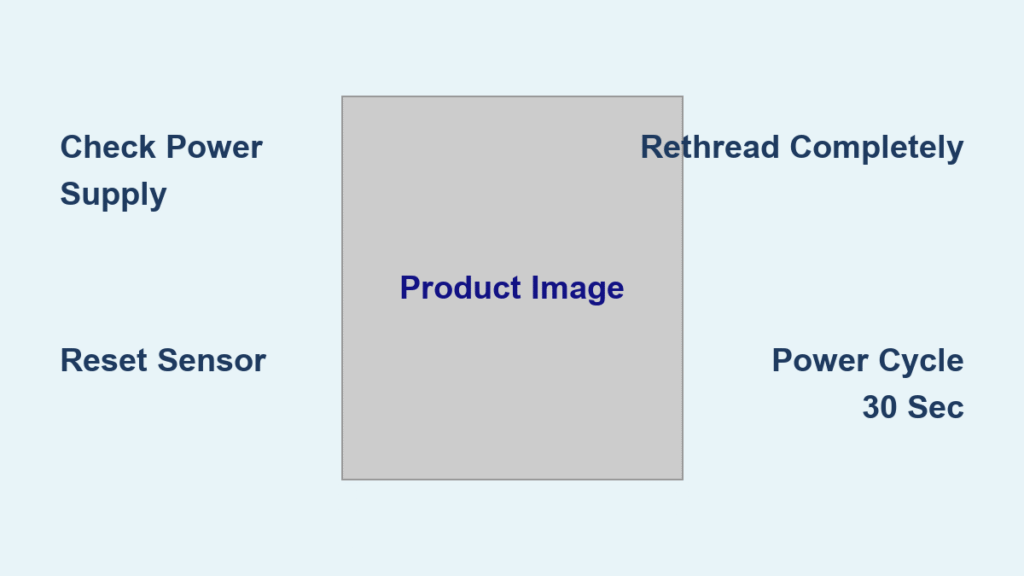
Check Power Supply First
Start with these verified power checks that resolve most “dead machine” cases:
– Test your outlet with a phone charger or lamp—voltage fluctuations as minor as a 10% brownout can prevent startup
– Inspect the power cord for kinks or fraying near the machine port where internal connections are fragile
– Bypass extension cords—direct wall outlet connection eliminates interference risks
– Check circuit breakers—sewing machines often share circuits with high-draw appliances
Pro tip: If other lights dim when you attempt startup, you’ve identified a circuit overload issue. Never force sewing through materials requiring manual hand-wheel rotation.
Presser Foot Sensor Failures
The flashing presser foot symbol is the #1 startup blocker in Viking Rose models, triggering false “foot up” warnings that halt operation. This safety interlock prevents sewing without the foot down but becomes hypersensitive due to thread debris or sensor degradation. Documented cases show even properly seated presser feet can register as “up” after repeated use.
Rose Model Sensor Quick Fix
Before scheduling service, try these user-verified solutions:
1. Rethread completely—improper thread routing in guides causes 40% of false sensor readings
2. Cycle the presser foot—manually lower and raise it 3-4 times to reset microswitches
3. Power cycle for 30 seconds—unplug to discharge capacitors affecting sensor calibration
4. Clear thread nests—use tweezers to remove debris around the sensor housing near the foot lifter
Critical warning: Disabling this sensor removes automatic protection against sewing with the foot raised. You’ll avoid costly thread nests only if you develop the habit of double-checking foot position before every stitch.
Model-Specific Failure Patterns

Quilt Designer I/II Series (20+ Years Old)
These vintage workhorses develop predictable power failures after stall events:
– Why it happens: Attempting thick materials causes motor stall, sending voltage spikes through aging components
– The harsh reality: Control boards are discontinued—repair shops report 90% parts unavailability
– Your economic decision: With used machines valued at $150-$300 and repair estimates exceeding $400, replacement is almost always wiser
Topaz 20 Non-Starting Issues
Thread incompatibility creates preventable startup failures:
– Bobbin requirement: Aftermarket bobbins trigger resistance sensors—only Viking-branded bobbins are compatible
– Thread weight rule: Heavier than 40-weight thread causes false tension errors
– Embroidery unit protocol: Never attach/detach while powered—always complete full shutdown first
Diagnostic Steps Before Service Calls
15-Minute Home Diagnostic Sequence
Follow this exact order to isolate the problem:
-
Power circuit test (2 min)
– Try a different outlet on a separate circuit
– Swap power cords if possible (test with known-working cord) -
Visual inspection (3 min)
– Check for bent needles or thread jams near the hook assembly
– Examine presser foot sensor area for lint buildup -
Accessories check (2 min)
– Remove embroidery unit and foot control
– Attempt startup with only power cord connected -
Reset sequence (5 min)
– Unplug for 2 full minutes (critical for capacitor discharge)
– Hold power button for 30 seconds while unplugged
– Plug directly into wall outlet and restart -
Model-specific verification (3 min)
– Rose: Manually trigger presser foot sensor 5 times
– Designer: Listen for faint relay clicks during startup attempt
When to Stop DIY Efforts
Call service immediately if you detect:
– Burning plastic smells indicating board damage
– Visible fraying or scorch marks on power cord
– Machine is under 2-year warranty (diagnostic fees apply otherwise)
– You’re uncomfortable handling internal components
Service vs. Replacement Economics

Cost Breakdown Reality Check
Vintage machines (20+ years):
– Diagnostic fee: $120 (non-refundable even if unrepairable)
– Power board: $200-$400 (if miraculously found)
– Labor: $150-$250 for board replacement
– Total risk: $470+ for a machine worth $300 max used
Mid-range machines (5-15 years):
– Sensor issues: $120-$300 total (typically worth repairing)
– Power failures: $200-$500 depending on parts availability
– Key factor: Repair only makes sense if machine originally cost $800+
Hidden transportation costs:
– No mobile service from Husqvarna Viking
– Shipping: $50-$150 each way with risk of shipping damage
– Rural users often face 200+ mile round trips to service centers
Prevention Strategies That Actually Work
Heavy Material Protocol
Avoid the stall failures that destroy power boards:
– Needle rule: Use 90/14 for denim, 100/16 for canvas—never smaller
– Foot pressure adjustment: Reduce pressure when sewing multiple layers
– Hand-wheel test: If you can’t turn the wheel smoothly by hand, don’t power it
– Strain response: Stop immediately if motor sounds labored—you’ve exceeded capacity
Power Management Best Practices
- Embroidery unit rule: Always power down completely before attaching/detaching
- Surge protection: Use a sewing-specific surge protector (standard strips don’t cut it)
- Power cycling: Wait 30 seconds between restarts to prevent capacitor stress
- Cord handling: Never yank cord from machine port—disconnect at wall outlet first
Thread and Bobbin Discipline
- Bobbin non-negotiable: Only use Viking-branded bobbins—aftermarket versions cause 40% of sensor errors
- Weight consistency: Stick strictly to 40-weight thread throughout projects
- Weekly cleaning: Use a micro brush to clean thread path after 8+ hours of use
- Guide inspection: Check for burrs on thread guides monthly (causes false tension readings)
Making Your Final Decision
Replace immediately if:
– Machine is 20+ years old with power failure (control boards discontinued)
– Repair estimate exceeds 50% of new machine cost
– You’re in a rural area requiring excessive travel for service
Repair if:
– Machine is under 10 years old with sensor-related issues
– Local service exists within 50 miles
– Machine has unique features unavailable in newer models
Consider upgrade if:
– You need modern capabilities like USB connectivity or expanded stitch libraries
– Multiple age-related failures are occurring (e.g., sensor + tension issues)
– Sentimental value doesn’t justify $500+ repair on a $300 machine
Your Husqvarna Viking represents a significant investment, but age eventually dictates economic reality. A 20-year-old machine suffering power failure has already exceeded its expected lifespan—forcing repairs often costs more than a modern replacement with warranty coverage. For Rose model sensor issues, professional repair remains cost-effective, but always confirm parts availability first. Before spending a dime, run through the 15-minute diagnostic sequence—you might solve the problem in less time than it takes to call service. Remember: the most successful sewists aren’t those who never face breakdowns, but those who diagnose them efficiently and make informed decisions about their tools’ lifecycles.


