
Your vintage Husqvarna Viking 6010 suddenly sews backward on every stitch. The reverse lever clicks but nothing changes, or the machine stubbornly refuses to sew forward despite your frantic button pressing. This infuriating issue plagues 6000-series models like the 6430 and 6570—machines built to last but notorious for reverse-mode lockups. Don’t panic. Most Husqvarna sewing machine stuck in reverse problems stem from just three culprits: hardened grease, cracked camstacks, or misaligned linkages. The best part? You can diagnose the cause in under five minutes with no tools required. This guide cuts through the confusion with field-tested fixes from vintage sewing machine technicians.
Why Your Husqvarna Viking Won’t Stop Sewing Backward
Needle Consistently Shifts Right During Straight Stitching
When your machine stays stuck in reverse, watch the needle position. If it drifts rightward even in straight-stitch mode, you’ve got a camstack failure. This specific symptom—reverse sewing combined with needle offset—points directly to internal pattern mechanism damage. Don’t confuse this with normal zigzag movement; straight-stitch mode should center the needle. Cracks in the camstack plastic or seized take-up slides cause this dual malfunction.
Reverse Lever Feels Sticky or Unresponsive
Grab your reverse lever and press it firmly. If it resists movement or fails to spring back immediately, dried lubricant is gumming up the linkage. Old grease turns into a waxy paste that locks the reverse mechanism in place. Test this by working the lever 20-30 times while listening for a faint click—that’s the spring fighting through hardened residue. Persistent stiffness means internal cleaning is unavoidable.
Audible Clicking During Stitch Width Adjustment
Hear a distinct click when changing stitch width while sewing? Stop immediately. This warning sound signals misaligned cams straining against each other. Continuing to sew risks shearing nylon gears—a costly mistake. This symptom usually follows accidental stitch-width adjustments while the machine runs, jamming the pattern selector into reverse mode. Never adjust dials with the foot pedal engaged.
Feed Dogs Appear to Move Fabric Backward
Before tearing into your machine, rule out user error. Check if your feed-dog drop switch is accidentally disengaged. With feed dogs down, fabric slides backward under the presser foot even when stitching forward. Push the switch firmly upward until it clicks. If fabric still moves opposite to needle direction, you’ve confirmed a true reverse-lockup—not an operational mistake.
Emergency Fixes That Take Under 60 Seconds
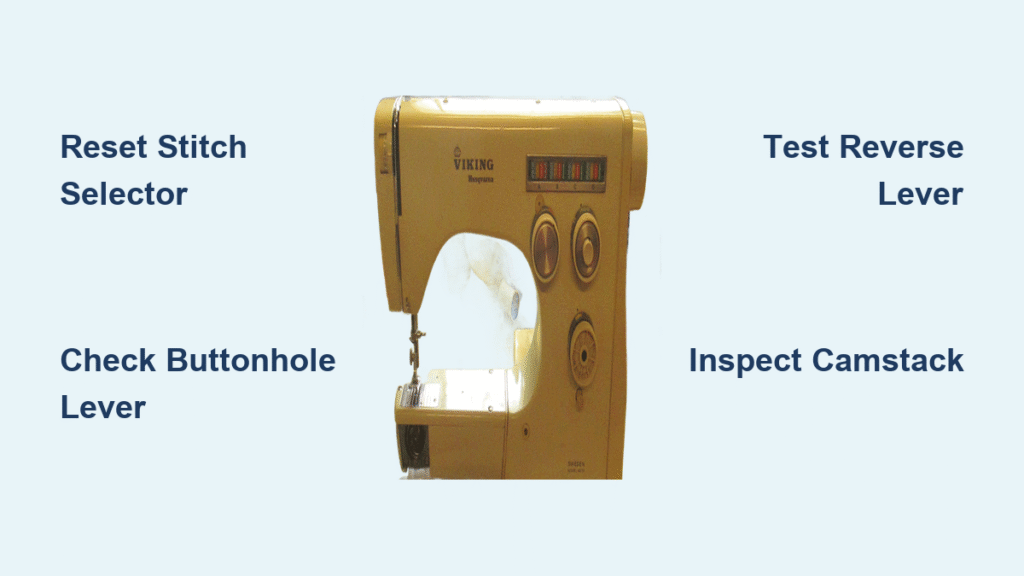
Reset the Stitch Selector to Straight Stitch
Many reverse lockups occur when the stitch selector accidentally bumps into buttonhole mode. Rotate the dial firmly to straight stitch (position “1”), ensuring it clicks into place. Buttonhole settings mechanically engage reverse functionality—no amount of lever pressing will override this. Wiggle the dial gently; if it feels loose, internal gears may already be damaged.
Force-Cycle the Reverse Lever Mechanism
Hold your reverse button down for 10 full seconds, then release. Repeat this 15 times rapidly. The sustained pressure redistributes residual lubricant through sticky pivot points. For lever models, work it side-to-side like a stiff door handle. You should feel resistance decrease with each cycle. If movement remains stiff, hardened grease has cemented internal parts—professional disassembly is needed.
Verify Buttonhole Lever Position
On models like the 6440, a tiny buttonhole lever near the needle clamp must sit fully upright. Even 1mm of downward tilt locks reverse engagement. Press it firmly upward until it clicks. Shine a flashlight to confirm it’s flush with the housing. This lever’s spring often weakens over time; if it won’t stay up, tape it in position temporarily while finishing your project.
Emergency Fabric Rotation Workaround
Need to complete a seam now? Rotate your fabric 180 degrees before sewing. Though the machine technically sews backward, seams will appear correctly oriented. This isn’t a fix—it’s damage control. Stop after 10-15 stitches to prevent thread jams from prolonged reverse operation. Always unplug the machine between rotations to avoid accidental needle strikes.
Camstack Crack Diagnosis Without Disassembly

Inspect for Visible Pattern Selector Stiffness
Turn your stitch-width and length dials slowly. They should rotate smoothly with light resistance. If they grind or skip positions, hardened grease has seized the camstack—the heart of your Viking’s pattern system. Pay special attention to the straight-stitch position; it should feel distinctly “clicky.” Resistance here confirms internal binding requiring full disassembly.
Check for White Grease Residue Around Dials
Peer closely at the base of your stitch selector dials. White, waxy buildup indicates degraded lubricant migrating from internal gears. This paste-like residue is the #1 cause of reverse lockups in stored machines. Wipe it away with isopropyl alcohol on a cotton swab—but know this only treats symptoms. The real problem lies beneath the top cover where grease has solidified around cams.
Test Manual Camstack Movement Through Bobbin Area
Remove the needle plate and bobbin case. Insert a slim screwdriver through the feed dog opening to gently nudge the camstack assembly (visible as a rotating plastic disc). It should turn freely with finger pressure. If stuck, hardened grease has welded it in reverse position. Never force it—this risks snapping fragile nylon gears. This test confirms whether DIY cleaning is viable or professional help is essential.
Professional Repair vs. DIY Decision Flow

When to Call a Technician Immediately
Seek professional service if your Viking shows both reverse lockup and needle position offset. This combination signals a cracked camstack—a $45 part that requires precision replacement. Vintage Vikings use irreplaceable nylon gears; DIY attempts often shear them during reassembly. Also choose professionals for warranty-covered machines or high-value models like the 6570. Expect $150-$200 labor plus parts.
When DIY Cleaning Is Worth the Risk
If your machine only exhibits reverse lockup without needle offset and dials feel stiff but not frozen, try DIY cleaning. Ideal candidates include thrift-store finds (under $50 value) or machines where you’ve successfully performed mechanical repairs before. You’ll need snap-ring pliers, Tri-Flow lubricant, and patience. Skip DIY if you lack tools—forcing components without proper equipment guarantees costly damage.
Critical Lubrication Protocol for Vintage Vikings
Steam-Cleaning Hardened Grease Safely
Never use solvents on vintage plastic components. Instead, apply gentle heat with a garment steamer held 6 inches from the camstack for 30 seconds. The warmth softens old grease without melting parts. Immediately wipe residue with a microfiber cloth using circular motions. Focus on gear teeth and pivot points—these areas trap the most gunk. Repeat until cloths come away clean.
Precision Lubrication Points You Must Hit
After cleaning, apply one drop of Tri-Flow synthetic oil to:
– The camstack’s central hub where it rotates
– Reverse lever pivot pins (visible when top cover is off)
– Take-up slide rails near the needle bar
Then add white lithium grease sparingly to:
– Camstack gear teeth (pea-sized amount)
– Pattern selector dial bases
Over-lubrication attracts dust—use half the amount you think is needed.
Prevent Reverse Lockups With Monthly Maintenance
Run your Husqvarna Viking for 5 minutes every month even when idle. This circulates lubricants through the camstack before grease hardens. After sewing, place one drop of oil on each labeled oil port—never on gears directly. Store the machine covered in climate-controlled spaces; temperature swings accelerate grease degradation. Before long-term storage, cycle all stitch patterns 10 times to coat every cam surface with fresh lubricant.
Reverse-Stuck Emergency Checklist
Before panicking, verify these in order:
– [ ] Stitch selector firmly on straight stitch (position “1”)
– [ ] Buttonhole lever fully upright with no wobble
– [ ] Feed-dog switch clicked into “up” position
– [ ] Reverse lever springs back instantly when released
– [ ] Stitch length dial above zero
If reverse persists after these checks, hardened grease or a cracked camstack requires internal service. Vintage Vikings respond best to preventative care—address stiffness immediately before it becomes a full lockup. With proper maintenance, your Husqvarna will deliver decades more flawless forward sewing. For stubborn cases, tap into the vikingsewingmachinespre1980 Yahoo group where technicians share real-time camstack reset photos. Remember: that frustrating reverse stitch is just a symptom—the real fix lies in reviving decades-old engineering with modern care.


