

Your Singer sewing machine can transform ordinary fabric into beautifully gathered shirred garments with elastic thread—but only if you avoid common pitfalls that cause broken threads and uneven gathers. Many crafters struggle with Singer models pinching elastic thread or failing to create consistent gathers, especially on vintage machines like the Singer 201-2. This guide reveals three proven shirring methods specifically optimized for Singer machines, including critical setup adjustments that prevent thread breakage and ensure professional results on your first attempt. You’ll discover why hand-winding the bobbin is non-negotiable, how to choose the right stitch length for flawless gathers, and why Gutermann elastic outperforms bargain brands every time.
Mastering elastic thread in your Singer unlocks figure-hugging dresses without zippers, stretchy waistbands that move with you, and delicate smocked details that elevate simple fabrics. Whether you’re sewing a breezy sundress or children’s clothing, these techniques work for all Singer models—but require precise tension control you won’t find in generic tutorials. Let’s transform your Singer into a shirring powerhouse.
Singer Elastic Thread Setup That Prevents Breakage
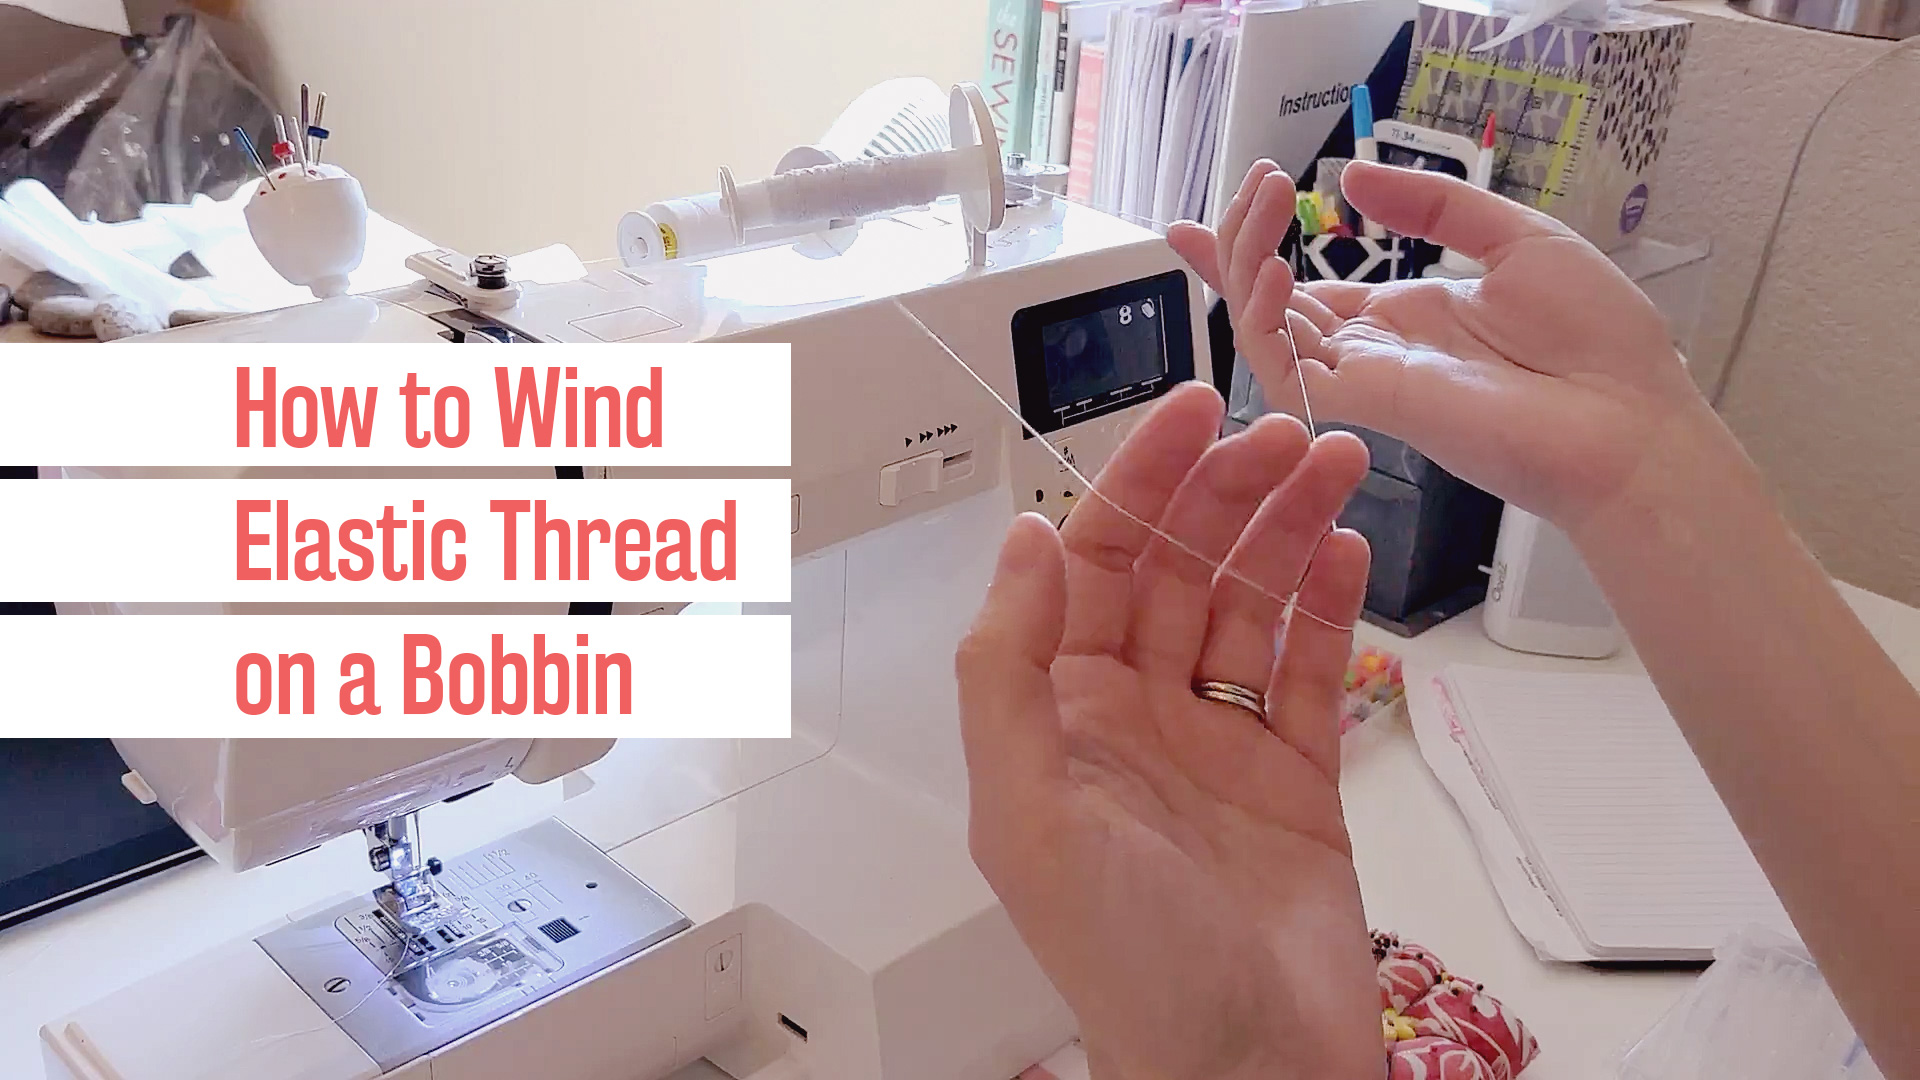
Why Hand-Winding Your Bobbin Is Non-Negotiable
Machine-wound bobbins crush elastic thread’s delicate core, causing immediate breakage during sewing. Hand-winding preserves elasticity while allowing controlled tension. Always wind by hand using these steps:
– Hold elastic thread with light, consistent stretch (like holding a caterpillar gently)
– Rotate bobbin winder slowly for even distribution
– Stop when ¼ inch of bobbin top remains visible—overfilling jams feed dogs
– Leave a 4-6 inch tail for easy threading
Store-bought elastic like Dritz often snaps during winding. Test quality first: gently stretch a 6-inch strand. If it resists or feels brittle, switch to Gutermann’s 0.5mm cord elastic. Cheap elastic creates weak gathers that lose stretch after one wash.
Critical Singer Machine Adjustments
Skipping these settings causes skipped stitches and thread nests:
– Top thread: Use regular polyester thread (never elastic!)
– Stitch length: Set precisely to 3.75—shorter lengths cut elastic; longer ones create loose gathers
– Bobbin tension: Loosen ¼ turn counterclockwise for lightweight fabrics like cotton voile
– Presser foot pressure: Keep fabric taut but never stretched during sewing
Vintage Singers like the 201-2 often require extreme tension fixes. If elastic still breaks after standard adjustments:
1. Remove the bobbin case
2. Thread elastic through the tension spring bypass
3. Wind directly onto the bobbin without tension engagement
Three Shirring Methods for Perfect Singer Results
Method 1: Individual Rows for Repairable Projects
Ideal for bodices where fixing single broken rows matters. Follow these steps exactly:
1. Mark 5 parallel lines on fabric’s right side ½ inch apart using water-soluble pen
2. Backstitch 3 stitches forward/backward at row start
3. Sew entire row length without stopping
4. Backstitch again at end before cutting threads
5. Pull elastic loops to wrong side and tie reef knots with top thread
6. Trim knots to ⅛ inch
Pro tip: Space rows using your presser foot’s right edge as a guide—this creates consistent ¼ inch spacing. This method uses 30% more elastic but lets you replace broken rows without unraveling the whole section.
Method 2: Continuous Rows for Faster Waistbands
Best for elastic waistbands on pants or skirts where speed matters. Execution sequence:
– Sew first row using Method 1’s backstitch technique
– At row end, pivot 90° with needle down
– Stitch 3-4 stitches toward fabric edge
– Pivot 90° again to align for next row
– Repeat pattern without cutting threads
– Only tie off threads at final row’s end
Warning: One broken elastic thread ruins all connected rows. Test elasticity by gently stretching a scrap section—if it snaps, revert to Method 1. Always use Gutermann elastic here; cheaper brands fail under continuous tension.
Method 3: Spiral Round Shirring for Sleeves
Transform tubular sections like sleeves without visible seams. Critical steps:
1. Mark first line 2cm from sleeve hem using tailor’s chalk
2. Start at seam line with 3-stitch backstitch anchor
3. Sew in continuous spiral while rotating fabric
4. Maintain spacing using presser foot’s edge as guide
5. Keep fabric taut but never stretched
6. End precisely at starting seam
7. Bury elastic tails deep in seam allowance
Troubleshooting: If gathers bunch at seams, reduce stitch length by 0.2 increments. For tight spirals, loosen bobbin tension another ⅛ turn.
Fixing Common Singer Shirring Failures

Why Your Elastic Isn’t Gathering Fabric
Weak gathers usually stem from one of these Singer-specific issues:
– Stitch length too short: Increases friction that severs elastic—reset to 3.75
– Old elastic thread: Brittle strands won’t retract—test stretch before winding
– Insufficient rows: Fewer than 5 rows won’t create lasting gathers
Instant fix: Hover a steam iron 1 inch above shirred fabric while stretching fabric horizontally. The heat reactivates elastic memory. Never press directly—steam melts elastic cores.
Vintage Singer 201-2 Workarounds
This beloved machine notoriously strangles elastic thread. Try these solutions:
– Tension bypass: Thread elastic through bobbin case’s tension spring opening (skip the tension disc entirely)
– Zigzag alternative: Place regular elastic cord under fabric, then zigzag over it at width 3.0/length 2.5
– Machine swap: Borrow a Bernette—its looser bobbin tension handles elastic reliably
Lightweight Fabric Rescue Protocol
Delicate cotton voile or double gauze puckers easily. Adjust Singer settings:
1. Loosen bobbin tension screw by ⅛ turn
2. Test on scrap: Sew 5 rows, stretch fabric—if gathers pull through, loosen another ⅛ turn
3. Note exact turns for resetting after project completion
4. Use 60-weight cotton top thread to reduce top tension
Professional Singer Shirring Finishing
Steam-Setting Your Gathers
Post-sewing treatment makes gathers permanent:
1. Mist fabric with water using spray bottle
2. Hover steam iron 1 inch above right side for 3 seconds per row
3. Gently stretch fabric horizontally while steaming
4. Repeat on wrong side
5. Air-dry completely before assembly
Never skip this: Untreated shirring shrinks 20% after first wash. Steam-setting locks the elastic’s memory.
Securing Elastic for Wash Durability
Knots alone fail after laundering. Triple-lock technique:
– Tie reef knot between elastic and top thread
– Apply tiny dot of fabric glue to knot (test on scrap first!)
– Bury knot in adjacent seam allowance
– Trim excess to 1/16 inch
Test stretch recovery by pulling fabric diagonally—if it snaps back immediately, your shirring will last.
Long-Term Singer Shirring Maintenance
Elastic Thread Storage That Prevents Brittleness
Elastic degrades faster than regular thread. Preserve quality:
– Store in airtight container with silica gel packets
– Keep away from direct sunlight (UV rays weaken fibers)
– Label spools with purchase date—discard after 18 months
– Never store in plastic bags (traps moisture)
Pro tip: Test old elastic by stretching a 6-inch strand. If it resists or feels stiff, replace it. Brittle elastic breaks during sewing.
Repair Strategy for Broken Shirring
Act immediately when a row fails:
1. Clip top thread at break point
2. Pull elastic tail to wrong side
3. Tie new elastic strand to broken end
4. Re-shirr just the damaged row using Method 1
5. Steam-set the repair
Document settings: Note stitch length, tension, and elastic brand for future projects. Consistent results depend on replicating winning combinations.
Singer Shirring Quality Checklist Before Sewing
Prevent disasters with this 60-second verification:
– ✅ Elastic stretches smoothly without resistance
– ✅ Bobbin wound by hand with even tension
– ✅ Stitch length set to 3.75 (not 4.0!)
– ✅ Top thread is polyester (never silk or cotton)
– ✅ Test swatch gathers properly when stretched
Mastering elastic thread in your Singer machine turns frustrating failures into stunning shirred garments that fit like a dream. Start with Method 1 on quilting cotton using Gutermann elastic at 3.75 stitch length—you’ll achieve professional gathers on your very first project. Remember: vintage Singers often need tension bypasses, while modern models just require precise bobbin winding. Steam-set every shirred section, triple-lock your knots, and store elastic properly. Within weeks, you’ll be creating figure-hugging dresses without zippers that move with your body through countless wears. Your Singer is ready to shirr—now go gather some fabric!


