
That frustrating wavy hem on your handmade T-shirt? It happens because single-needle stitching can’t handle knit fabric stretch. The solution is simple: a $3 double needle transforms your Singer machine into a cover-stitch powerhouse. In just minutes, you’ll learn how to install it properly, dial in perfect settings, and create professional hems that move with the fabric instead of against it.
Double needles (often called twin needles) create two parallel rows of stitching on the fabric’s right side with a zig-zag connecting stitch underneath. This mimics expensive cover-stitch machines used by clothing brands, giving knits the flexibility they need without breaking threads. Whether you’re hemming athletic wear or adding decorative topstitching to woven fabrics, mastering this technique elevates your sewing results dramatically.
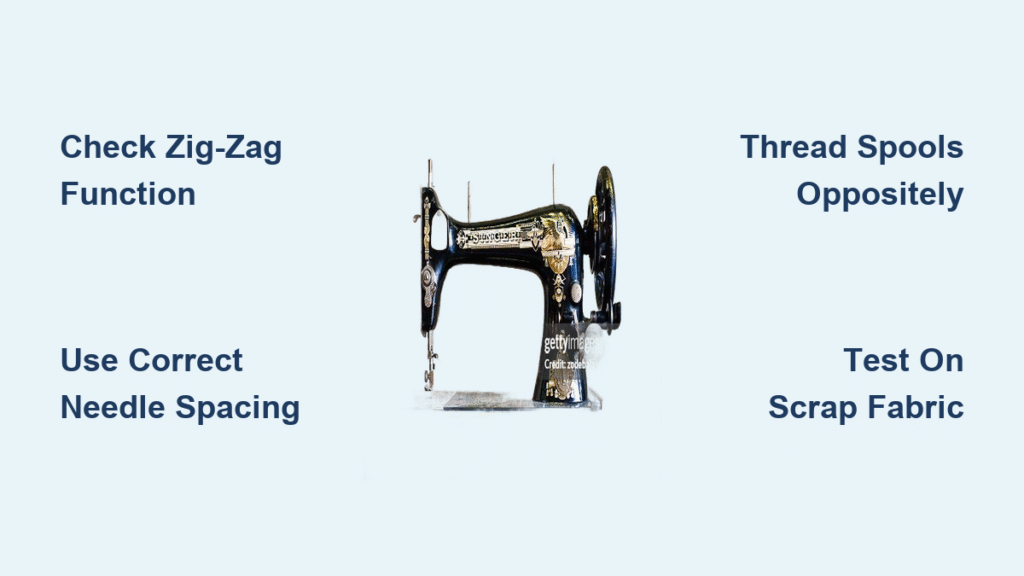
Confirm Your Singer Machine Supports Double Needle Sewing
Before you waste money on a specialty needle, verify your Singer model can handle the double needle challenge. Many beginners skip this step and damage their machines attempting incompatible setups.
Identify Critical Machine Features
Your Singer must have three essential capabilities to use a double needle safely:
– Zig-zag functionality – Straight-stitch-only models like vintage Featherweights will jam or break needles
– Zig-zag needle plate – The elongated slot accommodates both needles’ side-to-side movement
– Adjustable stitch width – You must set width within safe limits to prevent needle collisions
Calculate Your Maximum Safe Stitch Width
Use this simple formula before sewing: Max stitch width = (machine’s maximum width) – (double needle spacing). For example, if your Singer Quantum Stylist has a 6mm maximum width and you’re using a 4mm twin needle, set width to 2mm or less. Exceeding this limit causes needles to strike the presser foot or needle plate.
Model-Specific Compatibility Guide
- Singer Heavy Duty 4411/4452: Works perfectly with zig-zag foot – no special settings needed
- Quantum Stylist 9960: Press the dedicated “Twin Needle” button to auto-limit stitch width
- Simple 3337: Straight stitch only – decorative stitches risk catastrophic collisions
- Vintage straight-stitch models: Completely incompatible – don’t attempt
Select the Perfect Double Needle Size for Your Fabric

Choosing the wrong double needle spacing creates puckered hems or broken threads. Singer double needles follow a standard sizing format that tells you exactly what you need.
Decode the Needle Label
Double needle labels show spacing/needle size (like 4.0/90). The first number indicates millimeters between needles; the second shows individual needle thickness. For most knit hems, 4.0/90 works perfectly on medium-weight fabrics like jersey.
Match Spacing to Fabric Weight
| Spacing | Best For | Common Problems If Mismatched |
|---|---|---|
| 2.0 mm | Lightweight fabrics, pin tucks | Too narrow for knits – seams pop |
| 4.0 mm | Knit hems, shirt topstitching | Ideal for most jersey and interlock |
| 6.0 mm | Denim, canvas, heavy wovens | Too wide for knits – causes tunneling |
| 8.0 mm | Bold quilting, decorative work | Unsuitable for stretch fabrics |
Choose the Right Needle Point
- Ballpoint: Essential for knits – slides between fibers without damage
- Universal: Works on wovens and light knits
- Denim/Jeans: For heavy fabrics like denim and canvas
Install Your Singer Double Needle Without Damaging the Machine
Improper installation causes 70% of double needle problems. Follow these steps precisely to avoid breaking needles or damaging your Singer.
Step-by-Step Installation Process
- Rotate the handwheel until the needle reaches its highest position
- Loosen the needle clamp screw and remove your single needle
- Insert the twin needle with flat side facing the back, pushing it all the way up
- Tighten the clamp screw firmly while holding the needle in place
- Manually turn the handwheel through one complete rotation to check clearance
If you hear any scraping or clicking during this test rotation, stop immediately. Recheck needle insertion depth and ensure you’re using the zig-zag needle plate.
Thread Two Spools Correctly to Prevent Tangles

Double needle threading seems intimidating, but these tricks make it foolproof. The key is preventing thread twisting between spools.
Set Up Your Second Spool Properly
- Use Singer’s auxiliary spool pin (snaps into most machine tops)
- Place spools so threads unwind in opposite directions (one clockwise, one counterclockwise)
- If using one thread color, wind an extra bobbin as your second spool
Master the Threading Path
- Thread the first needle exactly as you would a single needle
- Thread the second needle alongside it, separating threads at tension disks
- Hand-thread each needle eye – automatic threaders won’t work here
- Pull up the bobbin thread and gather all three threads (two top, one bobbin) to the back
Pro tip: Place a small rubber band around your second spool to add slight tension and prevent over-spinning.
Set Up Your Singer Machine for Double Needle Success
Getting settings wrong creates frustrating problems. Start with these baseline configurations before testing on your project fabric.
Essential Settings Checklist
- Presser foot: Always use a zig-zag foot with wide opening – never a straight-stitch foot
- Stitch type: Straight stitch for hems; narrow decorative stitches within safe width limits
- Stitch length: 2.5mm for knits, 3.0-3.5mm for wovens
- Tension: Start at 2-4 (lighter than normal), then adjust after testing
Test on Scrap Fabric First
Sew a 3-inch sample on fabric identical to your project:
– Loops on back? Slightly increase upper tension
– Fabric puckering? Decrease tension or add stabilizer
– Top threads showing on underside? Increase tension incrementally
Remember: Rethread everything from scratch if problems persist – 80% of issues disappear with fresh threading.
Fix Common Double Needle Problems in Minutes

Even with perfect setup, issues can arise. These targeted solutions fix the most frequent double needle frustrations.
Needle Breaks During Sewing
This almost always means your stitch width exceeds safe limits. Recalculate using the formula: max width = machine max – needle spacing. Also verify you’re using a zig-zag needle plate and foot.
Skipped Stitches on Knits
Switch to a ballpoint double needle specifically designed for stretch fabrics. If already using ballpoint, replace the needle – twin needles dull faster than singles.
Fabric Tunneling Between Stitch Rows
This ridge forms when tension is too high for the fabric. Lower upper tension by half a point and consider adding lightweight knit interfacing to the hem area.
Sew Professional Knit Hems Like Ready-to-Wear Brands
Create store-quality T-shirt hems that stretch without popping using this proven method.
Hemming Process for Perfect Results
- Press hem allowance (½”-¾”) to wrong side
- Apply lightweight knit interfacing or wash-away hem tape
- Sew from right side using 4.0mm twin needle, straight stitch, 2.5mm length
- Backstitch at start and end, or pull threads to back and knot
The result? A flexible, professional hem that moves with the fabric instead of fighting it.
Unlock Creative Double Needle Techniques Beyond Basic Hems
Double needles aren’t just for hems – they enable stunning decorative effects with minimal effort.
Create Perfect Pin Tucks
Use a 2.0mm twin needle with tension raised to 4-6 and 2.0mm stitch length. After sewing each tuck, shift fabric ¼” for evenly spaced rows. Pull bobbin threads gently for pronounced tucks.
Add Bold Color Blocking
Thread each needle with contrasting colors for eye-catching topstitching. Works beautifully on pillow edges, jacket yokes, and quilt bindings when using narrow decorative stitches within safe width limits.
Maintain Your Double Needle for Long-Lasting Performance
Double needles wear out faster than single needles. Follow these maintenance tips to maximize their lifespan.
Replace your twin needle after 6-8 hours of sewing or immediately if one point chips. Store needles in their original packaging – bent twin needles cannot be safely straightened. Clean lint from the bobbin area after sewing knits or heavy fabrics to prevent tension issues.
Before each sewing session, run through this quick checklist:
– [ ] Zig-zag plate and foot installed
– [ ] Correct needle size for fabric
– [ ] Spools unwinding in opposite directions
– [ ] Both threads threaded without twists
– [ ] Test scrap sewn with tension adjusted
Master these double needle techniques and your Singer machine will produce professional results that rival store-bought clothing. The crisp, flexible hems and creative decorative options make this affordable accessory one of the most valuable upgrades for any home sewer.


