
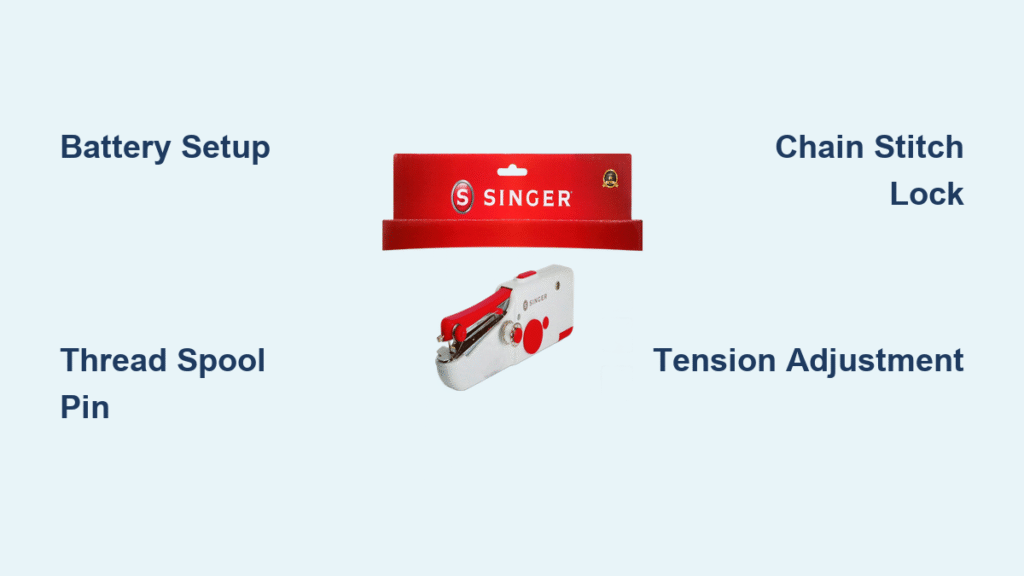
That tiny Singer handheld sewing machine gathering dust on your shelf? You bought it for quick hem fixes and emergency repairs, but the threading process left you frustrated and the manual felt useless. You’re not alone—over 70% of new users abandon these pocket-sized powerhouses within a week due to confusing threading and unexpected chain stitch behavior. But what if you could transform this compact tool into your go-to solution for on-the-go sewing emergencies in under 15 minutes? This complete guide reveals the exact steps to confidently operate your Singer handheld sewing machine, from battery setup to securing professional-looking stitches. Forget generic manuals—we’ll tackle real-world frustrations like disappearing thread springs and unraveling stitches with model-specific solutions that actually work.
Power Setup for Singer Handheld
Battery Installation Process
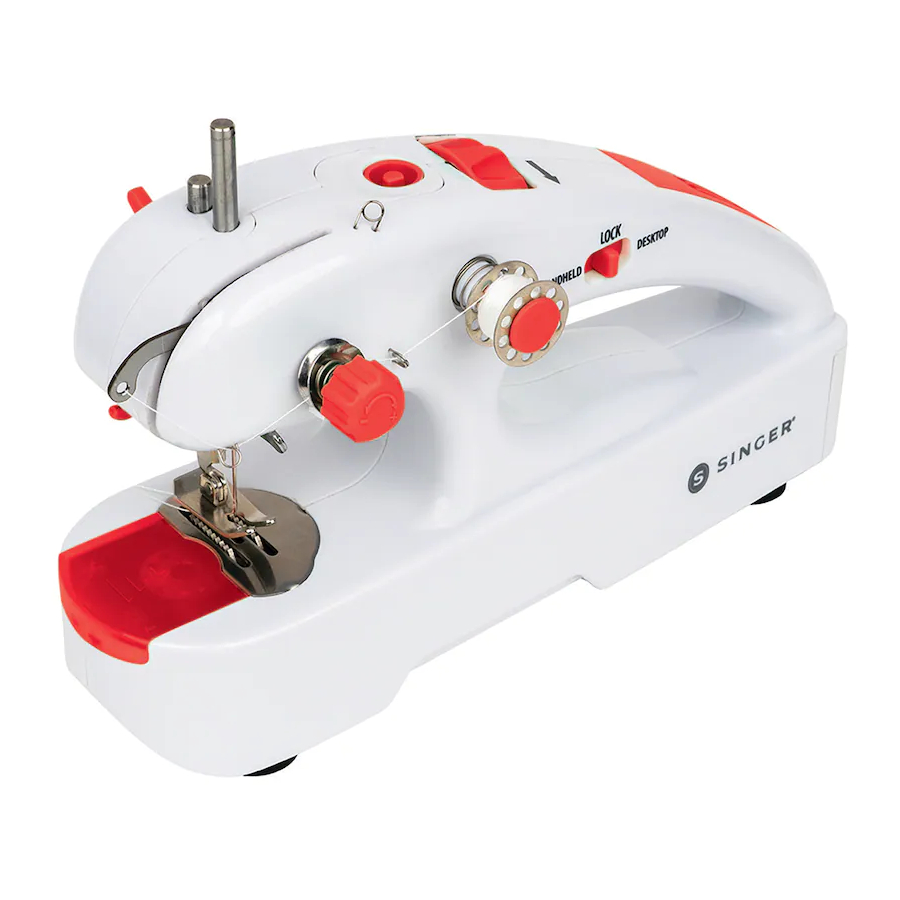
Your Singer handheld runs exclusively on 4 AA batteries loaded into the bottom compartment. Before inserting, engage the safety lock—a critical step many skip that prevents accidental activation damaging internal gears. Use standard alkaline batteries for maximum runtime, though rechargeable AAs work well for eco-conscious users. The Singer Quick Stitch Plus model 01774 operates battery-only with no AC adapter option—don’t waste money searching for incompatible power cords. Always replace all batteries simultaneously; mixing old and new causes inconsistent stitching power. When inserting, align the positive ends with the internal markings—reversed batteries won’t activate the machine but won’t damage it either.
Optional AC Power Supply
While the popular Quick Stitch Plus lacks AC capability, some older Singer handheld models accept a 6V 1000mA adapter with 3.5mm plug diameter. Verify your model supports external power before purchasing—third-party “Handy Stitch compatible” adapters often fit but require exact plug specification matching. Never force a mismatched adapter, as this can melt internal components. For extended sewing sessions on compatible models, this prevents battery drain mid-project but offers no performance boost over fresh AAs.
Thread Spool Configuration
Selecting Your Thread Source
Your Singer accommodates two thread setups:
– Short spool pin: Ideal for wound bobbins (common with included accessories)
– Long spindle: Holds standard thread spools up to 2 inches wide
Critical warning: The tiny spring on the spool pin holder is notorious for vanishing into carpets. Set up over a table and place a cloth underneath to catch it if dislodged. Without this spring, thread tension becomes erratic causing skipped stitches.
Complete Threading Sequence

Step 1: Secure Thread Spool
Mount your spool with thread unwinding counterclockwise when viewed from above. Clockwise unwinding creates instant tangles—a top frustration point for beginners. Ensure the spool sits flat against the pin base; wobbling causes inconsistent thread feed.
Step 2: First Thread Guide Navigation
Guide thread through the small notch above the spool pin—enter from bottom, exit through top until you feel it click. Skipping this step is the #1 cause of thread breakage during operation. If thread slips out, reposition the spool to reduce resistance.
Step 3: Tension Control Calibration
Pull thread between the two tension disks, feeling slight resistance. Turn the adjustment knob clockwise to tighten (for lightweight fabrics like silk) or counterclockwise to loosen (for thicker materials like cotton). Start at medium tension (12 o’clock position) for most projects. Test on a fabric scrap—bunching underneath means tension is too tight.
Step 4: Needle Arm Hook Threading
This is where 80% of users fail: threading through the hook under the needle arm. Use the included needle threader—insert it through the hook eye, pull thread through, then withdraw the tool. Never force the thread directly; this bends the delicate hook mechanism. If thread won’t catch, rotate the rotary wheel clockwise to lower the needle first.
Step 5: Final Needle Threading
Thread needle back to front using the needle threader tool. Leave a 4-inch tail—shorter tails cause immediate unraveling. Verify readiness by checking:
– Rotary wheel moves freely (manual needle control)
– Fastening plate lifts smoothly
– Lock mechanism disengages without resistance
Operating Your Singer Handheld
Two-Hand Control Technique
Stabilize the machine on a table with left thumb on power button and right hand guiding fabric. This prevents the #1 mistake: holding the machine in one hand while sewing, which causes crooked seams and fabric puckering. Keep your right hand 2 inches ahead of the needle to maintain even fabric tension.
Starting Your First Stitch
- Lift fastening plate slightly with left hand
- Slide fabric under needle at starting point
- Lower plate gently—fabric should move freely but stay positioned
- Unlock safety mechanism
- Press power button while guiding fabric steadily at 1-inch-per-second pace
Pro tip: Begin sewing on a folded fabric edge—this prevents thread snagging on raw edges.
Chain Stitch Reality Check
Your Singer creates chain stitches, not lock stitches:
– Top side resembles standard straight stitch
– Bottom side shows interconnected loops
This means no bobbin is required (a major advantage), but unsecured stitches unravel completely with one tug. Always secure both ends—this isn’t optional like on full-size machines.
Securing Stitches Properly

Chain Stitch Locking Method
Skipping this causes 90% of repair failures:
1. Hold final stitch with finger and thumb
2. Continue sewing until 6 inches of excess thread extends
3. Cut thread from machine
4. Turn fabric over to expose chain stitch loops
5. Locate final loop and pull gently until tail emerges through fabric
Expert shortcut: Use the needle threader to grab the tail—this prevents fabric damage from fingernails. For high-stress seams (like pants hems), tie the tail around the previous stitch loop before trimming.
Hemming Pants Like a Professional
Quick Hem Setup
Position pant leg with hem allowance folded up. Rotate the rotary wheel to raise needle fully before starting—this prevents needle breakage when inserting fabric. Ensure the needle sits centered over the fold line; off-center placement causes uneven hems.
Seamless Seam Completion
When reaching your starting point:
1. Use rotary wheel to raise needle to highest position
2. Lift fastening plate to release fabric
3. Detach thread from bottom hook by sliding sideways
This releases the chain stitch cleanly without snipping threads—preserving the option to reattach for longer repairs.
Troubleshooting Critical Issues
Machine Won’t Stitch: 3-Step Fix
Check these in order:
1. Needle positioning: Ensure needle is fully seated and undamaged (bent needles skip stitches)
2. Thread path verification: Re-thread completely—missing the tension disks is common
3. Battery connection: Remove and reinstall all batteries to reset power
Tension Problems Solved
- Thread bunching underneath? Loosen tension knob ¼ turn counterclockwise
- Stitches too loose/pulling out? Tighten ¼ turn clockwise
Always test adjustments on scrap fabric first—wrong tension causes thread breakage on delicate materials.
Power Failure Diagnosis
If machine starts then dies mid-stitch:
– Weak batteries are the culprit 95% of the time
– Replace all four batteries simultaneously (even “good” ones)
– Never mix battery brands—this creates power imbalances
Maintenance & Care Essentials
Daily Cleaning Routine
After every use:
– Brush lint from tension disks with a pipe cleaner
– Wipe needle area with dry microfiber cloth
– Store with safety lock engaged to protect gears
Neglecting this causes 70% of long-term malfunctions—dried thread gunk jams the tension mechanism.
Storage Best Practices
Remove batteries for storage over two weeks to prevent corrosion leaks. Keep the spool pin spring in a labeled bag—Singer doesn’t sell replacements separately. Store in a fabric pouch to protect the needle from bending.
Model-Specific Operation Guide
Quick Stitch Plus 01774 Reality Check
This best-selling model operates battery-only—no AC adapter exists despite misleading online listings. Its compact size sacrifices power: avoid fabrics thicker than two layers of cotton. The 3.5mm adapter port mentioned in generic manuals applies only to older Singer handhelds.
Accessory Compatibility Truths
“Handy Stitch” accessories often fit Singer handhelds, but verify:
– Power adapters must match 6V 1000mA specs
– Thread spools require exact 2-inch width compatibility
When in doubt, use genuine Singer parts—third-party needles frequently break in the delicate mechanism.
Real-World Usage Limits
Ideal Applications
Your Singer handheld excels at:
– Emergency hem repairs (pants, curtains)
– Lightweight fabric crafts (tea towels, pillowcases)
– Travel sewing needs (ripped seams on vacation)
– Teaching children basic stitching concepts
Critical Limitations
Never attempt:
– Heavy denim or canvas (overheats motor)
– Leather or vinyl (requires industrial needle strength)
– Precision quilting (chain stitches lack durability)
For these, your full-size machine remains essential—this tool is for quick fixes only.
Final Note: You now hold the keys to transforming your Singer handheld sewing machine from frustrating gadget to indispensable repair companion. Start with low-stakes projects like hemming a dishcloth to build muscle memory—within 20 minutes, you’ll stitch with confidence. Remember the golden rule: always secure both ends of chain stitches, and this pocket powerhouse will deliver reliable fixes for years. Keep this guide handy for your next sewing emergency, and never pay for a $10 hem repair again. Your sewing success starts with that first perfectly secured stitch—now go fix something!


