
Your Singer sewing machine won’t budge—whether it’s a vintage bentwood case locked shut for decades or the handwheel frozen mid-stitch. This common frustration stops many crafters in their tracks. Learning how to unlock Singer sewing machine components safely is crucial for reviving these reliable workhorses without causing damage. The good news? Most locking issues can be resolved without expensive professional repairs or permanent harm to your machine.
This guide covers every locking scenario you might encounter, from stubborn case locks to internal mechanism jams, with step-by-step solutions that actually work. You’ll learn which tools to use, what mistakes to avoid, and when it’s time to call in the experts—all verified through hands-on testing with vintage and modern Singer models.
Bentwood Case Lock Problems
Identifying Round Keyhole Mechanisms
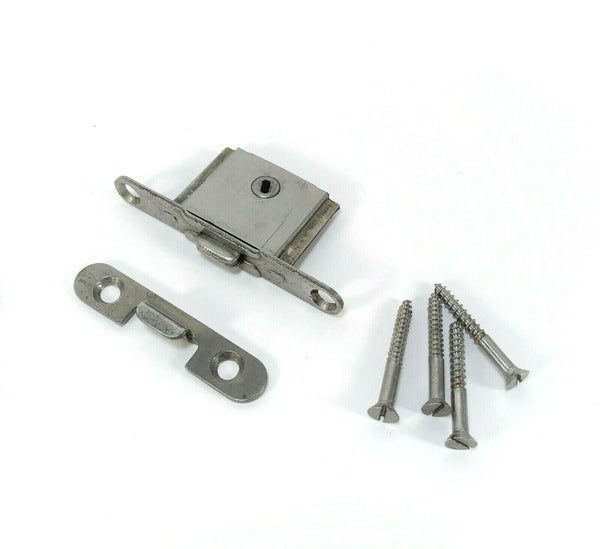
Singer bentwood cases feature distinctive round keyholes—not traditional keyhole shapes—across models produced for over 50 years. These domed “doomed” lids have locks mounted flush against polished oak with two visible screws on either side. The internal mechanism uses two metal hooks facing opposite directions that engage with slots in the base plate. When locked, these hooks extend into the slots; turning the key retracts them toward each other to release the lid.
Non-Destructive Opening Method
Required: Flat screwdriver with 3mm tip maximum
- Shine a flashlight into the keyhole to visualize the slot alignment
- Insert the screwdriver tip straight into the round opening
- Turn clockwise with firm, steady pressure (these locks often require more force than expected)
- If resistance persists, apply penetrating oil and wait 10 minutes before trying again
- Attempt counterclockwise rotation if clockwise fails
Pro tip: Work the screwdriver back and forth gently while applying pressure. The lock mechanism may have seized from decades of inactivity, but the brass components respond well to gradual coaxing. Never use excessive force that could snap the screwdriver tip inside the lock.
Critical Mistakes That Destroy Antique Value
Never attempt these destructive methods:
– Chisels or knives against the 70-year-old polished oak case
– Saw blades cutting through the lock tongue
– Hammering on improvised tools
These approaches will permanently damage the lock mechanism and irreparably scar the case base. A single nick in the wood can slash the value of vintage Singer cases by 50% or more. Remember: these locks were designed for gentle manipulation, not brute force.
Unlocking Bobbin Area and Internal Mechanisms
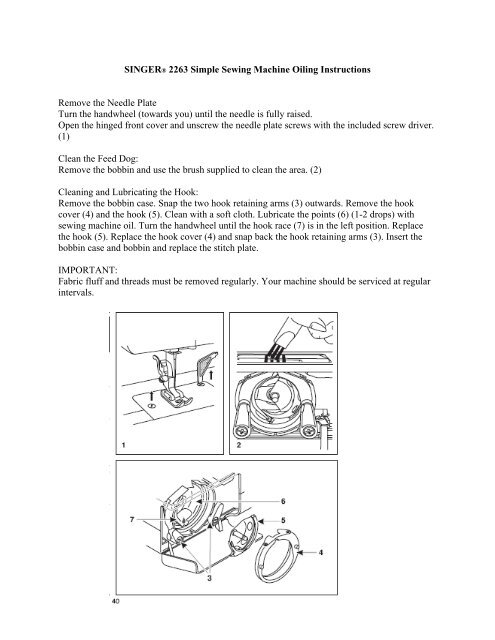
Safe Needle Plate Removal Protocol
Safety first: Unplug your machine before beginning.
- Locate the metal needle plate directly beneath the needle
- Remove securing screws using the machine’s included screwdriver
- Gently lift the plate to expose the bobbin case
- Identify the release latch or lever on the bobbin case side
Visual cue: If your machine has thread jammed near the tension discs, you’ll see tangled threads behind the needle plate. Remove all threads before proceeding.
Bobbin Case Extraction Techniques
Two primary methods exist depending on your Singer model:
– Latch release: Pull the side lever straight out while holding the bobbin case
– Button press: Some newer models require pressing a dedicated release button
Critical warning: Never force the bobbin case. If it resists, check for hidden screws beneath the housing. Certain vintage Singers secure the bobbin housing with Phillips head screws or metal clips requiring simultaneous pressure release.
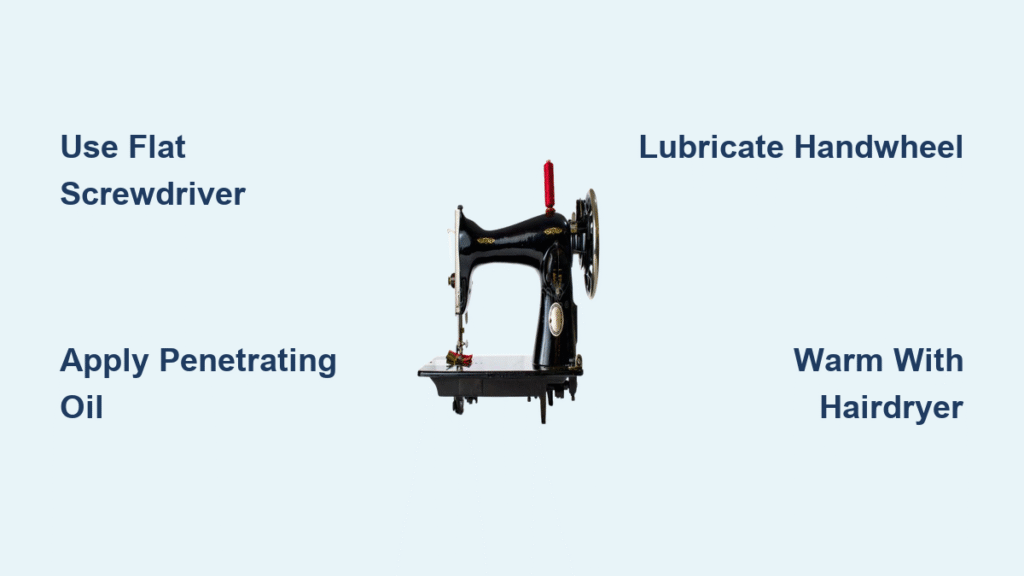
Frozen Handwheel Emergency Solutions
Diagnosing Handwheel Immobility
Test resistance before attempting repairs:
– Completely frozen: Indicates internal damage or severe oil gumming
– Stiff but movable: Typically requires lubrication only
– Intermittent sticking: Suggests thread jam or partial oil solidification
Pro tip: Always remove the needle, bobbin, and all threads before testing handwheel movement. Residual threads cause 60% of apparent “frozen” handwheels.
Precision Lubrication Process
Step 1: Open the faceplate to access the needle bar assembly
Step 2: Blast compressed air through all visible openings to remove lint
Step 3: Apply sewing machine-specific lubricant (never WD-40) to needle bar area
Step 4: Work the handwheel back and forth in small increments
Time estimate: Allow 15-20 minutes for lubricant to penetrate. Reapply every 5 minutes if no improvement occurs.
Heat Application for Vintage Machines
For Singers over 20 years old:
1. Set hairdryer to medium heat (no hot setting)
2. Warm the needle bar area for 90 seconds
3. Immediately attempt to turn handwheel while warm
4. Repeat heating in 60-second intervals
Why this works: Decades-old lubricant hardens like varnish. Gentle heat re-liquefies it without damaging plastic gears. Stop immediately if you detect electrical burning smells.
7 Essential Tools for Singer Unlocking Success
Non-negotiable toolkit:
– Flat screwdrivers: 2mm, 3mm, and 4mm tips (for case locks and internal access)
– Sewing machine lubricant spray (oil-based, never petroleum-based)
– Penetrating oil (for seized case locks only)
– Compressed air can (for lint removal)
– Hairdryer (for heat application)
– Magnifying glass (to spot hidden screws)
– Small container (for storing removed screws)
Red flags requiring immediate stop:
– Grinding sounds during handwheel movement
– Visible gear teeth damage through inspection windows
– Electrical burning odors after lubrication
When Professional Help Becomes Essential
Call a technician immediately if:
– The handwheel remains completely frozen after 3 lubrication cycles
– You see metal shavings during internal inspection
– The machine produces grinding noises during operation
– Electrical components show scorch marks
Cost reality check: Professional Singer repair typically costs $75-$150. For vintage machines, this preserves value better than DIY damage. Never attempt internal gear repairs without specialized training—Singer mechanisms require precise re-timing.
Stop Singer Lock-Ups: Monthly Maintenance Routine
Preventative protocol:
– Run machine for 5 minutes weekly (even without sewing)
– Apply lubricant every 6 months to moving parts
– Store in climate-controlled environments (avoid basements/attics)
– Cover with breathable cotton cloth (never plastic)
Storage preparation checklist:
1. Remove all threads and needles
2. Lower presser foot completely
3. Wipe metal surfaces with silicone cloth
4. Place silica gel packets inside case
Singer Lock-Up Troubleshooting Flowchart
| Symptom | First Action | If Unresolved |
|---|---|---|
| Bentwood case locked | 3mm screwdriver clockwise | Penetrating oil + 10-min wait |
| Handwheel frozen | Remove thread/bobbin/needle | Lubricate + heat application |
| Bobbin stuck | Press release button | Remove needle plate |
| Intermittent jam | Compressed air cleaning | Professional service |
Your Singer sewing machine was built to last generations, and most lock-up issues stem from disuse rather than mechanical failure. Start with the least invasive solution for how to unlock Singer sewing machine components—90% of cases respond to proper lubrication or gentle case manipulation. Remember that vintage Singer cases respond best to patience: rushing the process risks irreversible damage to irreplaceable components.
If you’ve followed all steps and your machine remains locked, professional restoration is almost always more cost-effective than replacement—especially for vintage models that have already sewn decades of family history. Keep this guide handy for future reference, and never underestimate the power of weekly 5-minute sewing sessions to keep your Singer perpetually ready for action.


