
Thread tension issues can derail your sewing project faster than a snapped needle—loose loops ruining the top side of your fabric, puckered seams that look like accordion folds, or constant thread breaks that leave you swearing at your machine. When your Kenmore sewing machine starts misbehaving, 90% of the time it’s a tension problem you can fix yourself in under 15 minutes. Whether you’re wrestling with the popular 13402 Ultra Stitch 6 or an older 148-series model, this guide gives you the exact steps to diagnose and resolve tension issues like a pro. You’ll learn how to identify whether upper thread or bobbin tension is causing trouble, make precise adjustments for perfect stitches, and prevent future headaches with simple maintenance routines.
Stop guessing at tension settings or replacing needles blindly. By the end of this guide, you’ll confidently set tension on your Kenmore sewing machine for any fabric or thread combination, transforming frustrating sewing sessions into smooth, professional results. Let’s dive straight into solving your tension problems—no fluff, just actionable steps that work.
Find Your Kenmore Tension Controls in 60 Seconds
Before touching any dials, identify exactly where your machine’s tension components live. On virtually all Kenmore models, the upper thread tension control is a numbered dial (0-9 range) on the front panel. Remember this golden rule: higher numbers increase tension, lower numbers decrease it. Most Kenmore machines stitch perfectly at factory settings between 3.5 and 4 for standard cotton fabrics.
For bobbin tension, check your bobbin case type immediately. Removable metal cases have a tiny tension screw on the side—usually brass-colored and requiring a miniature screwdriver. If your machine uses a drop-in plastic bobbin system (common on newer models like the 19233), skip bobbin adjustments entirely; these are factory-set and shouldn’t be touched at home. Attempting to adjust them often causes permanent damage requiring professional repair.
Diagnose Your Tension Problem in 5 Steps

Quick Diagnostic Sewing Test
Don’t waste time adjusting blindly—run this foolproof test first with scrap fabric matching your project:
- Thread correctly with all-purpose polyester thread through every guide
- Set tension dial to 4 and lower presser foot
- Sew 4-inch straight seam on doubled cotton fabric
- Inspect both fabric sides under bright light
- Compare results to these tension indicators
What your stitches reveal about tension:
– ✅ Perfect balance: Stitches interlock invisibly between fabric layers
– ❌ Upper thread too loose: Loops on top surface, bottom thread visible underneath
– ❌ Upper thread too tight: Fabric puckers, needle deflects, thread breaks
– ❌ Bobbin thread too loose: Thread nests under fabric, loops show on top side
This test takes 90 seconds but saves hours of frustration. I’ve seen beginners waste entire afternoons rethreading while ignoring this simple diagnostic step—don’t be that sewer!
Fix Upper Thread Tension Like a Factory Technician
Precision Adjustment Sequence
Making random tension changes is the #1 mistake Kenmore owners make. Follow this exact sequence for guaranteed results:
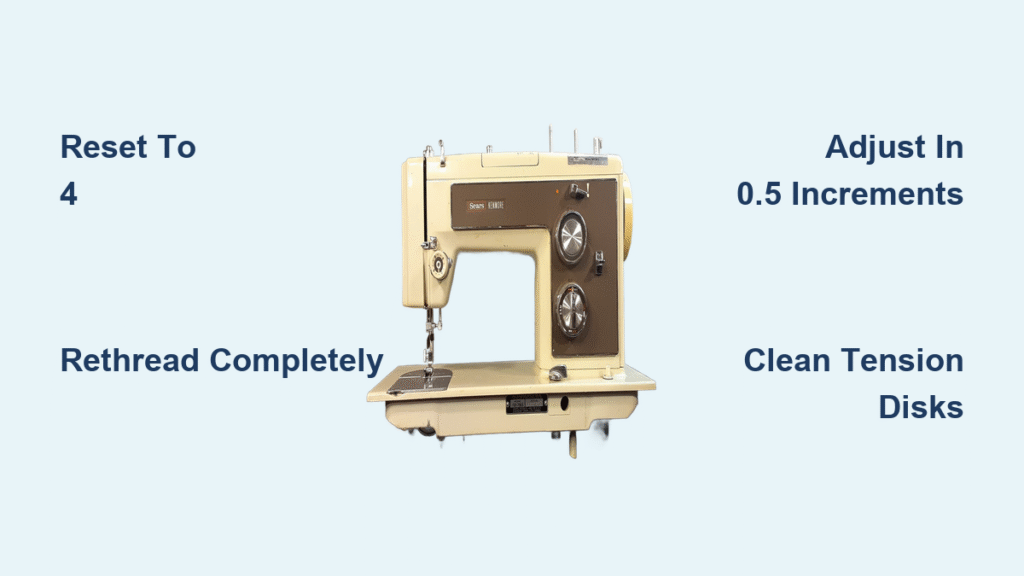
- Reset to neutral: Turn dial to 4 (3.5 for delicate fabrics)
- Complete rethread: Remove thread completely and restart threading
- Test sew: Use identical fabric/thread as your project
- Adjust minimally: Change dial by 0.5 increments only
- Retest after each change: Sew new seam before judging results
- Final validation: Confirm stitches balance across 6+ inches
Critical adjustment directions:
– ➡️ Loops on top? Increase tension (turn dial clockwise to higher number)
– ⬅️ Puckering or breaks? Decrease tension (turn dial counter-clockwise)
Never adjust more than one full number between tests—Kenmore tension systems respond subtly. That time I cranked my 13402 from 4 to 6 for “extra security”? Resulted in thread shredding and a ruined silk blouse. Small changes win every time.
Pro Techniques for Flawless Results
These insider tricks prevent 80% of tension headaches:
– Always test with foot down: Tension releases when presser foot lifts—sewing with foot up gives false readings
– Monthly disk flossing: Run non-waxed dental floss between tension disks at zero setting to remove lint
– Thread path audit: Missed guides cause 30% of tension issues—verify thread clicks into every guide
– Needle/thread match: Use size 80/12 needle for 50wt thread; mismatched pairs mimic tension problems
I keep a tension adjustment log in my sewing notebook tracking settings for different fabrics. For medium-weight cotton on my Kenmore 1560, 3.5 works perfectly—but switch to stretch knit, and I drop to 2.5. Document your findings to skip future guesswork.
Adjust Bobbin Tension Only When Absolutely Necessary

Removable Bobbin Case Calibration
Warning: Skip this section entirely if you own a drop-in bobbin model (like Kenmore 19233). These systems shouldn’t be adjusted—take them to a technician if tension issues persist after upper thread fixes.
For removable metal cases (common on older 148-series machines), use this foolproof method:
- Remove bobbin case and hold thread end vertically
- Gently bounce case—perfect tension drops 1-2 inches then stops
- Too loose? (case slides down): Tighten screw 1/8 turn clockwise
- Too tight? (no drop): Loosen screw 1/8 turn counter-clockwise
- Re-test immediately after each micro-adjustment
Critical caution: These screws are fragile. If you feel resistance, stop immediately—over-tightening strips the threads. I ruined a vintage 148.1207 case by forcing the screw; replacement cost $45. When in doubt, consult a professional.
Clean Tension Components to Prevent 40% of Problems
Upper Tension Deep Clean
Dirty tension disks cause more tension issues than incorrect settings. Clean monthly during heavy use:
- Turn tension dial to zero
- Raise presser foot fully
- Insert non-waxed dental floss between metal disks
- Pull floss through with short sawing motions
- Blast stubborn lint with compressed air (never use metal tools)
- Return dial to 4 before sewing
Skip this step, and oily thread residue builds up, creating inconsistent tension. I learned this the hard way after switching to variegated thread—lint clogged my disks, causing random loops despite “correct” settings.
Bobbin Case Maintenance Protocol
- Remove case and empty all lint with soft brush
- Inspect tension spring for fraying or rust
- Check case interior for burrs (run fingernail along edges)
- Verify screw tightness—loose screws cause tension drift
- Reassemble carefully if disassembled (see model-specific notes below)
Replace damaged cases immediately—worn components can’t hold proper tension. A $12 replacement case saved me hours of frustration on my Kenmore 1560.
Solve Stubborn Tension Issues That Resist Standard Fixes
First-Level Troubleshooting Checklist
When adjustments fail, verify these common oversights before assuming mechanical failure:
- Thread path completeness: Did thread miss the take-up lever? (Most frequent error!)
- Needle compatibility: Is needle size appropriate for thread weight? (e.g., size 70 for 60wt thread)
- Bobbin insertion: Is thread unwinding clockwise? Incorrect placement causes nests
- Fabric type: Are you testing on actual project fabric? Denim requires higher tension than chiffon
90% of “unfixable” tension problems I’ve seen stem from one of these simple issues. That time my Kenmore 13402 kept looping? Thread wasn’t seated in the pre-tension spring—a 5-second fix after 20 minutes of unnecessary dial-twisting.
When to Call a Professional
Seek technician help immediately if you observe:
– Zero tension change across full dial range (0-9)
– Physical damage to tension disks or springs
– Repeated thread breaks despite correct settings
– Machine under 90-day warranty (avoid voiding coverage)
Attempting internal repairs on complex assemblies like the Kenmore 148-series tension spring often creates bigger problems. That $80 service call beats a $200 part replacement.
Model-Specific Tension Settings Cheat Sheet
Kenmore 13402 Ultra Stitch 6: Standard 3.5-4.5 range works for 95% of fabrics. Settings above 5 indicate underlying issues—check thread path first.
Kenmore 19233: Factory default is 4, but users report needing 7-9 for balance. This abnormal range signals potential defects—contact Sears before adjusting.
Kenmore 148-series: Vintage models often require spring tension adjustments. Consult service manual for disassembly steps (available on Sears Parts Direct).
Kenmore Decor Excel II 5024: Page 30 of manual details unique tension calibration—don’t guess with this model.
Kenmore 1560/15600: Prone to spring fatigue in older units. If tension won’t hold below 3, replace spring assembly.
Prevent Future Tension Disasters with 3 Daily Habits
Implement these simple routines to avoid 90% of tension problems:
- Pre-project tension test: Always sew on fabric scraps matching your project before starting
- Weekly disk cleaning: 60 seconds with dental floss prevents hours of frustration
- Correct needle storage: Keep tension dial at zero when not sewing to preserve spring tension
Critical thread/fabric pairing rules:
– Cotton thread on cotton fabric: Tension 3.5-4.5
– Polyester thread on stretch knits: Tension 2.5-3.5
– Metallic thread: Tension 1.5-2.5 + size 70 needle
I ruined three Halloween costumes last year by skipping the pre-test on velvet—learn from my mistake! Always validate settings on actual project materials.
Kenmore Tension Emergency Cheat Sheet
Perfect tension verification:
– [ ] Stitches identical on both fabric sides
– [ ] Zero puckering or looping
– [ ] Thread feeds smoothly without breaks
– [ ] Consistent results across entire seam
Immediate fixes for tension disasters:
– 🛠️ Rethread completely (fixes 60% of issues)
– 🧵 Clean tension disks (fixes 25% of issues)
– 📌 Replace needle (fixes 10% of issues)
– ⚙️ Adjust tension dial (fixes remaining 5%)
Mastering how to set tension on your Kenmore sewing machine transforms sewing from frustrating to fulfilling. Remember: small, deliberate adjustments beat frantic dial-twisting every time. Keep this guide handy for your next tension crisis, and you’ll consistently achieve professional results that make your projects shine. The perfect stitch isn’t magic—it’s precise tension control, and now you’ve got the keys to unlock it.


