
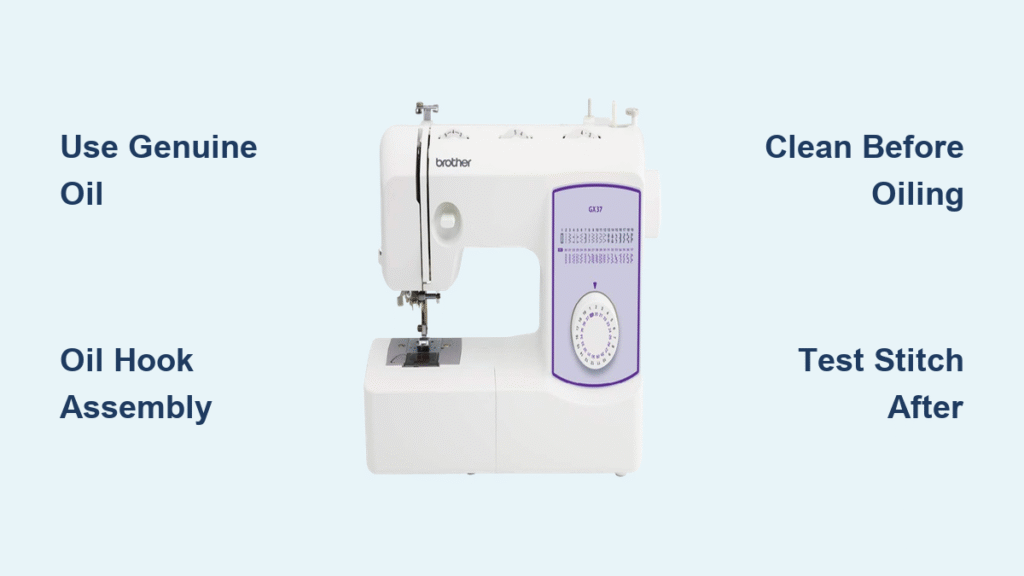
That familiar hum of your Brother sewing machine turns into an alarming squeak when lubrication runs low. If your PE800 embroidery machine suddenly starts skipping stitches or your XR3774 emits grinding noises, proper oiling could be the simple solution you need. Many sewers mistakenly believe modern machines don’t require oiling, but neglecting this essential maintenance causes 70% of preventable sewing machine failures. This comprehensive guide shows you exactly how to oil a Brother sewing machine correctly—regardless of model or experience level—using only manufacturer-approved techniques that extend your machine’s life by decades.
Oiling Schedule for Every Usage Level
Light Use Maintenance (1-3 Hours Weekly)
If you sew occasionally for small projects or repairs, oil your Brother machine every 6-8 months. Weekend crafters and seasonal sewers fall into this category. Set calendar reminders for spring and fall to maintain consistent performance without over-maintaining your machine.
Moderate Use Schedule (4-10 Hours Weekly)
Regular sewers creating garments, quilts, or craft projects need oiling every 3-4 months. This frequency prevents the gradual performance decline that sneaks up between maintenance cycles. Your machine will maintain smoother stitching and quieter operation with this schedule.
Heavy Use Requirements (10+ Hours Weekly)
Daily sewers and small business owners must oil every 1-2 months. The constant friction from extended use depletes lubrication faster than casual use, causing premature wear on critical components like the hook assembly and needle bar.
Professional Service Schedule (Daily Operation)
Commercial users should oil every 2-3 weeks. High-volume operations generate significant heat and lint buildup, requiring frequent attention to maintain precision stitching and prevent costly downtime.
Warning Signs for Immediate Oil
Stop sewing immediately if you notice squeaking sounds, grinding noises, stiff hand wheel movement, skipped stitches, or a metallic burning smell. These indicate critical lubrication needs that could cause permanent damage if ignored.
Required Supplies Checklist
Essential Oil and Tools
- Brother genuine oil SA-0110 or SA-0110B (never substitute)
- White cotton or microfiber cloths (lint-free)
- Small nylon brush (included with most machines)
- Screwdriver (size varies by model)
- Tweezers for lint removal
- Headlamp or flashlight for visibility in tight spaces
Dangerous Substitutes to Avoid
Never use WD-40, 3-in-1 oil, motor oil, cooking oils, or spray lubricants. These alternatives damage internal components by attracting excessive lint, breaking down rubber parts, and voiding your warranty. Genuine Brother oil has the perfect viscosity for sewing machine mechanics.
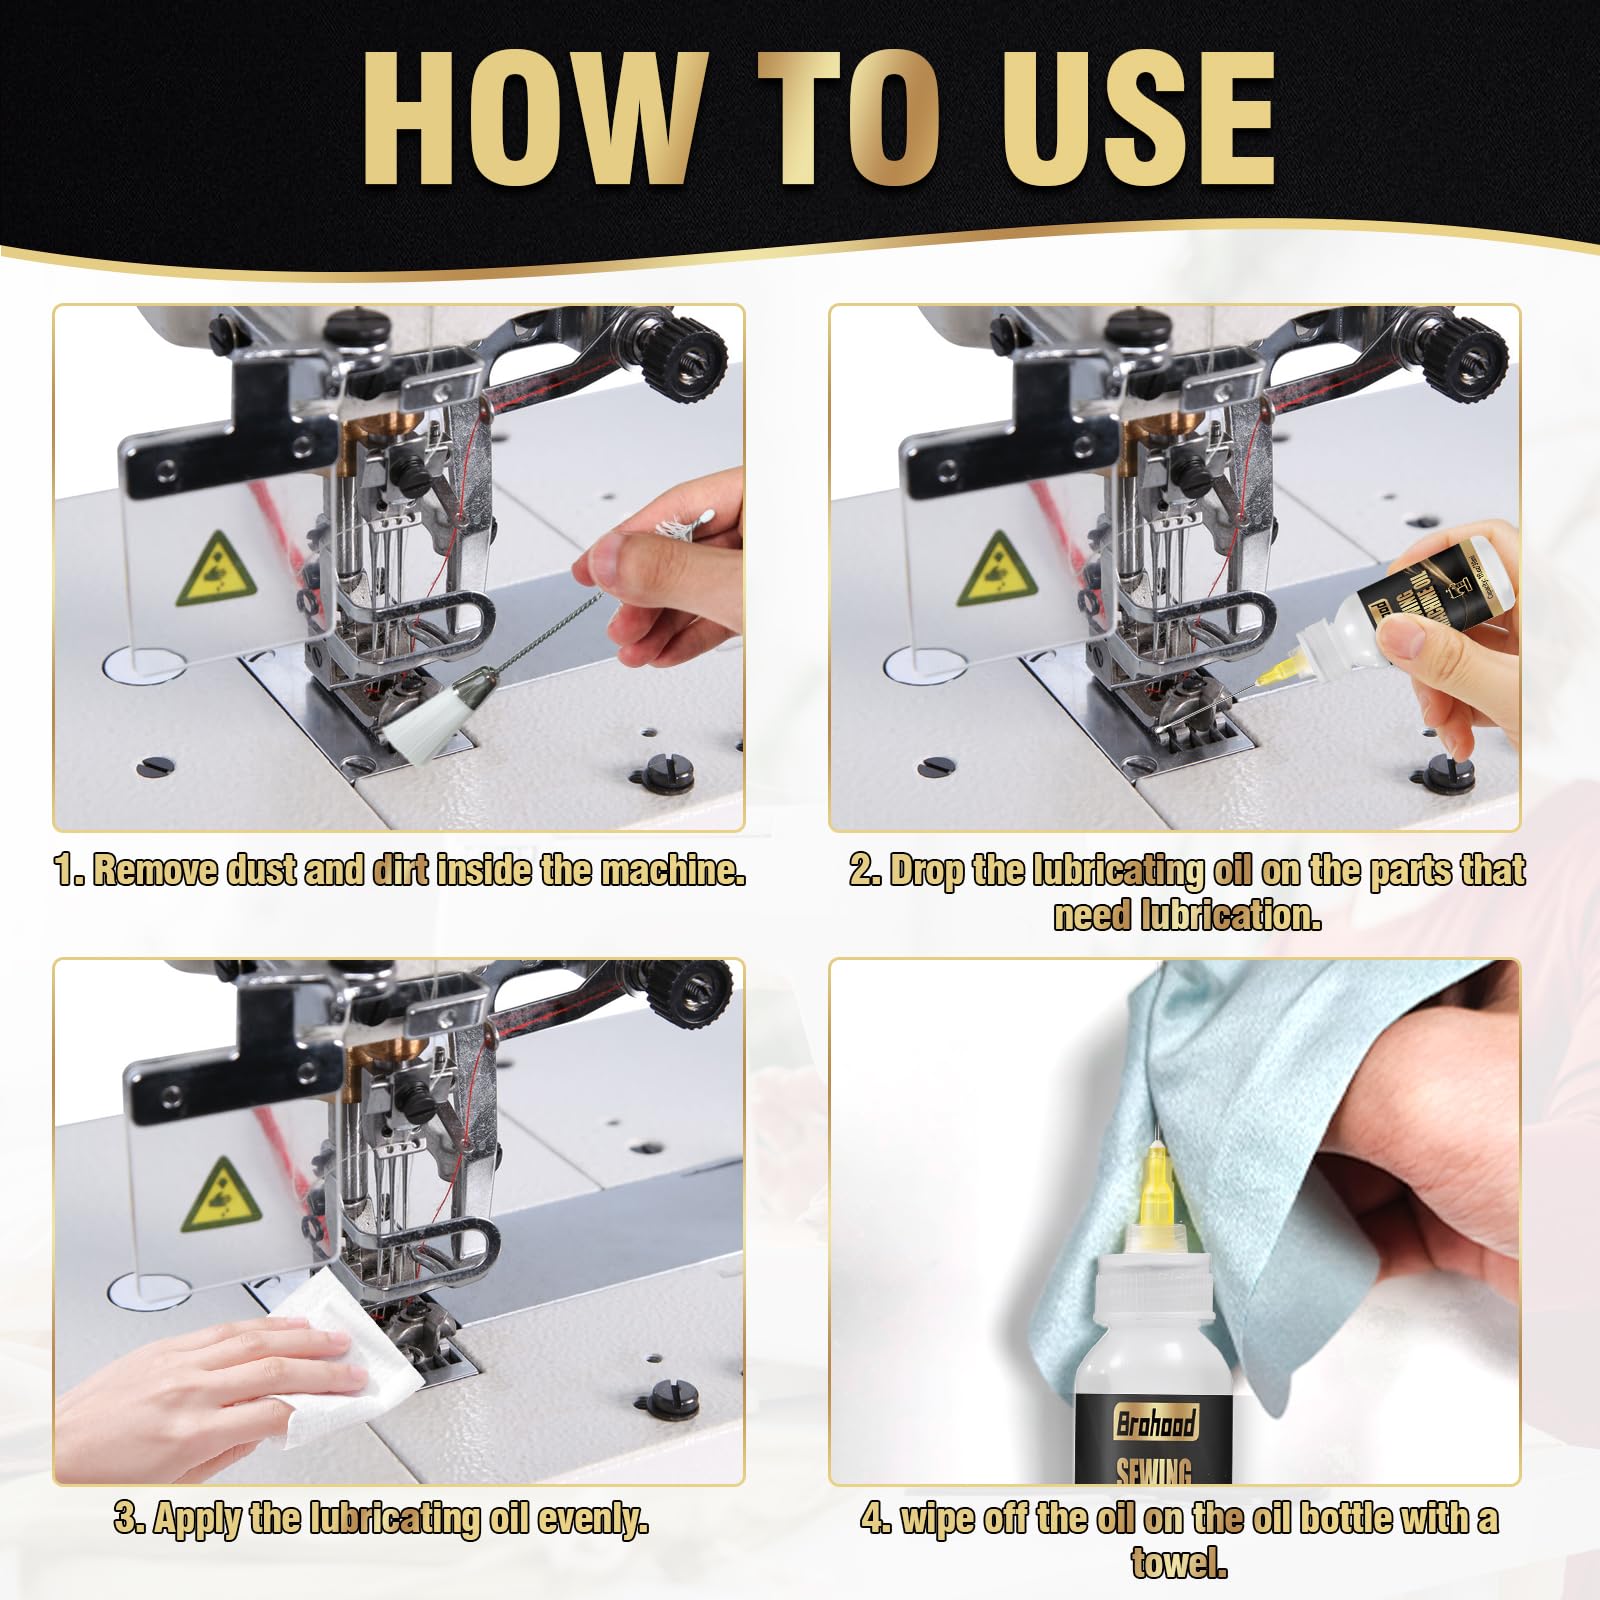
Pre-Oiling Machine Setup
Power Down and Access
- Unplug completely from electrical outlet to prevent accidental activation
- Remove all accessories: presser foot, needle, thread, and bobbin
- Lower feed dogs using the drop lever on compatible models
- Set up workspace on a stable surface with a towel underneath to catch drips
- Open manual to oiling diagram pages for model-specific reference
Critical Safety Precautions
Never oil while plugged in—this creates serious electrical hazards. Avoid over-oiling which attracts lint and causes more problems than it solves. Keep oil away from circuit boards and electrical connections. Wear safety glasses if using compressed air for cleaning.
Mechanical Models Oiling Guide
Hand Wheel Lubrication
Remove the cover by unscrewing the single screw on the back. Apply 1-2 drops where the center shaft meets the wheel mechanism. Rotate the hand wheel 10 full turns clockwise to distribute oil evenly through the system. This simple step eliminates most grinding noises in mechanical models.
Needle Bar Area Access
Unscrew the two screws holding the needle plate in place. Locate the needle bar track directly above the needle clamp area. Apply 1 drop along the visible groove, then move the needle up and down manually 10 times to work the oil into the mechanism. This prevents skipped stitches caused by friction.
Hook Assembly Deep Oil
Carefully remove the bobbin case and shuttle hook, noting their exact positioning for reassembly. Clean the race thoroughly with your nylon brush. Apply 2-3 drops along the metal track where the hook sits, then rotate the hand wheel for 30 seconds to distribute oil completely through this critical stitching mechanism.
Computerized Models Special Care
Electronic Component Cautions
Never oil circuit boards, stepper motors, LCD screens, or sensors on computerized models like the PE800 or CS6000i. Most electronic components are factory-sealed and require no user lubrication. Focus exclusively on the specific points outlined in your model’s manual.
Approved Bobbin Area Oil
Use the automatic plate release to remove the needle plate. Take out the bobbin case completely and clean the race thoroughly before oiling. Apply 1-2 drops maximum on the race surface only—excess oil will migrate to sensors and cause error codes.
Post-Oiling Essential Steps
Remove Excess Oil
Run your machine at slow speed for 5 minutes without thread. Check for oil splatter on machine surfaces and wipe away any visible excess with a clean cloth. This prevents oil stains on future projects and ensures only the proper amount remains in the mechanism.
Test Stitching Protocol
Install a new needle and fresh thread. Run test stitches on scrap fabric for 2-3 minutes while monitoring for oil stains. If stains appear, continue running test stitches until clean—this usually takes 20-30 additional stitches to fully absorb excess lubricant.
Final Inspection Checklist
Verify all covers and plates are securely fastened with no gaps. Check that the hand wheel moves smoothly without resistance throughout its full rotation. Confirm no unusual noises during operation at both slow and fast speeds. Test all basic stitch functions to ensure proper performance.
Troubleshooting Common Issues
Oil Stains on Fabric
Cause: Over-oiling or insufficient cleaning. Solution: Run 20-30 test stitches on scrap fabric, replace the needle, and clean the bobbin area again with a fresh cloth. If problems persist, check whether you used genuine Brother oil—substitutes often cause staining.
Unusual Noises After Oiling
Cause: Missed debris or over-tightened parts during reassembly. Solution: Recheck all removed components, clean the area again, and ensure proper reassembly following your manual. Sometimes a single piece of lint trapped during reassembly creates new noises.
Thread Bunching Problems
Cause: Oil migrating into tension discs or timing affected during maintenance. Solution: Clean tension discs thoroughly with rubbing alcohol on a cotton swab, re-thread the machine completely, and check timing if issues persist beyond three attempts.
Model-Specific Variations
Heavy-Duty Models (ST371HD, XR9550PRW)
These machines require additional attention to the motor shaft bearing at the rear. Increase oiling frequency by 50% due to heavier use demands. Always check belt tension after maintenance—over-tightening can cause premature wear even with proper lubrication.
Serger Models (1034D, 4234D)
Use Brother serger-specific oil (SA-0110S) for these machines. Focus on upper and lower looper mechanisms while avoiding the tension dials. Serger oil has different viscosity requirements than standard sewing machine oil due to higher speeds.
When Professional Service is Needed
Seek professional help if your machine locks up completely after oiling, develops timing issues where the needle hits the hook, shows electrical problems, or displays computerized error codes. These symptoms often indicate deeper issues beyond simple lubrication needs.
Long-Term Maintenance Integration
Weekly Quick Checks
Clean lint from the bobbin area every 8 hours of use. Change needles regularly as dull needles create excess friction. Check thread tension during each project setup to prevent unnecessary strain on machine components.
Monthly Deep Cleaning
Remove and clean the needle plate thoroughly during your scheduled maintenance cycle. Oil all specified points while testing all stitch functions after completion. This routine prevents small issues from becoming major problems.
Your Brother sewing machine will deliver decades of reliable service when you follow this precise oiling process. Schedule your next maintenance session in your calendar today, and keep this guide handy for reference. With consistent attention to lubrication, every stitch will remain as flawless as when your machine left the factory—ensuring perfect results for all your sewing projects.


