
Your shirt collar stares back at you, perfectly pressed but missing one crucial element: buttonholes. You’ve threaded your Kenmore machine, selected what you think is the right setting, but nothing happens. Don’t panic—this frustration is completely normal. Kenmore sewing machines have used at least five different buttonhole systems across six decades of production, and knowing which one applies to your specific model is half the battle. The good news? With the right approach, you can create professional-looking buttonholes regardless of whether you’re working with a vintage 158 or a modern Elite.
This guide cuts through the confusion by matching your exact Kenmore model to the proper buttonhole technique. You’ll discover why your machine isn’t responding to buttonhole settings, how to identify your model’s specific system in under 30 seconds, and the precise steps to create flawless buttonholes every time. No more guessing which lever to pull or foot to attach—we’ve got your machine covered.
Identify Your Kenmore Buttonhole System
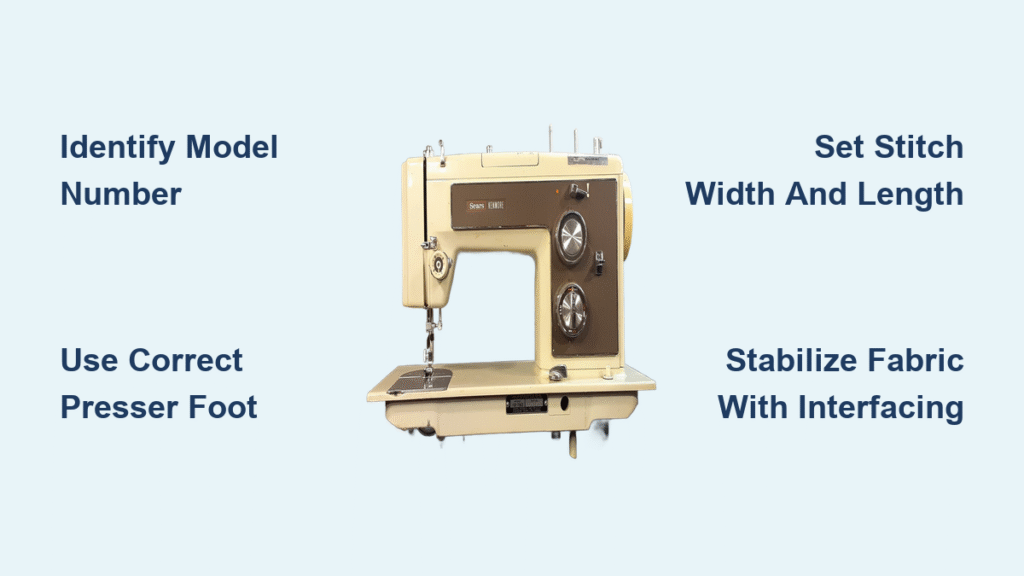
Skip this step and you’ll waste hours trying methods incompatible with your machine. The single most important action is checking your model number—it’s stamped on a metal plate typically found on the front, bottom, or back of your machine. This number determines everything about your buttonhole process.
Vintage Models (1960s-1970s)
- Model 50: Has no built-in buttonhole capability—requires external attachment
- 158 Series: May use either the distinctive lollipop guide or 3-step system
- Mini Kennie 158.1050: Features built-in 3-step buttonholes without attachments
Mechanical Era (1980s-1990s)
- 385 Series: Uses automatic buttonhole system with ‘R’ foot and pull-down lever
- Model 385.16765: Same system as other 385 series models
Computerized Models
- Elite 19365: Features sensor-based automatic buttonholes with edge detection
Quick Visual Identification Method
Examine your presser foot area immediately:
– Pull-down lever present? → You have a 385 series or similar mechanical automatic system
– Buttonhole symbol on stitch selector? → You likely have automatic functionality
– Only zigzag and straight stitch? → You’ll need to use manual methods or attachments
Vintage 158 Series Lollipop Guide Method

The unique plastic template guide gives this system its “lollipop” nickname. Here’s precisely how to set it up for perfect buttonholes:
Setting Up the Lollipop Guide Correctly
- Locate the pinion gear—a small metal post protruding near the needle plate (some models require removing the standard bobbin cover first)
- Position the plastic guide over the pinion gear—ensure it clicks firmly into place
- Install a standard zigzag foot—the attachment works with your regular presser foot
- Set stitch width to maximum and length to 0.5mm for tight satin stitch
Critical Tip: Vintage machines often have hardened grease around the pinion gear. Apply heat from a hairdryer for 30 seconds before attaching the guide to ensure smooth movement.
Creating Perfect Buttonholes with the Guide
- Mark fabric precisely with buttonhole length using water-soluble pen
- Position fabric with mark centered under the guide’s starting point
- Lower presser foot—the guide should grip fabric without slipping
- Start sewing slowly—the mechanism will automatically follow the template
- Complete all four sides without stopping for consistent tension
Pro Insight: This method works exceptionally well with medium-weight cotton but struggles with thick fabrics. For denim, reduce stitch width slightly and use a size 14 needle for better penetration.
3-Step Built-in System (Mini Kennie)
This simplified approach appears on select 158 models like the portable 158.1050, offering surprising efficiency.
Executing the 3-Step Process
- Install the rubber guide—a small U-shaped piece that snaps under the presser foot
- Set stitch selector to the buttonhole symbol (usually a keyhole icon)
- Sew in sequence: front bartack, left side, back bartack, right side
Important Note: Unlike the lollipop guide, this system creates rectangular buttonholes rather than rounded keyholes. While faster, these buttonholes lack the refined appearance of traditional styles but work perfectly for casual garments.
385 Series Automatic Buttonhole System
The 385 series revolutionized buttonhole creation with true automation. Let’s get your machine ready:
Verifying All Components Are Present
Before starting, confirm you have:
– Automatic buttonhole foot (marked with an ‘R’ on the metal)
– Pull-down lever that swings freely behind the needle area
– Buttonhole stitch setting on your selector dial
Step-by-Step Automatic Buttonhole Creation
- Attach the ‘R’ foot—it snaps on like standard presser feet
- Pull down the lever until it clicks into place—this should swing freely
- Position fabric under foot with buttonhole mark aligned with foot tip
- Select buttonhole stitch—typically the keyhole symbol setting
- Lower needle into starting position at buttonhole top
- Begin sewing—machine will automatically complete all four sides
- Raise lever when finished to reset the mechanism
Creating Custom-Length Buttonholes
When your button exceeds standard foot capacity:
1. Use zigzag foot instead of ‘R’ foot
2. Pull down lever as normal
3. Mark exact buttonhole length on fabric
4. Start sewing until you reach the mark
5. Tap lever bottom to reverse direction
6. Tap again to complete the sequence
7. Raise lever to finish
This technique gives you complete control over buttonhole length while maintaining professional results.
Elite 19365 Sensor System Troubleshooting

The computerized Elite models use sensors to detect fabric edges, but they can be frustrating when they malfunction.
Fixing Continuous Stitching Problems
Problem: Machine sews endless stitches instead of completing the buttonhole
Immediate Solutions:
1. Verify lever position—must be fully lowered before starting
2. Clean sensor area—use compressed air to remove lint from foot grooves
3. Check fabric alignment—sensors need clear fabric edge visibility
4. Adjust stitch length—thicker fabrics may require longer stitches (try 1.5mm)
5. Inspect foot condition—bent feet can misalign sensors
Preventative Maintenance: Clean sensor areas monthly with a soft brush—lint buildup causes 90% of sensor malfunctions on computerized models.
Buttonholes Without Special Attachments
Even basic straight/zigzag machines can create professional buttonholes with this proven method.
Manual Buttonhole Technique
1. Mark precise boundaries with water-soluble pen (add 1/8″ for button thickness)
2. Apply interfacing to stabilize the area before sewing
3. Set zigzag stitch to 1.0mm length, 3.0mm width
4. Sew bartacks at each end (5-6 tight stitches)
5. Create sides with satin stitch zigzag
6. Carefully cut opening with sharp seam ripper
Critical Success Factor: Always stabilize fabric with interfacing. Without this step, satin stitching will distort your fabric and create uneven buttonholes.
Maintenance for Perfect Buttonholes Every Time
Essential Monthly Routine
- Oil moving parts in buttonhole mechanism with sewing machine oil
- Clean lint from feed dogs and bobbin area before buttonhole projects
- Verify foot alignment—should sit parallel to needle plate
- Test lever movement—should swing smoothly without resistance
Expert Tip: For vintage machines that haven’t been used in years, apply heat from a hairdryer to soften hardened grease before attempting buttonholes.
Choosing the Right Method for Your Project
Best Applications by System
- Lollipop guide: Ideal for medium-weight cotton shirts and blouses
- 3-step built-in: Perfect for quick repairs and casual garments
- Automatic 385: Best for matching buttonholes on multiple garments
- Manual method: Works for any fabric weight or specialty projects
Professional Buttonhole Checklist
- Always interface behind buttonhole area with lightweight fusible
- Use matching thread in both bobbin and top for consistent tension
- Practice on project scraps before working on your actual garment
- Mark button placement after buttonholes are complete for perfect alignment
Your Kenmore’s buttonhole system might seem confusing at first, but with this guide, you now have the exact knowledge to create professional results. Start with scrap fabric to master your machine’s specific requirements—whether that’s the vintage charm of the lollipop guide or the precision of the 385 series automation. Remember that perfect buttonholes require proper stabilization, the right needle, and practice on your specific fabric. With these techniques in your sewing toolkit, you’ll never dread buttonhole creation again. The next time you face a garment needing buttonholes, you’ll approach it with confidence knowing exactly how to make a buttonhole on your Kenmore sewing machine perfectly.


