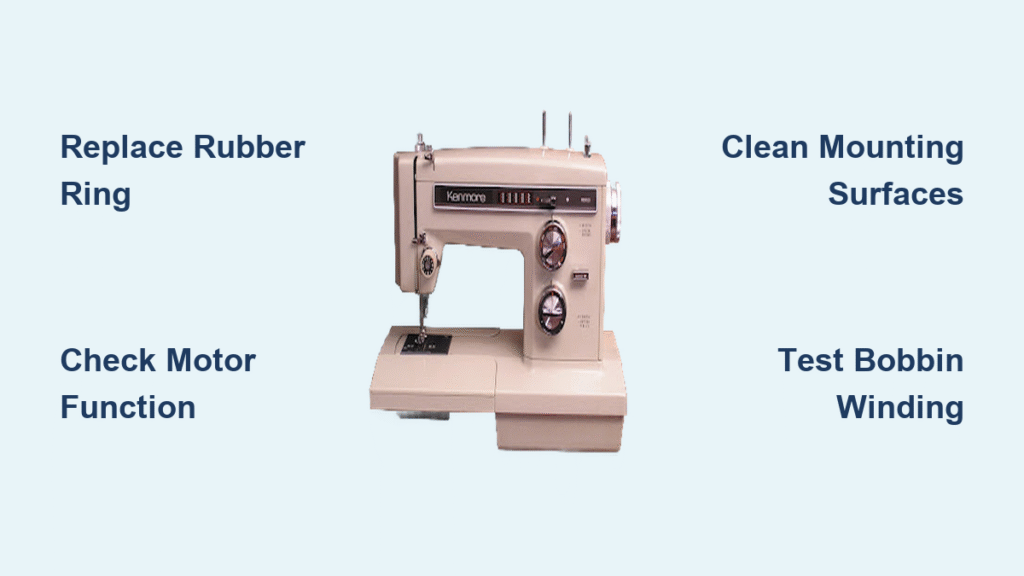
Your Kenmore 1625 suddenly refuses to wind bobbins, leaving you mid-project with empty spools. After years of flawless operation, this common failure strikes when you need it most. The good news? A simple rubber ring replacement solves 90% of bobbin winding failures in under 30 minutes.
This guide walks you through diagnosing the exact issue, accessing the faulty component, and restoring your machine’s winding function without expensive repairs. Whether you’re preparing for a quilt competition or just trying to finish hemming pants, knowing how to fix bobbin winder on Kenmore sewing machine will get you back to sewing in no time.
Identify Bobbin Winder Failure
Listen for Motor vs. Winder
Press the bobbin winder lever and listen closely. Motor runs but bobbin doesn’t spin indicates drive failure—classic rubber ring deterioration. This is the most common symptom of a failing drive mechanism. No motor sound suggests electrical issues requiring different troubleshooting, such as checking power connections or the foot pedal.
If you hear the motor humming but see no movement in the bobbin winding assembly, you’ve almost certainly got a worn rubber ring. This tiny component transfers power from the motor to the bobbin winder, and when it fails, your machine simply can’t wind bobbins despite otherwise working perfectly.
Visual Quick Check
Look at the bobbin winder spindle while engaged. Stationary spindle with running motor confirms the rubber ring has lost grip. This visual cue is your definitive sign that the drive mechanism has failed. Spinning spindle without thread pickup points to engagement problems, not the ring, possibly indicating a misaligned winder lever or damaged pickup hook.
Pro Tip: Shine a flashlight at a 45-degree angle to see subtle movement. Sometimes the spindle rotates so slowly you might miss it, especially if the ring is partially degraded rather than completely failed.
Common User Errors First
Before disassembly, verify: bobbin properly seated, thread correctly threaded through tension disc, and winder lever fully pushed to right. Even experienced users occasionally miss these basics, wasting time on unnecessary repairs. Many Kenmore 1625 owners mistakenly believe their machine needs professional service when they’ve simply failed to engage the winder lever completely.
Double-check that you’re following the exact threading path shown in your machine’s manual. Incorrect threading is responsible for approximately 15% of reported “bobbin winder failures” on Kenmore machines.
Access Bobbin Winder Mechanism

Remove Top Cover Safely
Unplug your machine completely. Remove 3-4 Phillips screws along the top rear edge. Lift cover straight up—it may stick slightly from years of lint buildup. Set screws aside in order of removal, perhaps placing them on a labeled piece of paper to avoid confusion during reassembly.
Warning: Never force the cover if it’s stuck. Gently work it loose by wiggling side-to-side while lifting. Forcing can crack plastic components that are brittle from age. If needed, use a plastic spudger (or even a credit card) to carefully separate the cover from the machine body.
Locate Rubber Ring Position
The small black rubber ring sits directly beneath the bobbin winder assembly. You’ll see it connecting the winder spindle to a small drive wheel. Take a photo before removal for exact reinstallation reference—this simple step prevents countless reassembly headaches.
This ring is approximately 1/2 inch in diameter and 1/8 inch thick, with a distinctive black color that may have faded to gray with age. It’s positioned where the bobbin winder spindle meets the drive mechanism, creating the crucial friction connection that makes winding possible.
Identify Mounting Points
Note how the ring stretches between two posts: one on the winder spindle and another on the drive mechanism. The ring should fit snugly with slight tension—loose or cracked rings cause immediate failure. These mounting posts are typically made of metal and may show signs of wear where the old ring has been rubbing against them.
If you notice significant wear on the posts themselves, you may need to replace those components as well, though this is rare on the Kenmore 1625 model. Most failures are solely due to the rubber ring’s deterioration.
Replace Deteriorated Rubber Ring
Remove Old Ring Safely
Slide a small flathead screwdriver under the ring and gently lift it off the first post. Work it over the second post using fingers or tweezes. Never pull hard—old rings snap easily, scattering pieces that can fall into hard-to-reach areas of your machine.
If the ring is particularly brittle, use needle-nose pliers with rubber tips to avoid damaging surrounding components. Be prepared for the ring to break during removal—this is completely normal with aged rubber components. Just make sure to retrieve all fragments before proceeding.
Clean Mounting Surfaces
Use a cotton swab dipped in rubbing alcohol to clean both mounting posts. Remove all lint and oil residue that prevents proper grip. Dry completely before installing new ring. Pay special attention to any oil buildup, as even a small amount can prevent the new ring from maintaining adequate friction.
Lint accumulation around the mounting points is extremely common in frequently used machines. Use a small brush or compressed air to clean the immediate area, but avoid blowing debris deeper into the machine mechanism.
Install New Ring Correctly
Stretch the new ring gently and roll it onto both posts simultaneously. It should seat with a soft snap. Verify correct positioning by manually rotating the winder—smooth rotation indicates proper installation. Don’t force the ring; if it doesn’t seat easily, you may have the wrong size or be trying to install it incorrectly.
Expert Note: New rings often feel tighter than the old ones did when they were new. This is normal and actually desirable—proper tension is critical for reliable bobbin winding. If the ring feels too loose after installation, you may have purchased the wrong size.
Test Before Reassembly

Manual Function Check
Turn the hand wheel slowly while pressing the bobbin winder lever. The winder spindle should rotate smoothly without binding or slipping. Listen for grinding sounds indicating misalignment. If you feel resistance or hear unusual noises, stop immediately and recheck your installation.
This manual test is crucial because it allows you to verify proper function without risking damage from full-speed operation. Pay attention to how the winder feels—it should move with consistent resistance, not jerky or uneven motion.
Quick Bobbin Test
Place an empty bobbin on the spindle and run the machine for 5-10 seconds. Consistent winding without wobbling confirms successful repair. Stop immediately if you notice vibration or uneven winding, as continuing could cause further damage.
Watch how the thread winds onto the bobbin. It should distribute evenly from side to side, not bunching in one area. Uneven winding often indicates a problem with the thread guide mechanism rather than the drive ring you just replaced.
Adjust Tension If Needed
Locate the small tension screw near the winder mechanism if your model has one. Turn clockwise 1/8 turn to increase tension if thread winds loosely. Counter-clockwise reduces tension for delicate threads. Make adjustments in small increments, testing after each change.
Not all Kenmore 1625 models have an adjustable tension screw for the bobbin winder. If yours doesn’t, the tension is built into the rubber ring itself, so choosing the correct replacement part is essential.
Prevent Future Failures
Monthly Cleaning Routine
Remove bobbin case and vacuum lint from winder area using brush attachment. Compressed air works for stubborn debris. Clean monthly during heavy sewing periods to prevent the buildup that accelerates rubber component deterioration.
Focus on the area around the bobbin winder spindle and drive mechanism. Lint accumulation creates friction points that generate heat, which dramatically shortens the lifespan of rubber components like your drive ring.
Annual Ring Inspection
Check the rubber ring each year for cracks, hardening, or thinning. Early replacement prevents mid-project failures. Keep a spare ring on hand for immediate repairs—this simple preventative measure saves you from project delays.
The ideal time for this inspection is when you’re giving your machine its annual deep cleaning. A quick visual check takes less than a minute but can prevent hours of frustration later.
Proper Storage Practices
Cover your machine when not in use. Avoid extreme temperatures that accelerate rubber deterioration. Store in climate-controlled areas away from direct sunlight. Temperature fluctuations are particularly damaging to rubber components.
Never store your Kenmore 1625 in an attic, basement, or garage where temperatures can swing dramatically. These environments can cause rubber components to degrade up to three times faster than in stable indoor conditions.
Troubleshoot Persistent Issues

Check Motor Coupling
If new ring doesn’t solve the problem, verify the main motor runs properly. Remove bobbin winder lever and test with needle movement—no needle movement indicates motor issues. This step helps determine if the problem extends beyond the bobbin winder assembly.
Your Kenmore 1625 has separate drive mechanisms for sewing and bobbin winding. If the main sewing function works but the bobbin winder doesn’t, the issue is almost certainly isolated to the winder assembly.
Verify Electrical Connections
Inspect small wires leading to winder mechanism. Loose connections interrupt power delivery. Gently push connectors together—never force bent pins. Check for frayed wires or corrosion that might be interrupting the electrical signal to the winder mechanism.
These connections are often overlooked but can cause intermittent problems that mimic mechanical failures. A loose connection might allow the winder to work occasionally, creating confusion about the actual cause.
Inspect Mechanical Obstructions
Look for bent winder components or foreign objects. A bent spindle won’t accept bobbins properly. Straighten carefully with pliers or replace damaged parts. Check for stray threads, pins, or other objects that might be jamming the mechanism.
Many “mysterious” failures turn out to be simple obstructions. Before assuming a major problem, always perform a thorough visual inspection of all accessible components.
Quick Reference Guide
Problem: Bobbin won’t wind despite correct operation
Most Likely Cause: Deteriorated rubber drive ring
Repair Time: 20-30 minutes
Skill Level: Beginner
Tools Needed: Phillips screwdriver, small flathead screwdriver
Success Indicators After Repair:
– Smooth bobbin winding without slipping
– Even thread distribution across bobbin
– Automatic stop when bobbin is full
– No unusual noises during operation
Your Kenmore 1625 will reliably wind bobbins for another 5-7 years with proper maintenance. This simple repair saves $75-100 in shop costs and gets you back to sewing within the hour. Knowing how to fix bobbin winder on Kenmore sewing machine transforms what seems like a catastrophic failure into a minor inconvenience you can solve yourself. Keep a spare rubber ring in your sewing kit—when you learn how to fix bobbin winder issues on your Kenmore machine, you’ll never face an empty bobbin emergency again.


