
Your Singer sewing machine can transform plain fabric into personalized artwork without expensive upgrades. Whether you’re adding monograms to baby clothes or creating custom designs on denim jackets, mastering embroidery with your Singer opens creative possibilities you never imagined. This practical guide reveals exactly how to embroider with a Singer sewing machine—using the equipment you already own—so you can start creating professional-looking projects today.
Singer Models That Excel at Embroidery Work
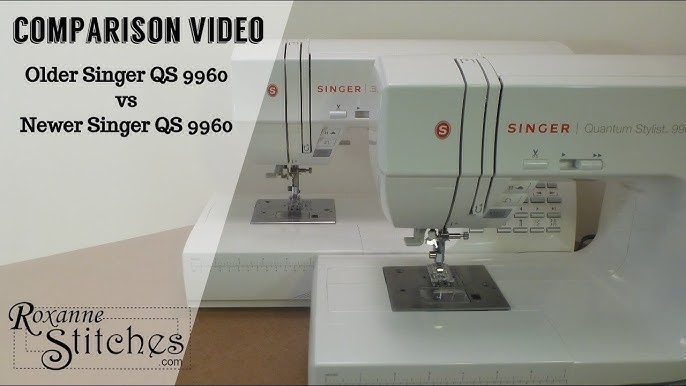
Quantum Stylist 9960 for First-Time Embroiderers
The 9960 makes your first embroidery projects surprisingly simple with its intuitive computerized interface and 600 built-in stitches. You’ll appreciate how the large LCD screen clearly displays each stitch pattern, eliminating guesswork when selecting designs. This model’s multiple monogramming fonts let you personalize items immediately without needing design software—perfect when you’re just learning how to embroider with a Singer sewing machine.
Legacy SE300 for Dedicated Embroidery Projects
With 200 built-in embroidery designs and a dedicated embroidery workspace, the SE300 eliminates the learning curve of converting your regular sewing machine. Its USB port lets you import custom designs in common formats like .pes and .dst, while the expanded embroidery area accommodates larger projects without re-hooping. You’ll complete complex multi-color designs faster since the machine automatically stops for thread changes and trims jump threads between sections.
SE9180 Advanced Sewing/Embroidery Combo
The SE9180 delivers professional results with its 7″ color touchscreen and 170x100mm embroidery area—large enough for substantial projects like tote bags or jacket backs. When you learn how to embroider with a Singer sewing machine like this model, you’ll appreciate features like automatic needle threading and wireless design transfer via the mySewnet™ app. The machine remembers your last project settings, so you can pick up exactly where you left off without reconfiguring everything.
Heavy Duty 4452 for Embroidering on Tough Fabrics
Don’t overlook your 4452 for embroidery on denim, canvas, or upholstery fabric. While it lacks built-in embroidery designs, its powerful motor handles thick layers that would stall other machines. You’ll need to purchase an embroidery foot and hoop separately, but this workhorse delivers clean, consistent stitches on heavy materials where other machines struggle. When embroidering with a Singer sewing machine designed for durability like this, use size 90/14 needles and cut-away stabilizer for best results.
Must-Have Supplies for Perfect Embroidery Results

Critical Tools Checklist
- Multiple hoop sizes (4″, 6″, and 8″ diameters) to match your design dimensions
- Specialized stabilizers:
- Tear-away for stable fabrics like cotton and linen
- Cut-away for stretchy knits or heavy materials
- Water-soluble for delicate silks where backing must disappear
- Essential feet:
- Free motion foot for manual embroidery control
- Embroidery foot for computerized models
- Precision tools:
- Small embroidery scissors for tight thread trimming
- Size 70/10 or 90/14 embroidery needles (replace every 8-10 hours)
Thread Selection That Makes or Breaks Your Project
Embroidery thread (2-ply construction) creates smoother, flatter stitches than regular 3-ply sewing thread. Rayon thread delivers brilliant sheen perfect for decorative items like pillowcases, while polyester thread withstands frequent washing for kitchen towels or children’s clothing. Never use cheap craft store thread—its inconsistent thickness causes skipped stitches and breakage. When starting how to embroider with a Singer sewing machine, keep both rayon and polyester on hand to match your project needs.
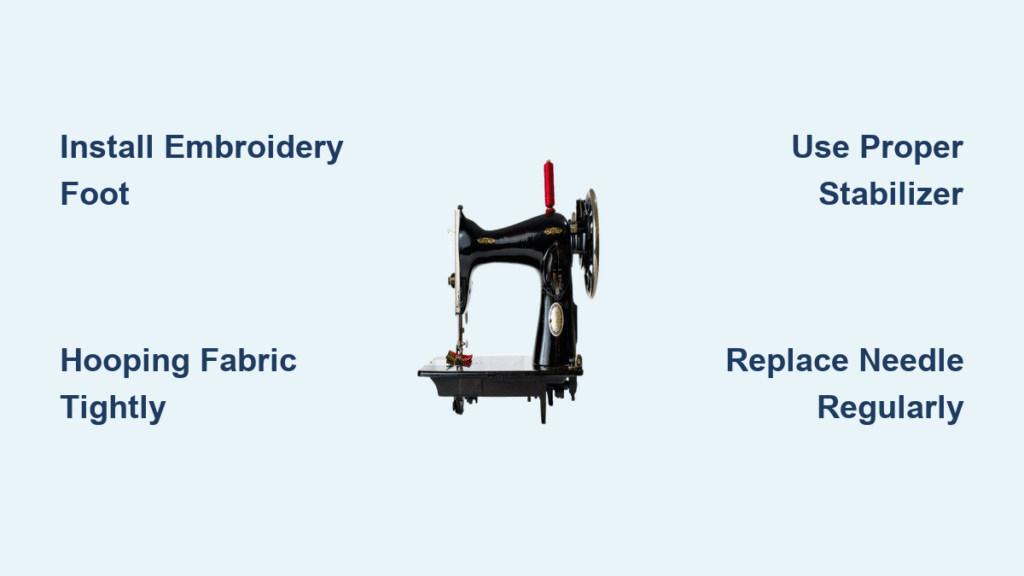
Machine Setup Checklist for Flawless Embroidery
Critical Configuration Steps
- Remove standard presser foot by pressing the foot release lever—this is non-negotiable for free motion work
- Install your embroidery foot until you hear it click securely into place
- Lower feed dogs completely using the lever near the bobbin case (partial lowering causes uneven stitches)
- Thread with embroidery-specific thread through every guide—missing one causes tension issues
- Wind a matching bobbin slowly to prevent tangles in the thread
- Set tension to 4 initially, then adjust based on a test stitch on scrap fabric
Reliable Design Transfer Methods
Computerized Singer models accept designs through multiple channels. Insert a USB drive with .pes, .exp, .jef, or .dst format files directly into the machine’s port for instant access. WiFi-enabled models like the SE9180 let you send designs wirelessly from your smartphone using the mySewnet™ app—ideal when you’re learning how to embroider with a Singer sewing machine and want quick design changes. For built-in designs, navigate the touchscreen to select, resize, and reposition patterns before stitching begins.
Troubleshooting Your Most Frustrating Embroidery Problems
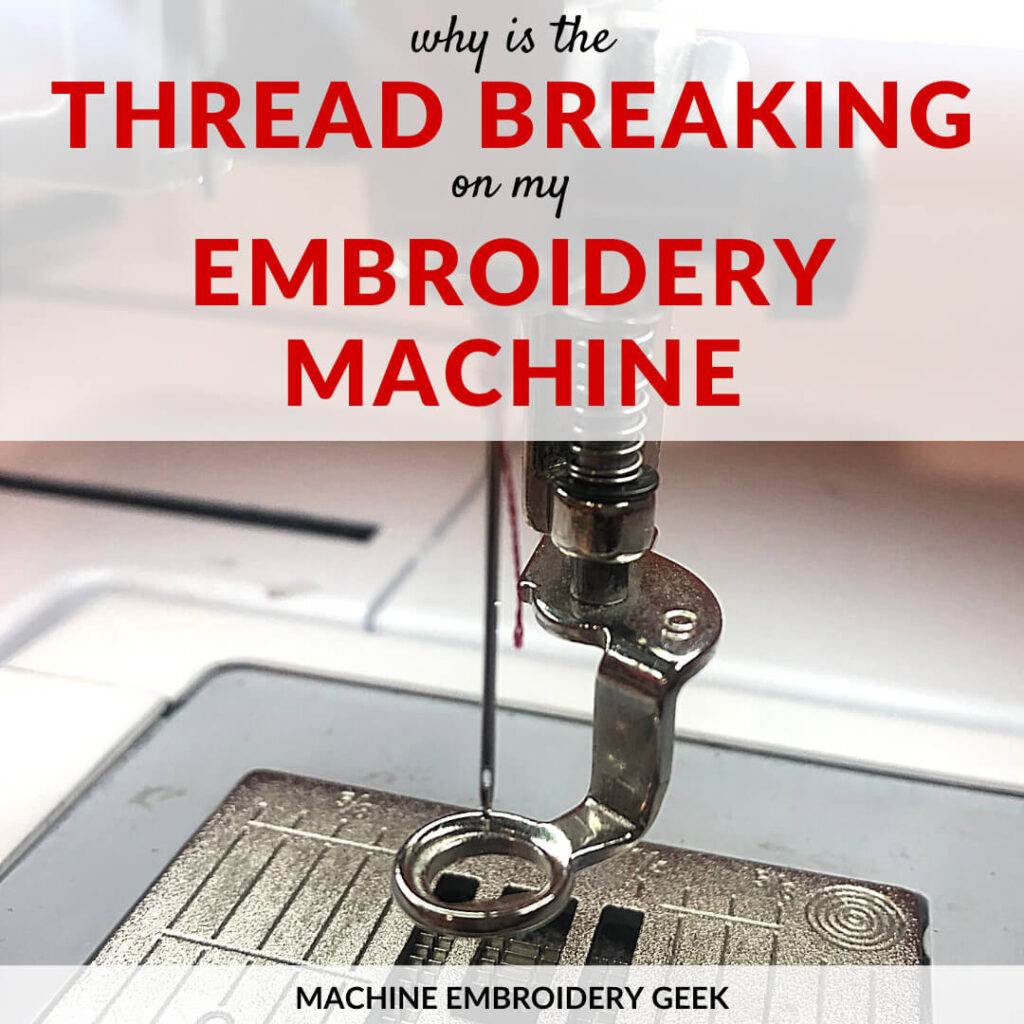
Stop Thread Breakage in Its Tracks
Replace your needle every 8-10 hours of embroidery time—dull needles shred expensive threads. Re-thread completely following the machine’s path precisely; one missed guide causes constant breakage. Reduce upper tension if thread snaps during stitching, but don’t go below 2.5 or stitches will loosen. Verify thread quality—cheap threads break 3x more often than quality embroidery thread.
Eliminate Fabric Puckering Immediately
Hoop fabric taut as a drum but not stretched—puckering happens when fabric shifts during stitching. Match stabilizer to fabric weight; lightweight cotton needs less support than stretchy knits. Reduce stitch density for delicate fabrics using your machine’s settings menu. Check both upper and bobbin tension—uneven tension pulls fabric into stitches.
Proven Maintenance for Long-Lasting Embroidery Performance
Daily Cleaning Routine After Embroidery
Remove lint from the bobbin area with the included brush—embroidery creates 5x more lint than regular sewing. Wipe the needle plate with a dry cloth to remove thread fuzz that affects stitch quality. Check thread guides for accumulated debris that causes thread breakage during your next project.
Monthly Machine Care Checklist
Replace needles every 8-10 hours of embroidery use—keep a log on your machine. Inspect the bobbin case for nicks that cause tension fluctuations. Store your Singer under a breathable dust cover in a stable temperature environment—avoid garages or attics where humidity damages electronics.
Beginner Projects That Build Real Skills Fast
Start with monogrammed handkerchiefs using your Singer’s built-in fonts to master hooping and thread tension. Move to simple geometric designs on canvas tote bags where mistakes are less noticeable than on clothing. Your third project should be decorative patches on scrap fabric—this teaches you to manage thread color changes and jump threads. Each project builds confidence while creating useful items you’ll actually use.
Critical Safety Practices Every Embroiderer Must Follow
Always lower the presser foot before starting—embroidering with the foot up guarantees broken needles and potential injury. Keep fingers clear of the needle path by guiding fabric with the hoop edges only. Begin at slow speed (setting 1-2) until you develop hand-machine coordination. Unplug your Singer when changing needles or feet—electrical components remain live even when “off.”
Transform your Singer sewing machine into an embroidery powerhouse with these proven techniques. From simple monograms to complex multi-color designs, your creativity is the only limit. Start with basic projects, master the fundamentals, then gradually tackle more ambitious designs. With proper setup, quality supplies, and these step-by-step instructions, you’ll create professional-quality embroidery that rivals expensive commercial machines. Your journey learning how to embroider with a Singer sewing machine begins with your very next project—so thread up and start creating today.


