
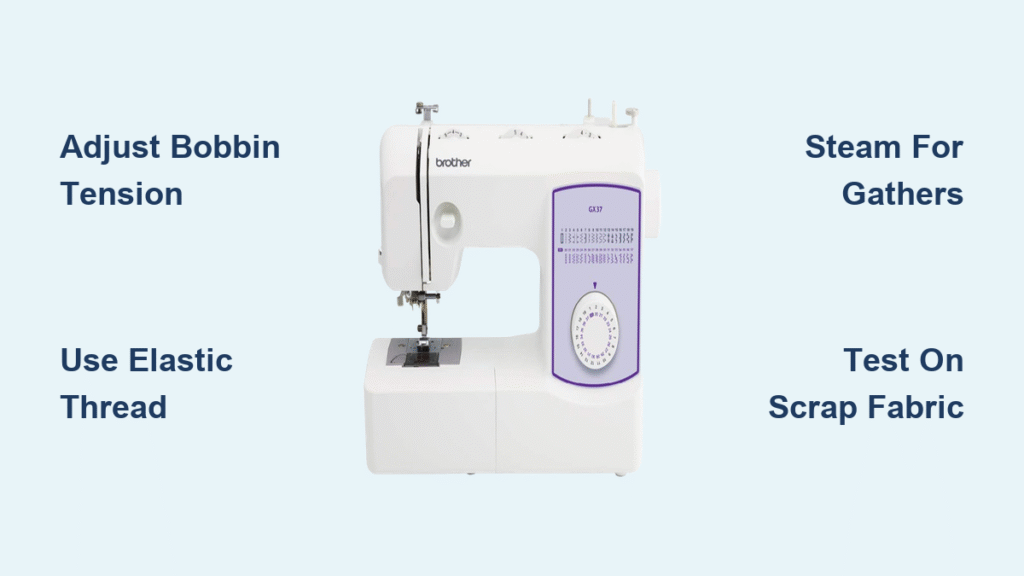
Your dress bodice lies flat and lifeless when it should be beautifully gathered. You’ve tried shirring before but ended up with puckered fabric or snapped elastic thread. Here’s the truth: your Brother sewing machine can create professional shirring in under 20 minutes—if you know the critical tension adjustments specific to your model. This guide reveals exactly how to adjust drop-in and front-loading Brother machines differently, avoid the #1 mistake that ruins elastic thread (backstitching!), and activate perfect gathers with steam. By the end, you’ll confidently transform fabric into stretchy, contour-hugging magic for dresses, waistbands, and cuffs.
Why Your Brother Machine’s Bobbin Type Changes Everything

Shirring fails when you treat all Brother machines the same. Drop-in bobbin models (like the XR9550 or SE1900) require tightened bobbin tension, while front-loading machines (such as the CS6000i or PQ1500SL) need loosened tension—a single wrong turn ruins your project. Elastic thread behaves oppositely to regular thread: when tightened in drop-in machines, it pulls the top thread down to gather fabric. In front-loaders, loosening lets the elastic retract freely. Skip this adjustment, and you’ll get tangled thread nests or zero gathering. Always identify your bobbin type first: if you lift a clear plastic lid to access the bobbin, you have a drop-in model. If you remove a metal case from the front, it’s a front-loader.
Gather Supplies Before Touching Your Machine
Critical Tools You Can’t Skip
- Elastic thread: Sewology brand (Hobby Lobby) or YLI stretch thread—cheap elastic breaks constantly
- Flat-head micro screwdriver: From an eyeglass repair kit (Phillips heads strip tension screws)
- Steam iron: Essential for activating gathers (dry ironing won’t shrink fabric)
- Pre-washed fabric: Cotton lawn or voile works best; never use stiff fabrics like denim
Fabric Prep That Prevents Disaster
Mark 1/2″ to 1″ parallel lines on your fabric’s wrong side using a water-soluble pen. Cut fabric 2–3 times longer than your finished measurement—shirring reduces length by 33–50% depending on elastic thickness. Always pre-wash to avoid post-shirring shrinkage surprises. Test tension on a scrap swatch first; wasting $2 of fabric beats ruining your $30 dress panel.
Fix Drop-In Brother Machines: 4-Step Tension Adjustment
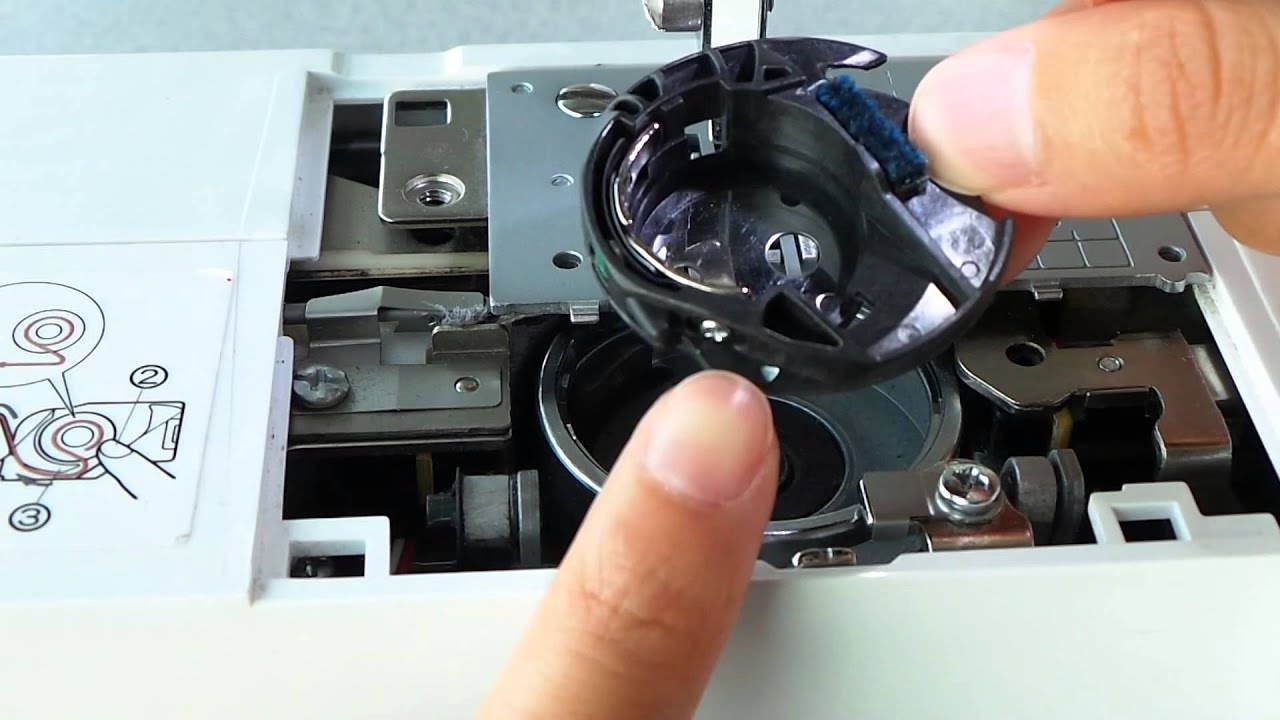
Remove the Bobbin Case Without Breaking It
Lift the clear plastic bobbin lid and remove the bobbin. Press the latch toward the machine body to slide off the metal plate covering the bobbin case. Grip the black plastic bobbin case by its sides (not the thread slot) and wiggle it straight up—never twist or force it. If it sticks, gently tap the case’s edge with a screwdriver handle. This feels unnerving the first time but becomes routine.
Adjust the Green Tension Screw Correctly
Locate the tiny green flat-head screw on the bobbin case’s side—never use a Phillips screwdriver here. With your pencil mark noting the original position, turn clockwise 1/2 to 3/4 turn to tighten. Over-tightening causes thread breakage; under-tightening creates loose gathers. Pro tip: Rest your pinky on the machine bed for stability while turning.
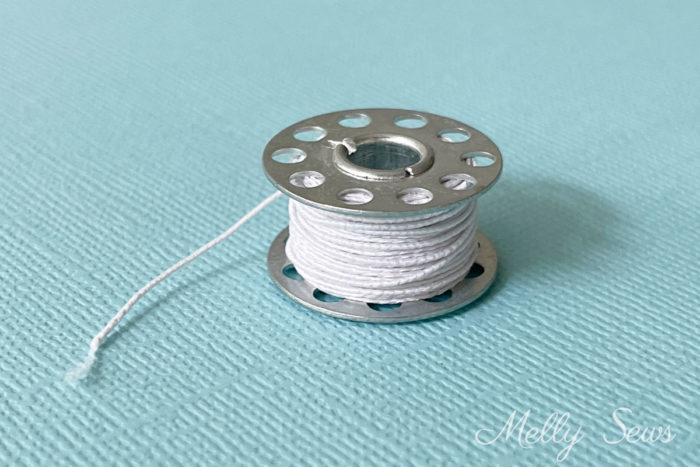
Wind Elastic Thread Without Tangles
Place elastic thread on the spool pin and hold the end against the bobbin with your thumb. Press the foot pedal slowly while maintaining light tension on the spool—fast winding stretches and weakens elastic. Stop when the bobbin is 90% full; overfilling prevents proper seating. The elastic should feed smoothly through your fingers like a rubber band.
Thread the Machine for Flawless Stitching
Hand-feed elastic thread through the tension spring slot in the bobbin case until it clicks into the notch. Leave a 3-inch tail hanging out. Set your machine to:
– Stitch length: 2.5–3.0 (longer stitches prevent thread snapping)
– Upper tension: 3 (never higher)
– Presser foot: Standard foot (no special attachment needed)
Sew Shirring Rows That Gather Evenly
Test on Scrap Fabric First—No Exceptions
Sew three parallel rows on your test swatch. After steaming, check:
– Tight gathers = correct tension
– Loose puckers = tighten screw 1/8 turn more
– Thread nests = loosen screw slightly
Never skip this step—it takes 2 minutes and saves hours of rework.
Sew Rows Without Breaking Elastic
Start with fabric right side up. Backstitch only 2–3 stitches at row beginnings (full backstitching severs elastic). For subsequent rows, gently stretch the previous gather with your left hand while sewing to maintain consistent spacing. When ending a row, pull threads 3 inches away from the machine and snip manually—never use the thread cutter. Elastic retracts violently into the bobbin area if cut at the machine.
Activate Gathers With Steam (The Magic Step)
Lay shirred fabric right side up on your ironing board. Hover a steam iron 1 inch above the fabric for 5 seconds per section—no direct contact. Watch gathers tighten dramatically as the elastic shrinks. For thicker elastic, press lightly with the iron’s tip. Fabric will reduce 50% in length; thicker elastic (like 1.5mm) shrinks it to 1/3 original size.
Front-Loader Brother Machines: Opposite Tension Fixes
Adjust the Metal Bobbin Case Correctly
Remove the front-loading metal bobbin case. Find the tiny screw on its side and turn counterclockwise 1/4 turn to loosen (opposite of drop-in machines). Mark the screw’s starting position with chalk. Over-loosening causes thread nests; under-loosening prevents gathering. Reinsert the case until it clicks securely.
Wind Elastic Thread by Hand Only
Unlike drop-in models, never use the machine winder for front-loaders. Wind elastic onto the bobbin by hand while holding light tension. Wrap evenly until 3/4 full—bulging bobbins jam the case. Thread through the case’s notch and leave a 3-inch tail. Set stitch length to 3.0; upper tension stays at 4.
Sew Rows With Zero Breakage
Begin sewing with elastic thread tails pulled up through the needle plate. Stretch the fabric slightly as you sew each row to prevent tunneling. When changing bobbins mid-row, tie elastic ends together in a square knot before continuing—this prevents unraveling better than backstitching.
Fix These 4 Shirring Emergencies Immediately
Elastic Thread Won’t Stay Secured
Backstitching fails because elastic retracts. Solution: Knot elastic thread tails together at row ends using a square knot. Pull both ends to the fabric’s wrong side and secure with a hand-sewn slip stitch.
Bobbin Case Won’t Stop Spinning
This means elastic thread bypassed the tension spring. Solution: Remove the case and rethread—elastic must click into the spring slot. Run your finger along the thread path to feel for snags; rough spots shred elastic.
Gathers Are Uneven or Skipped
Solution: Check tension screw position first. If correct, reduce presser foot pressure (if your model has this feature). Sew slower—rushing causes inconsistent gathers. Always stretch previous rows while sewing new ones.
Thread Breaks Every Few Stitches
Solution: Replace the needle (size 80/12 works best). Check for burrs in the bobbin case using a magnifying glass—sand rough spots with fine emery cloth. Hold the elastic spool loosely while sewing; too much tension snaps threads.
Professional Finishing Secrets They Don’t Teach
Hide Thread Ends Like a Pro
Pull elastic thread tails to the wrong side using a bodkin needle. Tie them in a square knot around the top thread, then stitch over the knot 2–3 times with a hand needle. Trim ends to 1/4 inch—this prevents unraveling without bulky knots.
Steam Press Without Distorting Gathers
Use a press cloth and steam vertically from above—never press down. For delicate fabrics, hold the iron 2 inches away and blast steam for 3 seconds. Cotton shirring needs 5 seconds of steam; lightweight rayon requires only 2.
Reset Your Machine in 90 Seconds
After shirring, return the tension screw to your pencil mark. Test on scrap fabric with regular thread—stitch should look balanced on both sides. Clean the bobbin area with a small brush; elastic residue gums up tension discs. Oil the hook race if you did extensive shirring.
Perfect Shirring Projects for Your Next Make
Shirring shines on:
– Child’s summer tops (no zippers or buttons needed)
– Maternity dress waistbands that expand with your bump
– Sleeve cuffs that stay put without elastic casings
– Pillow covers with gathered center panels
– Bodices that contour to curves without darts
Thick elastic (1.5mm) creates dramatic gathers for bodices; thin elastic (0.8mm) gives subtle texture for blouses. Always test your exact fabric/thread combo—quilting cotton shrinks less than voile. When in doubt, cut fabric 3x longer than needed; you can always trim excess after shirring.
Your Brother machine holds shirring secrets once you master its tension quirks. Start with scrap fabric, tighten drop-in screws clockwise (loosen front-loader screws counterclockwise), and steam for instant transformation. In just 15 minutes, you’ll create gathers that rival store-bought clothing—no specialty feet or expensive threads required. The next time you see flat fabric, imagine it gathered and stretchy, ready to hug every curve perfectly. Now go thread that bobbin and make magic.


