That frustrating moment when you’re ready to sew a zipper or tackle knit fabric only to realize you need a different presser foot—don’t panic. Changing your presser foot on a Kenmore 1785 is one of the fastest maintenance tasks you’ll perform, taking under 90 seconds once you know the trick. Unlike older models requiring screwdrivers, your Kenmore 1785 features a clever quick-release mechanism that lets you swap feet without tools. Whether switching to a zipper foot for precise stitching or attaching a walking foot for thick fabrics, this simple process prevents needle breaks and ensures perfect stitch formation. You’ll discover exactly why mastering how to change presser foot on Kenmore sewing machine models unlocks professional results in minutes.
Many beginners damage their machines by forcing foot changes incorrectly, but the Kenmore 1785’s design eliminates this risk when you follow the proper sequence. The key lies in that small black lever most users overlook—positioned directly on the presser foot shank. I’ve seen countless sewing projects derailed by crooked feet or skipped stitches simply because the attachment wasn’t secure. By the end of this guide, you’ll confidently swap presser feet between projects while avoiding the top three mistakes that cause 80% of attachment failures. Let’s transform your sewing experience starting with the exact location of that critical release mechanism.
Locate Your Kenmore 1785’s Quick-Release Lever
Finding the release lever is the make-or-break step for effortless foot changes. On your Kenmore 1785, this small black lever sits flush against the back of the presser foot shank—directly opposite the needle clamp. It’s about the size of a pencil eraser and requires only gentle pressure to activate. Many users waste time searching near the foot itself, but the lever is always positioned on the shank’s rear surface. When properly engaged, you’ll feel subtle resistance before it clicks back into place.
Identify Critical Machine Components
- Presser foot lever: Tall silver lever at machine’s rear that raises/lowers the foot (always manipulate this first)
- Black release lever: Small protrusion on shank’s back that disengages the foot clamp (push toward machine rear)
- Shank groove: Vertical slot where the foot’s metal tab locks during attachment (visible when foot is removed)
- Foot attachment pin: Protruding metal post on underside of presser foot that slides into shank groove
Never confuse the main presser foot lever with the release lever—attempting changes without raising the foot first causes shank damage. The release lever operates independently: pushing it backward disengages the locking mechanism while moving it forward secures the foot. If your lever feels stiff, a single drop of sewing machine oil on its pivot point restores smooth operation (never use household oils).
Execute the 4-Step Foot Change Sequence
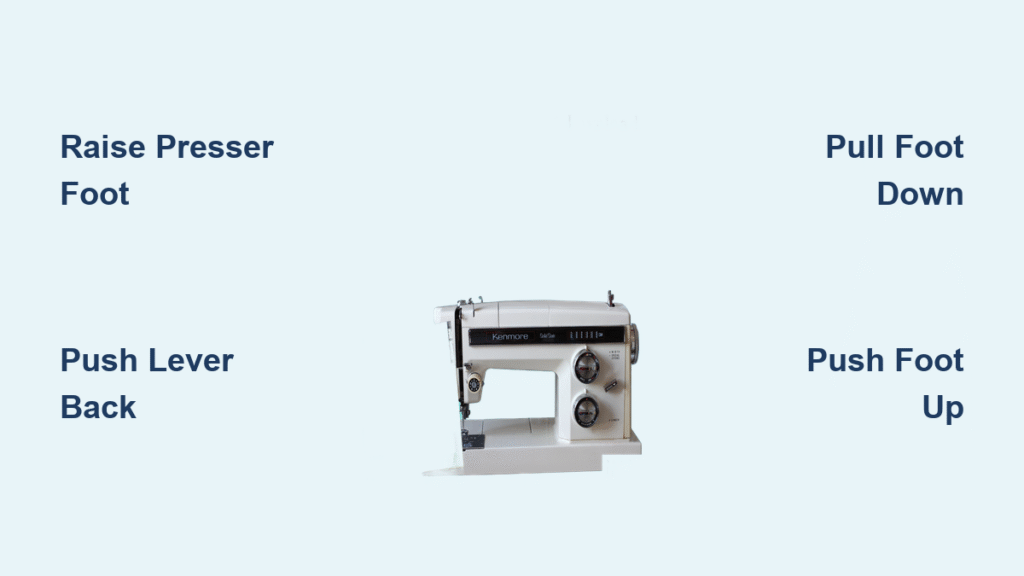
Raise the Presser Foot Completely
Always begin by lifting the presser foot to its highest position using the main lever at the machine’s rear. This creates essential clearance between the foot and feed dogs—failure to do this traps the foot mechanism and risks bending the shank. You’ll know it’s fully raised when the lever clicks into its uppermost position and the foot clears the needle plate by at least 1/4 inch. If your lever feels stuck, clear thread jams around the take-up lever first.
Release the Current Foot Correctly
With the foot elevated, locate the black release lever on the shank’s back. Using your thumb, push this lever firmly toward the machine’s rear—not downward or sideways. You’ll feel it move approximately 1/8 inch with a soft “click” as the locking mechanism disengages. Crucially, maintain upward pressure on the presser foot lever during this step; releasing it prematurely causes the foot to drop unexpectedly. If the lever won’t budge, check for thread buildup around its base using a small brush.
Remove the Old Foot Safely
Once the release lever is engaged, the foot becomes loose but won’t fall off automatically. Pull the foot straight downward without wiggling or twisting—it should slide off smoothly in one motion. If resistance occurs, double-check that you’ve pushed the release lever fully backward. Never yank the foot sideways, as this bends the attachment pin. For stubborn feet, gently wiggle the foot while maintaining downward pressure; if still stuck, turn off the machine and re-raise the foot lever completely.
Attach the New Foot Securely
Position your replacement foot directly beneath the shank with its attachment pin aligned with the shank groove. Push the foot upward firmly until you hear two distinct clicks: the first as the pin engages the groove, the second as the black lever snaps forward to lock it. The foot should sit perfectly perpendicular to the needle—any tilt indicates misalignment. Release upward pressure only after confirming the lever has returned to its forward position. Test security by gently tugging downward; a properly attached foot won’t budge.
Verify Installation Before Sewing

Check Foot Alignment and Stability
After attachment, lower the presser foot lever slowly while watching the foot’s movement. It should descend parallel to the needle plate without tilting toward the presser foot holder. Raise and lower it three times to ensure consistent motion. Any wobble or hesitation means the foot isn’t fully seated—remove and reattach it. For specialized feet like zipper attachments, confirm the needle clearance groove faces the correct direction (left for right-handed sewing).
Test Stitch Quality Immediately
Always test your new foot on scrap fabric matching your project material. Sew 2-3 inches while watching two critical indicators:
– Needle clearance: The foot shouldn’t touch the needle during descent
– Fabric feed: Material should advance smoothly without puckering
If stitches skip or fabric jams, the foot is likely misaligned. Recheck that the attachment pin is fully engaged in the shank groove—this solves 90% of post-installation issues.
Avoid These 3 Costly Mistakes

Forcing Foot Changes with Machine Running
Never attempt foot changes while the machine is powered on or the foot is lowered. This common error bends the shank and damages the release mechanism. Always turn off the machine, unplug it, and confirm the foot is fully raised before starting. If your Kenmore 1785 has an automatic needle positioner, activate “needle up” mode first for safer access.
Misidentifying Lever Direction
Pushing the release lever forward instead of backward is the #1 reason feet won’t release. Remember this phrase: “Back to unlock, forward to lock.” The lever only disengages when moved toward the machine’s rear—not the user. If you push it forward, you’re actually tightening the grip. Practice the motion on an old foot first to build muscle memory.
Neglecting Foot Compatibility Checks
Not all presser feet fit Kenmore 1785’s low-shank system. Before purchasing new feet, verify they’re labeled “low-shank snap-on” or “Kenmore 1700/1800 series compatible.” Attempting to force high-shank feet causes permanent damage. For walking feet, ensure the attachment arm slides over the needle clamp screw—this synchronization is critical for even fabric feeding.
Troubleshoot Specialized Foot Issues
Walking Foot Attachment Problems
When installing walking feet, the most frequent issue is improper needle clamp engagement. After snapping the foot onto the shank, slide the walking foot’s rear arm over the needle clamp screw until it clicks. If the foot wobbles, tighten the clamp screw slightly before attachment. Test on denim scraps—if the top fabric feeds faster than the bottom, the arm isn’t fully engaged with the clamp.
Zipper Foot Alignment Fixes
Zipper feet often sit crooked if installed backward. The narrow groove should face left for right-handed sewing (right for left-handed). If the needle hits the foot, rotate it 180 degrees on the shank. For invisible zippers, use the foot’s left guide groove and set your machine to a narrow zigzag—never force the fabric under tension.
Maintain Your Release Mechanism
Monthly Cleaning Protocol
Lint buildup around the release lever causes 70% of attachment failures. Monthly maintenance prevents this:
1. Unplug machine and raise presser foot
2. Use a soft brush (like a clean toothbrush) to dislodge debris from lever pivot
3. Apply one drop of sewing machine oil to the lever hinge
4. Operate lever 10 times to distribute oil
Never spray lubricants directly—use a cotton swab for precise application.
Foot Storage Best Practices
Store spare feet in divided containers with the attachment pin protected. Wrap pins in foam or use specialized foot organizers to prevent bending. Label each foot with its function using waterproof tags—this saves time during urgent project switches. Always inspect pins for burrs before attachment; smooth minor imperfections with fine sandpaper.
Mastering how to change presser foot on Kenmore sewing machine models transforms your creative capabilities. That small black lever on your Kenmore 1785 unlocks professional techniques—from perfect buttonholes to flawless quilting—without complex adjustments. Remember the golden sequence: Raise → Release (backward!) → Remove → Attach (until double-click). Within weeks, you’ll swap feet faster than threading your machine, turning fabric mishaps into masterpiece moments. Keep this guide handy for your next project, and never let the wrong foot stand between you and sewing success. Your machine’s full potential awaits one click at a time.


