Your Kenmore machine suddenly starts making that awful “thunk” sound, or your stitches look like drunken ants marching across the fabric. Don’t panic—this is almost always a simple needle issue. Learning how to change needle on Kenmore sewing machine takes less time than brewing coffee, yet prevents costly repairs and transforms frustrating sessions into sewing bliss. Whether you’re wrestling with a snapped needle mid-quilt or prepping for a delicate silk project, this guide delivers the exact steps for every Kenmore model, plus pro tricks most manuals miss. You’ll master this essential skill in under 5 minutes and never dread threading disasters again.
Power Down Safety First
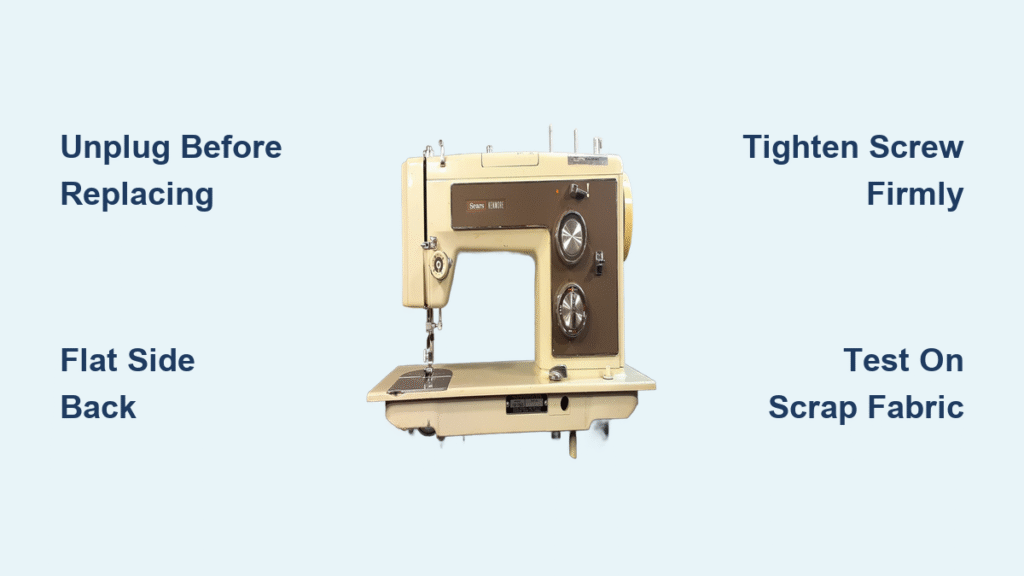
Before touching that needle, unplug your Kenmore completely and turn the power switch off. This isn’t optional—even a momentary foot-pedal bump while your fingers are near the needle bar could cause serious injury. Let the machine rest for 30 seconds if you’ve been sewing; internal components stay hot. Never skip this step to “save time.” A loose needle can snap violently when released, and electrical contact during replacement risks shock or motor damage. Your safety checklist: power off, cord unplugged, and handwheel stopped at top position. Treat every needle change like handling live ammunition—respect the machine’s potential.
Critical Safety Protocol:
– Confirm power switch is in OFF position
– Physically unplug from wall outlet
– Wait 30 seconds for capacitor discharge
– Position machine on stable surface
Remove Old Needle Safely

Access Needle Clamp Screw
Locate the needle clamp screw on the right side of the needle bar—that vertical metal shaft holding your needle. Most Kenmore models (like the popular 158 series) use a 1.8mm flathead screw. Use the tiny screwdriver from your machine’s accessory kit; a precision electronics screwdriver works if you’ve lost the original. Never substitute coin or pliers—they strip the delicate screw head instantly.
Loosen and Extract
Turn the screw counterclockwise 2-3 full rotations. The screw won’t detach—it just retracts enough to release the needle. Crucially, grip the needle shaft as you loosen. Dropping needles into the bobbin area causes expensive internal damage. Place a folded cotton scrap under the needle plate—it catches falling parts and protects your machine bed from scratches. If your needle snaps during removal, use needle-nose pliers to extract fragments—never operate with metal shards inside.
Pro Inspection Checklist:
– Bent shaft (even slight curves cause skipped stitches)
– Hooked/dull point (drag across fabric—it should feel smooth)
– Discolored thread grooves (indicates heat damage)
– Size markings (note for correct replacement)
Choose Correct Replacement Needle

Size Selection Guide
Kenmore sewing machines universally require 130/705H needles (also called 15×1 or HAx1). Match your fabric weight precisely:
- 60/8: Chiffon, organza, silk organza
- 70/10: Batiste, lightweight cotton, rayon
- 80/12: Quilting cotton, linen, broadcloth
- 90/14: Denim, corduroy, twill
- 100/16: Upholstery fabric, canvas
- 110/18: Vinyl, thick leather
Warning signs you chose wrong:
– Skipped stitches = needle too small
– Thread shredding = needle too large
– Fabric puckering = incorrect size/type
Pick Right Needle Type
Don’t assume “universal” works for everything. Your fabric demands specific needles:
- Ballpoint: Knits only—prevents ladder runs
- Microtex: Silk, microfiber, precision topstitching
- Denim: Reinforced shaft for heavy weaves
- Leather: Chisel tip cuts clean holes (no piercing)
- Quilting: Tapered point glides through batting
Install New Needle Correctly
Standard Kenmore Orientation
For 95% of Kenmore models (including 385 and 117 series):
- Hold needle with flat side facing BACK (away from you)
- Insert upward until it hits the stop—about 15mm deep
- Tighten screw firmly clockwise (finger-tight plus 1/4 turn)
- Verify eye position: Thread path runs front-to-back
Critical error: Forcing the needle downward cracks the clamp. It must go UP into the bar.
Kenmore 158.904 Special Case
This vintage workhorse breaks the rules:
– Flat side faces the clamp screw (not necessarily the back)
– Long groove faces LEFT when installed
– Double-check groove position before tightening—wrong orientation causes immediate thread breaks
Visual Verification
Manually turn the handwheel toward you (clockwise) to lower the needle. Watch for:
– Zero wobble: Perfect vertical descent
– Bobbin clearance: Needle misses case by 1-2mm
– Eye alignment: Thread slot faces front
Test Your Installation
Quick Stitch Test
Thread with matching-weight scrap fabric:
- Set machine to straight stitch (length 2.5)
- Hand-crank 5 stitches slowly
- Check results:
– No fabric pushing: Needle penetrates cleanly
– Balanced tension: Top/bottom threads interlock mid-fabric
– Zero thread shredding: Smooth stitching
Red flags requiring immediate recheck:
– Skipped stitches on second pass
– Thread shredding at needle eye
– Fabric puckering around stitches
Fix Common Installation Problems
Needle Won’t Stay Put
Cause: Clamp screw loose from vibration
Fix: Retighten firmly—test by gently wiggling needle. Over-tightening cracks the clamp; under-tightening causes stitch failures. Ideal torque: snug enough that needle doesn’t move when pressed sideways.
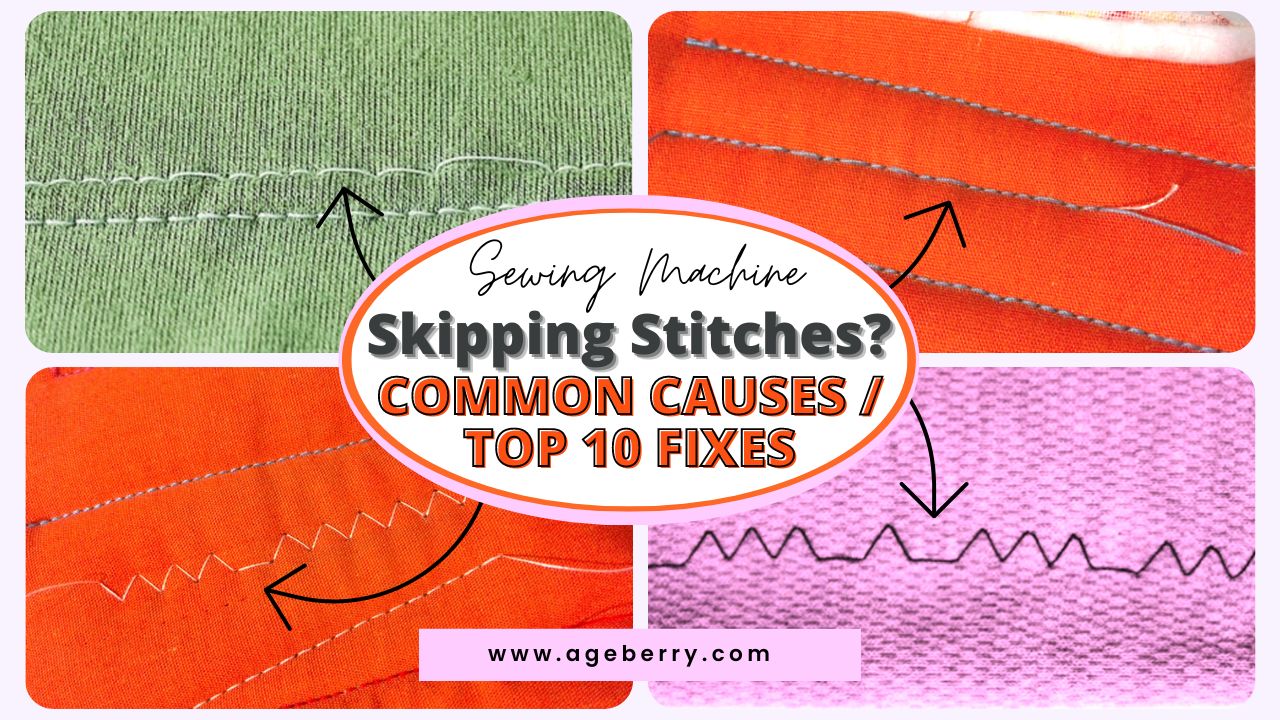
Skipped Stitches Persist
Cause: Wrong orientation or bent needle
Fix: For Kenmore 158.904, confirm groove faces left. For all models, reinstall with flat side exact. If problem continues, try a fresh needle—micro-bends are invisible but ruin stitches.
Thread Keeps Breaking
Cause: Needle inserted too low or wrong size
Fix: Push needle fully upward before tightening. Verify size matches fabric—90/14 for denim, not 80/12. Check for burrs on the needle eye with magnifying glass.
Needle Hits Bobbin Case
Cause: Bent needle or incorrect insertion depth
Fix: Replace needle immediately. If persists, your machine timing is off—stop sewing and consult a technician. Forcing it destroys the bobbin case.
Needle Maintenance Schedule
When to Replace
Never push needles beyond these limits:
– Every 6-8 sewing hours (set phone timer)
– After hitting ANY pin (even if needle looks straight)
– When switching fabric categories (knits to wovens)
– At project start (fresh needle = perfect tension)
Pro tip: Keep a sewing hour log in your machine case. Needles lose sharpness after 2 hours on denim but last 8 on silk.
Storage Best Practices
- Original packaging: Preserves size/type labels
- Compartmentalized organizer: Group by size (60/8, 70/10, etc.)
- Silica gel packet: Prevents rust in humid climates
- Sharps container: Repurpose pill bottles—never toss loose
Advanced Performance Tips
Needle Position Adjustments
Kenmore models with needle position dials (like 385.127000) require clearance checks:
– Test all positions before sewing
– Verify presser foot clearance—especially with zipper feet
– Adjust tension when moving left/right (lighter tension for left position)
Specialty Needle Uses
- Twin needles: Create parallel decorative lines (requires zigzag capability)
- Wing needles: Make intentional holes for heirloom embroidery
- Metallic needles: Prevent thread shredding on specialty threads
Safety Wrap-Up
Non-negotiable protocols:
– Always unplug before touching needle area
– Use needle insertion tool if provided (prevents pricks)
– Test new needle on scrap fabric first
– Reduce speed for first 10 stitches
Emergency response: If you hear grinding or feel vibration, STOP immediately. Broken needle fragments can jam the bobbin race—disassembling requires professional service. Never sew with a damaged needle; the $2 replacement cost beats $150 repairs.
Bottom line: Mastering how to change needle on Kenmore sewing machine is your fastest path to frustration-free sewing. A fresh, correctly installed needle solves 80% of “broken machine” panic. Keep a labeled organizer with 60/8, 80/12, and 90/14 needles in your kit—you’ll spend less time troubleshooting and more time creating. Remember: sharp needles mean happy machines, perfect stitches, and sewing sessions that actually feel joyful. Change it before every project, and your Kenmore will outlast your grandkids.

