
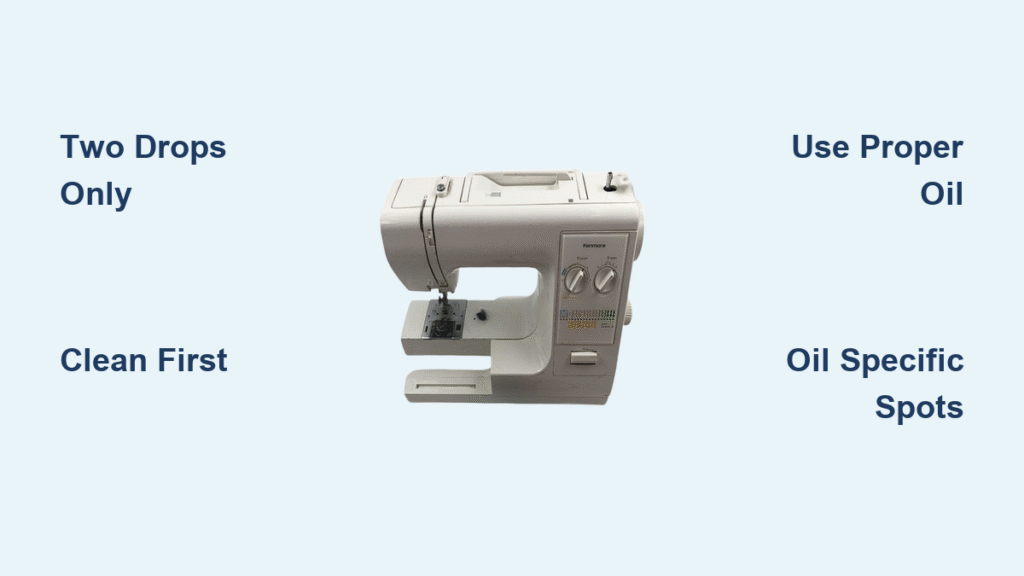
Your Kenmore Model 385 sewing machine suddenly develops a grinding noise, skips stitches on your quilt project, or seizes up completely mid-seam. These frustrating issues often trace back to one overlooked maintenance task: proper oiling. Without timely kenmore sewing machine oil maintenance, lint buildup and friction transform your reliable workhorse into a tension-tangled headache within hours of sewing. The good news? This $0.50 fix takes less than five minutes and prevents 90% of mechanical failures.
Unlike complex repairs, Kenmore 385 oil maintenance targets just two critical points—no guesswork needed. Skip household oils like WD-40 that gum up mechanisms, and avoid over-oiling disasters that stain fabrics. By following this precise routine, you’ll restore smooth, quiet operation while extending your machine’s lifespan by decades. Discover exactly where to apply oil, how much to use, and the simple schedule that keeps your vintage Kenmore humming through every project.
Locate Kenmore 385’s Hidden Oil Ports Before You Start
Your Model 385 has factory-marked oil points that eliminate guesswork—ignoring these leads to messy over-oiling or critical dry spots. These two locations handle 100% of lubrication needs; oiling elsewhere attracts lint and causes tension issues. Focus exclusively on these high-friction zones where metal parts rotate against each other.
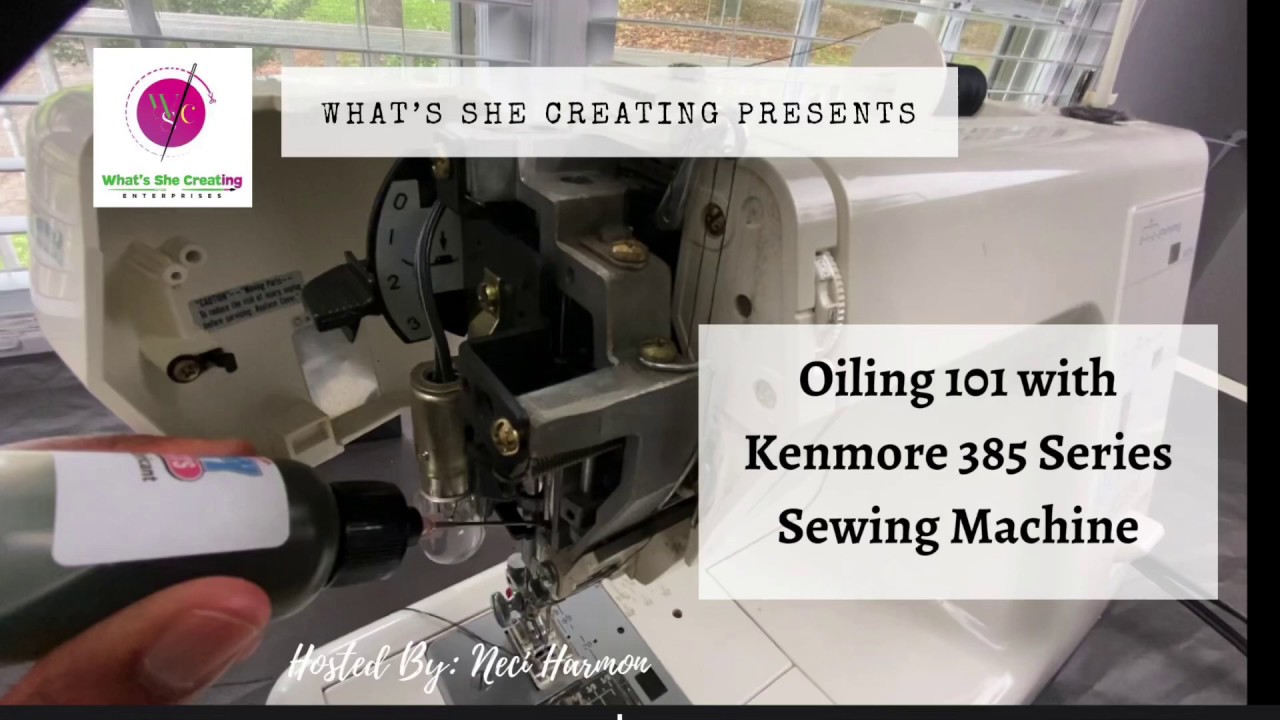
Identify Shuttle Race Oil Point (Critical for Hook Rotation)
Remove the needle and bobbin case to expose the circular metal race surrounding the silver hook mechanism. This is where thread tension nightmares begin when dry. Look for a small red dot or “OIL” stamp near the race’s edge—this factory indicator shows exactly where one drop prevents hook jams and thread breaks. Never oil the bobbin case itself; only the exposed race surface beneath it requires lubrication.
Pinpoint Needle Bar Oil Port (Prevents Stiff Needle Movement)
The vertical needle bar has a tiny oil port just above the needle clamp assembly. Tilt your machine toward light to spot this hidden hole or felt pad—it’s often camouflaged by metal plating. This spot lubricates the bar’s up-down motion; skipping it causes skipped stitches and broken needles. Confirm you’ve found it by checking for a slight indentation where oil absorbs instantly.
Select Correct Oil and Tools for Kenmore 385 Maintenance

Using improper lubricants destroys Kenmore 385 mechanisms faster than neglect. Household oils like 3-in-1 or cooking oil thicken into gummy residues that attract lint and void warranties. Only specialized sewing machine oil works—it’s clear, lightweight, and formulated to resist heat buildup during high-speed operation.
Why Sewing Machine Oil Is Non-Negotiable
Standard oils contain petroleum distillates that harden into sticky varnish when exposed to sewing machine heat. This gum coats gears and invites lint, creating abrasive paste that wears metal parts. Quality sewing machine oil (like Zoom-SPOUT or Liberty) stays fluid at high temperatures and won’t migrate onto fabrics. Keep it in a cool, dark place—exposure to light degrades its viscosity within months.
Essential Tool Checklist for Mess-Free Oiling
- Precision-tip oiler: Standard bottles drown mechanisms; use a needle-nose applicator for single-drop control
- Microfiber cloth: Lint-free wiping prevents fiber contamination
- Small soft brush: A 1/2″ paintbrush removes lint from tight spots (never use compressed air—it packs debris deeper)
- Bobbin wrench: Included with your machine for safe case removal
Pro tip: Store oil upright in its original container. Even a tipped bottle thickens oil through air exposure, reducing lubrication effectiveness by 40%.
Clean Lint Buildup Before Kenmore 385 Oiling (Critical Step)
Oiling over lint creates grinding paste that accelerates wear. Your Kenmore 385’s bobbin area traps fibers like a vacuum—this is ground zero for friction-related failures. Always clean first; skipping this step makes oiling counterproductive.
Remove Bobbin Components Safely
- Unplug machine completely—never work on powered equipment
- Lower presser foot and turn handwheel toward you to raise needle
- Remove needle to prevent puncture injuries
- Slide open bobbin cover and lift out case with gentle rocking motion
Warning: Forcing the case damages shuttle race alignment. If stuck, rotate handwheel slightly to reposition the hook.
Targeted Lint Removal Techniques
- Bobbin race: Sweep debris clockwise with brush—never scrape metal
- Feed dogs: Lift needle plate and brush under teeth (cotton fibers jam here)
- Needle bar shaft: Wipe vertical groove with dry cloth to remove thread shreds
Check for “lint nests” where threads ball up—these cause sudden machine lockups. One minute of cleaning prevents hours of frustration later.
Kenmore 385 Oil Application: Two Drops Done Right
This isn’t guesswork—your Model 385 needs exactly two drops total. Over-oiling causes more problems than under-oiling, so precision matters. Apply oil only to the cleaned ports we identified earlier.
Oil Shuttle Race Without Fabric Stains
- Apply one drop directly onto the marked race surface (not inside hook mechanism)
- Rotate handwheel slowly 4 full turns clockwise to distribute oil
- Wipe excess immediately with microfiber cloth—visible oil means too much
Key visual: Oil should disappear into metal pores. If it pools, you’ve used 3x too much.
Lubricate Needle Bar Mechanism Correctly
- Find oil port above needle clamp—look for faint oil absorption when touched
- Apply one drop directly into port (oil should vanish within 5 seconds)
- Cycle needle 6 times via handwheel to work oil into bushings
Pro tip: After oiling, run machine at slow speed for 30 seconds on scrap fabric. This clears excess oil that could stain your project.
Test Your Kenmore 385 After Oil Maintenance
Never skip testing—this confirms proper lubrication and catches mistakes early. A correctly oiled machine feels fundamentally different in operation.
Performance Validation Checklist
- Handwheel test: Rotate smoothly with light finger pressure (no grinding)
- Sound check: Silent operation except for normal “thump” of feed dogs
- Stitch test: Sew 6″ straight line on muslin—no skipped stitches or thread breaks
Troubleshooting tip: If stiff after oiling, re-clean shuttle race—you likely missed compacted lint. Never add more oil.
Kenmore 385 Oil Maintenance Schedule That Prevents Breakdowns
Timing matters more than frequency. Your actual sewing hours—not calendar months—determine when oiling is due. Track usage to avoid both gummed-up mechanisms and wasteful over-maintenance.
Hour-Based Oil Timing Chart
| Usage Level | Weekly Sewing Time | Oil Frequency |
|---|---|---|
| Light | < 2 hours | Every 3 months |
| Moderate | 2-5 hours | Monthly |
| Heavy | > 5 hours | Every 8-10 hours |
Critical trigger: Oil immediately if you hear squeaking or feel resistance when turning handwheel—delaying causes permanent wear.
Avoid These Kenmore 385 Oiling Disasters
Most “unfixable” machine problems stem from oiling errors. These three mistakes cause 80% of post-maintenance failures.
Over-Oiling: The #1 Cause of Fabric Stains
Applying more than two total drops creates oil migration onto fabrics. One drop in shuttle race and one in needle bar is the absolute maximum—any more attracts lint and stains projects. If oil appears on fabric, you’ve used 300% too much.
Wrong Oil Locations That Damage Your Machine
Never oil:
– Motor housing (sealed for life)
– Electrical contacts (causes shorts)
– Plastic gears (dry lubricant only)
– Thread path (disrupts tension)
Myth busted: The needle eye doesn’t need oil—it’s self-lubricating via thread wax.
Skipping Pre-Clean: The Invisible Saboteur
Oiling dirty mechanisms creates grinding paste that wears metal 5x faster. Always brush lint from shuttle race first—this single step prevents premature hook replacement costing $50+.
Fix Post-Oiling Problems in 5 Minutes
Mistakes happen, but most oil-related issues resolve quickly with targeted fixes.
Eliminate Oil Stains on Fabric Immediately
Blot stain with paper towel, then run clean muslin through machine for 2 minutes. The fabric absorbs excess oil. Prevent recurrence by wiping shuttle race after every oiling session—visible oil means over-application.
Resolve Rough Operation After Oiling
This almost always means lint mixed with oil. Remove bobbin case, brush race area thoroughly, and re-oil with half a drop. Excess oil thickens lint into abrasive sludge—cleaning solves 95% of cases.
Long-Term Kenmore 385 Care for Decades of Service
Your vintage Model 385 can last 50+ years with this oil maintenance routine. Protect your investment with these pro habits.
Storage Protocol After Oiling
Always run machine for 1 minute on scrap fabric after oiling to work out excess. Then cover with breathable cotton cover—not plastic—to prevent dust buildup while allowing moisture escape. Store oil in original container away from heat sources.
Simple Usage Tracking System
Keep a $1 notebook beside your machine:
– Date oiling performed
– Hours sewn since last service
– Any unusual sounds or tension changes
This log prevents both neglected maintenance and wasteful over-oiling—most owners oil 3x too often.
Final Takeaway: Your Kenmore 385 requires just two drops of proper oil in two specific spots—nothing more. Perform this 5-minute kenmore sewing machine oil maintenance ritual every 8-10 sewing hours, and you’ll bypass 90% of mechanical failures while preserving vintage machine value. The quiet hum of a well-oiled shuttle race isn’t just satisfying—it’s the sound of decades of sewing projects waiting to happen. Start today: unplug, clean, apply two drops, and sew with confidence.


