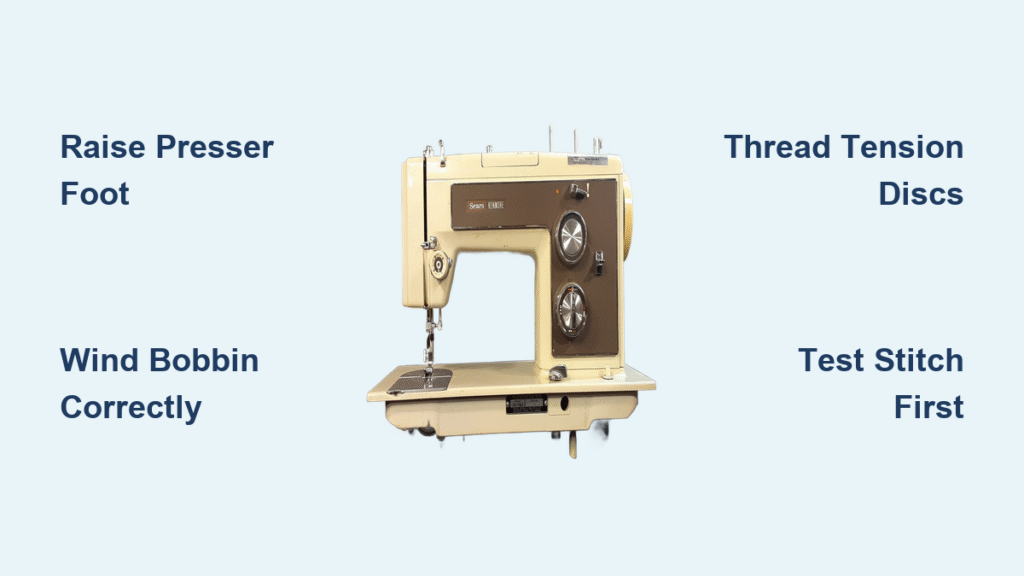
That new (or newly unboxed) Kenmore sewing machine sitting on your table isn’t just a pretty piece of equipment—it’s your ticket to creating custom garments, repairing cherished items, and unlocking creative freedom. But before you cut your first pattern, proper Kenmore sewing machine setup separates frustration from flawless stitching. Whether you’re reviving a vintage 158 series heirloom or unboxing a modern 385 model, skipping these critical steps guarantees tangled threads, skipped stitches, and unnecessary repairs. In under 30 minutes, you’ll master the exact sequence professionals use: workspace safety, bobbin winding, threading pathways, and tension calibration. This guide eliminates guesswork with model-specific fixes for Kenmore’s most common setup pitfalls.
The truth? 90% of sewing disasters stem from rushed setup—not machine defects. A single lint-clogged tension disc or misaligned bobbin thread causes more headaches than complex pattern work. Your Kenmore’s longevity depends on these foundational steps: positioning the machine correctly, winding bobbins with surgical precision, and threading paths that match your specific model number. By the time you finish this guide, you’ll not only thread your machine confidently—you’ll diagnose issues before they ruin your project fabric.
Prevent Needle Breaks: Critical Safety Steps for Kenmore Setup
Never touch needles or threading components while your Kenmore sewing machine is powered on—this risks electric shock and needle shattering. Start by rotating the handwheel counter-clockwise toward you until the needle locks at its highest position. This creates crucial clearance for threading and prevents accidental punctures. Next, slide the extension table leftward to expose the bobbin shuttle area; it should release smoothly without forcing. Position your machine on a sturdy surface with 6+ inches of clearance around the motor housing—Kenmore’s vintage models especially need airflow to prevent overheating.
Pro tip: Keep a rare-earth magnet nearby during setup. Kenmore needles (size 9-14) and bobbins are steel and vanish instantly into carpet fibers if dropped. This single habit saves 10+ minutes per project hunting tiny parts.
Position Your Machine for Zero Errors
Place your Kenmore where natural light hits the needle area directly—overhead lamps cast shadows that hide threading mistakes. For models like the 158.1625 or 385.16242, tilt the machine slightly backward so the bobbin shuttle faces you. Test stability by pressing firmly on the handwheel; if the machine rocks, add rubber grips under the feet. Crucially, unplug electric models before touching any internal components—even “off” switches can malfunction in older units.
Wind Your Kenmore Bobbin Perfectly: No More Tangles
Most threading failures begin with a poorly wound bobbin. Kenmore’s clutch mechanism must disengage the needle assembly first, or you’ll snap needles during winding. Locate the clutch knob concentric with your handwheel on the right side. Hold the outer handwheel steady with your left hand while turning the inner knob counter-clockwise until it clicks loose. You’ll feel resistance drop—this confirms the needle drive is disengaged.
Model alert: Kenmore 158.1430, 1431, 1625, 1641, 1940, and 1941 series skip the knob—they use a push-in clutch. Simply press the handwheel inward until it clicks to disengage.
Master the Bobbin Winder Path in 60 Seconds
- Thread the spool correctly: Insert the spool pin through the center hole so thread unwinds counter-clockwise from the back (not top!). If it spins freely, add a rubber band around the spool base.
- Engage tension discs: Guide thread from upper right, wrap leftward around the disc, exit to lower right—never loop fully or you’ll over-tension.
- Lock the bobbin shaft: Push the bobbin and shaft rightward until it clicks against the winder bumper. Hold the thread tail and press the foot pedal briefly.
- Trim and finish: After 3-4 thread layers, snip the tail (models 158.1340-1355 auto-snip). Let the winder stop automatically, then return the shaft leftward and cut a 2-inch tail.
- Re-engage clutch: Hold the handwheel and turn the clutch knob clockwise until tight—you should feel the needle move when rotating the wheel.
Critical mistake: Forcing the clutch knob breaks internal gears. If it won’t turn, check for thread jams around the handwheel assembly first.
Avoid Bobbin Jams: Load Your Kenmore Case Without Errors

A misloaded bobbin causes 70% of “thread won’t catch” failures. Start by pulling the latch toward you and lifting the case straight up—wiggling damages the shuttle hook. Once removed, release the latch completely; it should spring back to neutral position.
Insert Bobbin Correctly in 3 Steps
- Orientation matters: Place the bobbin so thread unwinds clockwise (if unspooling toward you, it should rotate like a clock’s hands).
- Thread the case: Lead the end into the top slot, then slide it under the tension spring until you feel resistance. Pull gently—if it slips out, the thread isn’t seated under the spring.
- Reinstall securely: Hold the latch open, slide the case into the shuttle with latch facing left, and push until you hear a solid click. Test by wiggling—it shouldn’t move.
Visual cue: When correctly installed, the bobbin case’s metal arm should sit flush with the shuttle bed. If it protrudes, reseat it.
Thread Your Kenmore Machine Without Tangles: Model-Specific Paths

Threading seems simple—until your 148 12200 model eats thread on the first stitch. Always raise the presser foot first to open tension discs, then rotate the handwheel until the take-up lever (left-front metal hook) reaches its highest point.
Standard Threading Path for 158/385 Series
- Spool to rear guide: Thread unwinds counter-clockwise from spool back, wraps leftward around rear guide, and draws down.
- Front guides A→B: Follow path A downward, hook at bottom, then path B upward.
- Tension spring: Slide thread into the spring slot left of path B—listen for a soft click.
- Take-up lever: Clip thread into the lever’s eye (it moves vertically during sewing).
- Needle threading: For front-facing eyes, thread front to back; side-facing eyes require left to right. Leave a 4-inch tail.
Sears Kenmore 148 12200 Special Fix
This model’s unique take-up lever trips up beginners. Do not thread the lever’s eye—instead, wrap thread once around the lever front-to-back, seating it snugly in the groove. Then thread the additional guide near the needle before the eye. Pull 6 inches of thread through the needle to prevent immediate jams.
Draw Up Bobbin Thread Without Snags: The 10-Second Test
With the presser foot raised, turn the handwheel one full rotation toward you. A small loop of bobbin thread should emerge through the needle plate. Gently tug the top thread tail—this pulls the bobbin thread up. Never yank; broken threads mean rethreading. Lay both threads under the presser foot with 4-inch tails extending backward.
Test immediately: Lower the presser foot and rotate the handwheel slowly. Both threads should feed smoothly together. If they snag, check:
– Bobbin thread isn’t caught on the case latch
– Top thread isn’t trapped behind tension discs
– Needle is fully raised before starting
Fix Kenmore Threading Issues: Stop Looping in 5 Minutes
Looping threads on fabric undersides? Lint in top tension discs causes this 99% of the time—not “broken machines.” Lint wedges discs apart, reducing pressure so excess thread pools below.
Clean Tension Discs Like a Pro
- Floss method: Dampen a 6-inch lycra strip with isopropyl alcohol. Slide it back-and-forth through the tension slot like dental floss. Repeat until the fabric emerges clean.
- Stubborn lint: Use a hat pin to dislodge packed debris, then re-floss. Never use metal tools—they scratch discs and ruin tension.
- Verify: Re-thread and test on scrap fabric. Balanced stitches show identical thread loops on both sides.
Quick Issue Solver Table
| Symptom | Instant Fix |
|---|---|
| Thread won’t catch | Re-engage clutch; check 148 12200 lever wrap |
| Loose top stitches | Clean tension discs; rethread with foot raised |
| Fabric won’t feed | Lower presser foot; set stitch length above “0” |
Kenmore Model-Specific Setup Cheat Sheet
| Model Series | Clutch Type | Critical Setup Tip |
|---|---|---|
| 158.1340-1355 | Turn knob | Auto-snaps bobbin tail—no manual trimming |
| 158.1430-1941 | Push-in | Press handwheel in to tighten clutch |
| 148 12200 | Turn knob | Wrap thread around take-up lever (no eye) |
| 385.16242 | Turn knob | Clean tension discs before first use |
Your Kenmore Setup Checklist: 6 Steps Before First Stitch
Verify these before touching fabric:
– [ ] Clutch fully tightened (needle moves when handwheel turns)
– [ ] Needle at highest position (no fabric pinching risk)
– [ ] Bobbin case latched with audible click
– [ ] Top thread seated in tension spring and take-up lever
– [ ] Both threads under presser foot with 4-inch tails backward
– [ ] Test stitch on matching scrap fabric (adjust tension dial in ¼ turns)
Pro maintenance: After every project, run a dry lycra strip through tension discs. Store your Kenmore covered—dust causes 80% of “sudden” threading failures. Now that your Kenmore sewing machine setup is flawless, dive into your first project with confidence. Remember: perfect stitching starts long before the needle touches fabric.


