
Your stitches suddenly look like a tangled mess, or worse, the bobbin thread keeps snapping mid-project. Before you panic about broken machinery, the culprit might simply be your bobbin tension. Mastering how to adjust bobbin tension on Juki sewing machines can save you hours of frustration and expensive repair calls. Most tension issues stem from tiny imbalances between upper and lower threads—thread weight variations, lint buildup, or even humidity changes can throw off this delicate balance. The good news? Fixing it takes just five minutes once you know exactly where to look and how to make micro-adjustments.
Juki machines are precision instruments designed for flawless stitching, but they require proper tension harmony to perform. When your bobbin tension drifts, you’ll see loops on fabric undersides, puckered seams, or broken threads that sabotage your projects. Unlike upper thread tension (controlled by your machine’s dial), bobbin tension lives inside the bobbin case and rarely needs adjustment—until it does. Learning how to adjust bobbin tension on Juki sewing machines empowers you to diagnose and fix issues before they ruin expensive fabrics. In this guide, you’ll discover exactly where to find the tension screw, how to test tension accurately, and why quarter-turn adjustments make all the difference.
Diagnose Bobbin Tension Failures in 60 Seconds
Top Thread Loops Underneath Fabric
When your upper thread forms visible loops on the fabric’s underside, your bobbin tension is too loose. The bobbin thread can’t pull the upper thread deep into the fabric layers, leaving messy nests that unravel with a tug. This commonly happens after switching to heavier threads like upholstery weight or when lint clogs the tension spring. Critical tip: Always rethread both upper and lower threads first—90% of “bobbin tension” issues actually stem from missed threading steps.
Bobbin Thread Showing on Topside
If bobbin thread appears as visible streaks on your fabric’s right side, your bobbin tension is too tight. This strangles the upper thread, preventing proper interlocking and causing fabric puckering. You’ll notice this most with lightweight fabrics like silk organza or when using fine metallic threads. Don’t panic: This requires only a slight counterclockwise tweak—not a major overhaul.
Fabric Distortion During Sewing
Puckering or gathering along seams signals severe tension imbalance. Tight bobbin tension yanks fabric upward into the machine, while loose tension creates wavy, unstable seams. Test with your actual project fabric sandwich (two layers with interfacing if used). If puckering persists after upper tension adjustments, it’s time for bobbin intervention.
Gather Your Adjustment Toolkit Before Starting
Precision Screwdriver Matching Juki Specifications
Your Juki shipped with a micro-flathead screwdriver designed specifically for tension screws. If lost, use a 1.5mm precision screwdriver—anything wider risks stripping the tiny screw head. Warning: Never substitute with jeweler’s screwdrivers; their tapered tips damage Juki’s delicate threads. Keep this tool in your machine’s accessory tray for instant access.
Project-Matched Test Swatches
Cut 4×4 inch fabric squares using your actual project material and thread. A cotton muslin test won’t reveal issues on slippery satin or thick denim. Pro move: Sew test swatches with contrasting thread colors (dark upper thread, light bobbin thread) to instantly spot stitch imbalances.
Tension Verification Kit
Keep a small notebook to log adjustments. Note the screw’s starting position with a dot of removable marker. Include a tension gauge if available—most home sewists skip this, but it’s crucial for specialty threads.
Access the Bobbin Tension Screw Without Damage
Front-Load TL Series Access Path
For Juki TL- series (TL-98Q, TL-2010Q), raise the needle to its highest position using the handwheel. Slide open the hook cover plate, then lift the bobbin case straight up. The tension screw sits on the case’s outer rim above the spring-loaded arm—never confuse it with the larger case-holding screws.
Drop-In DX Series Hidden Location
On DX- series machines (DX-5, DX-7), remove the bobbin cover plate first. Lift the drop-in bobbin straight out—you’ll see the tension screw facing upward inside the case. Critical difference: DX models require holding the case steady with your non-dominant hand during adjustment to prevent spring displacement.
Identifying the Correct Screw
The tension screw is the smallest screw on the bobbin case (1-2mm wide), positioned directly above the thread path spring. When properly adjusted, it turns with smooth resistance—not stiffly or loosely. Red flag: If the screw spins freely without tension change, the spring may be dislodged—stop immediately.
Test Tension Before Making Any Adjustments
The 2-Inch Drop Test
Thread your bobbin case with a 6-inch thread tail. Hold only the thread (not the case) and let it dangle. Flick your wrist downward—the case should drop 1-2 inches then stop abruptly. If it falls freely, tension is too loose; if it doesn’t drop, it’s too tight. Time-saver: Perform this test over scrap fabric to catch falling cases.
Resistance Pull Test
Gently pull the thread tail while holding the case. Proper tension offers firm but smooth resistance—like stretching a rubber band. If thread slides freely or requires excessive force to move, adjustments are needed. Warning: Never pull hard enough to break thread; this damages tension springs.
Stitch Quality Verification
Sew a 3-inch straight line on your test swatch. Flip fabric: perfect tension hides the thread knot between layers with identical stitch appearance top and bottom. Key visual: Top thread should barely kiss the fabric underside without forming loops.
Make Micro-Adjustments That Actually Work

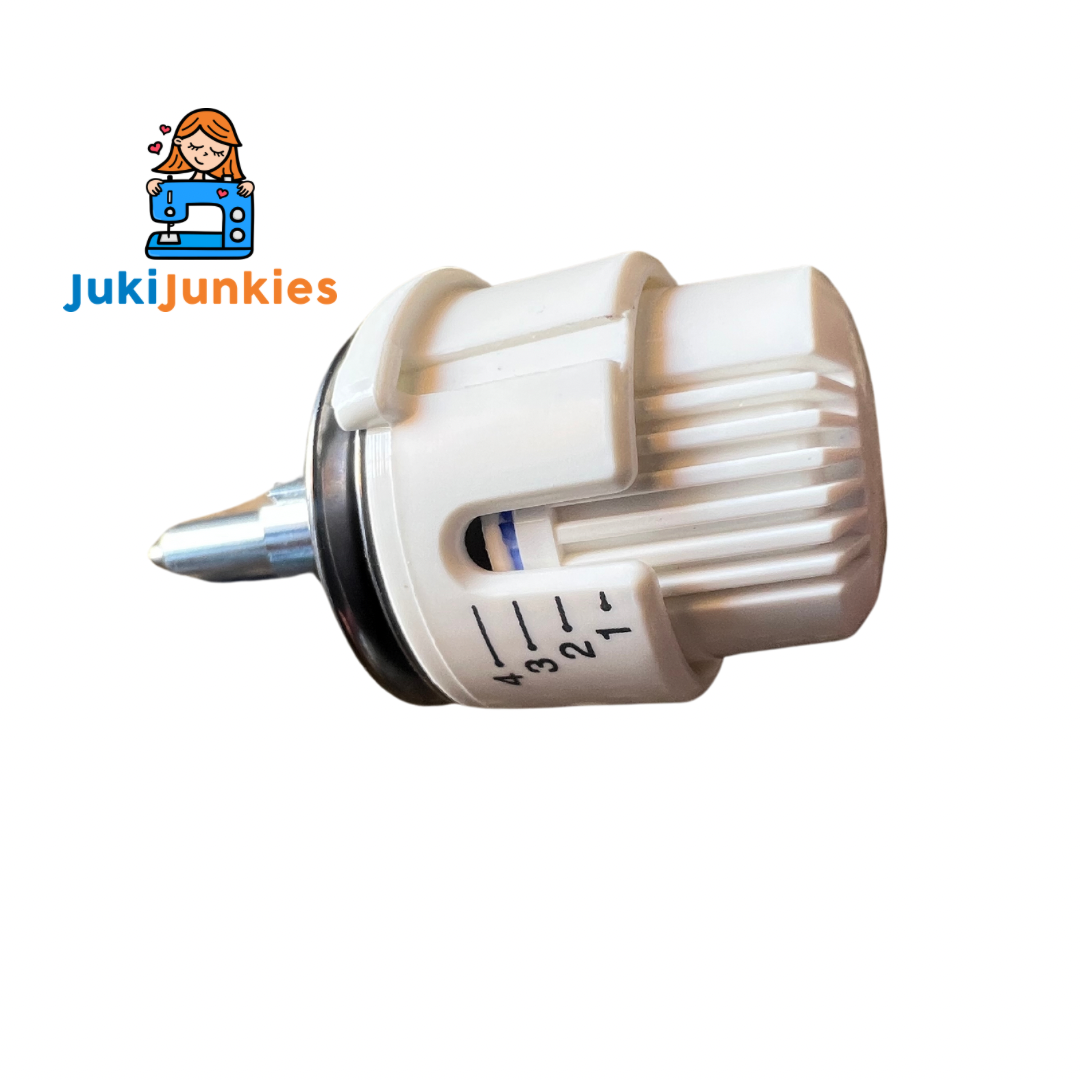
Quarter-Turn Rule for Precision
Turn the screw clockwise to tighten (increase tension) or counterclockwise to loosen (decrease tension) in strict quarter-turn increments. Juki’s tension mechanism is so sensitive that a 1/8-turn change fixes most issues. Never exceed half a turn—this causes overcorrection and frustration.
Tightening for Visible Bobbin Thread
When bobbin thread shows on top fabric, tighten incrementally. After each clockwise quarter-turn, retest with the drop method. Stop when the case drops exactly 1 inch during testing. Critical note: Heavy threads (30wt) may need only 1/8-turn adjustments.
Loosening for Bottom-Side Loops
For top-thread loops underneath fabric, loosen counterclockwise. After each adjustment, pull thread through your fingers—if resistance disappears completely, you’ve gone too far. Pro tip: Loosen 1/4-turn, then test stitch before repeating.
Document Every Change
Mark the screw’s original position with a removable pen dot. In your notebook, log: thread type, fabric weight, and turns made (e.g., “30wt metallic, silk: 1/4 turn CCW”). This creates a reference for future projects.
Troubleshoot Real-World Adjustment Failures

Thread Breaks After Tightening
Breaking bobbin thread usually means excessive tension. Loosen the screw 1/8-turn and inspect the bobbin case for burrs using magnifying glasses. Hidden cause: Lint trapped under the tension spring creates artificial tightness—clean with a dry brush first.
Persistent Looping After Adjustment
If loops remain after loosening, 80% of cases indicate upper thread tension issues. Rethread the entire machine from spool to needle, ensuring thread clicks into every guide. Never adjust bobbin tension until upper threading is verified.
Uneven Stitches on Knits
Stretch fabrics require balanced tension harmony. If stitches skip or pucker, check needle size first (use 75/11 ballpoint for knits). Only then adjust bobbin tension 1/8-turn looser than for woven fabrics.
Maintain Tension Long-Term With Pro Techniques
Weekly Lint Removal Protocol
After every 8 hours of sewing, remove the bobbin case and brush the tension spring area with a soft, dry artist’s brush. Never use compressed air—it forces lint deeper into mechanisms. Wipe the screw head with a microfiber cloth to prevent grime buildup.
Spring Health Inspection
Monthly, remove the bobbin case and visually inspect the tension spring. It should sit flat against the screw with no bends or gaps. Warning sign: If the spring lifts when you press the screw, replacement is needed—don’t force adjustments.
Reset to Factory Baseline
After finishing embroidery or metallic thread projects, return the screw to your marked starting position. Juki factory tension (typically 25g resistance) works for 95% of cotton/polyester projects on medium-weight fabrics.
Balance Upper and Bobbin Tensions Like a Pro
Upper Tension First Principle
Always adjust the machine’s upper tension dial before touching the bobbin screw. Increase upper tension 0.5 increments to fix bottom-side loops; decrease for top-side showing bobbin thread. Only proceed to bobbin adjustment if upper changes fail.
Contrast Thread Diagnostic Method
Sew test lines with black upper thread and white bobbin thread on doubled fabric. Perfect tension shows:
– Top side: Smooth black stitches with no white showing
– Bottom side: Smooth white stitches with no black showing
– Cross-section: Knot centered perfectly between fabric layers
Thickness-Specific Calibration
Test tension using your actual project’s fabric thickness. Quilting sandwich? Use three layers. Single-layer fashion fabric? Test on one layer. Critical insight: Bobbin tension must compensate for how upper thread penetrates multiple layers.
Model-Specific Adjustment Secrets
TL Series Efficiency Hack
Front-load TL models allow pre-adjusted spare bobbin cases. Keep one case set for standard threads and another for heavy denim—swap cases in 10 seconds without rethreading the machine. Mark cases with colored tape for instant identification.
DX Series Horizontal Thread Quirk
Drop-in DX bobbins deliver thread horizontally, requiring 10% less tension than front-load models. When adjusting, start with 1/8-turn looser settings than TL-series recommendations. Always hold the case steady during screw turns to prevent spring shift.
Industrial Machine Reality Check
Heavy-duty Juki industrial machines (like DDL-8700) have sturdier springs. Expect to make smaller adjustments (1/16-turns) and test with thicker threads. Their tension screws often require firm pressure—use a screwdriver with rubber grip for control.
Key Takeaway: Perfect bobbin tension on your Juki machine isn’t magic—it’s methodical micro-adjustments. Remember: always test with project-specific materials, make changes in quarter-turn increments, and document successful settings. When tension issues arise, 9 times out of 10, rethreading solves the problem before you ever touch the screw. But when that tiny screw does need turning, this precise process ensures professional results without guesswork. Keep your test swatches organized, clean the tension area weekly, and never force a stuck screw—your Juki will repay you with flawless stitches for years. For persistent issues after following these steps, consult your manual’s service section or seek certified Juki technician support.


