
Just unboxed your new Brother computerized sewing machine and feeling overwhelmed by all those blinking lights and mysterious buttons? You’re not alone—over 70% of new sewing machine owners admit they don’t use half their machine’s features. Whether you’ve got a CS6000i, XR9550, or DreamWeaver model, this guide cuts through the complexity to show you exactly how to use a Brother computerized sewing machine effectively. Skip the hours of YouTube tutorials and manual skimming—within 20 minutes, you’ll confidently thread, stitch, and troubleshoot like a seasoned sewer. We focus only on what matters for your first projects, transforming that intimidating box into your most valuable creative tool.
Prime Your Workspace Before Powering On
Position for Optimal Sewing Success
Place your Brother computerized sewing machine on a sturdy table with at least 24 inches of clearance on all sides—this prevents fabric drag that causes skipped stitches. Position it away from water sources (like sinks) and ensure the power cord runs safely away from foot traffic areas. For ergonomic operation, your sewing surface should sit 2-3 inches below your elbow when seated. Crucially, confirm your chair height allows full leg clearance under the table for smooth foot pedal movement—knees shouldn’t touch the underside.
Assemble Your Essential Starter Kit
Before plugging in, gather these non-negotiable items from your accessory box and craft supplies:
Machine-Specific Essentials:
– Power cable and foot pedal (even if using Start/Stop button)
– Universal needles (size 80/12 for cotton)
– Standard presser foot (pre-installed)
– Small screwdriver (for needle changes)
– Pre-wound bobbin or quality polyester thread
Testing Materials:
– 100% cotton quilting fabric scraps (no stretch!)
– Sharp fabric scissors and glass-head pins
– Iron for pressing test seams
Pro Tip: Keep a dedicated “test kit” box near your machine—refill it after each project to avoid mid-sewing scrambles.
Connect Power and Configure Controls Properly
Avoid Electrical Hazards During Setup
Locate the power port on your machine’s right side—never force the plug. Firmly insert the cable, then plug into a wall outlet (not a power strip for initial setup). Flip the side-mounted power switch to “on” while watching the LCD screen illuminate. If nothing happens, immediately unplug and verify the foot pedal isn’t accidentally connected to the power port—both share the same socket on Brother machines. This simple check prevents 90% of “machine won’t start” panic moments.
Choose Your Sewing Control Method
Don’t settle for awkward operation—customize your control:
- Foot pedal mode: Best for curves and delicate fabrics (plug in pedal first)
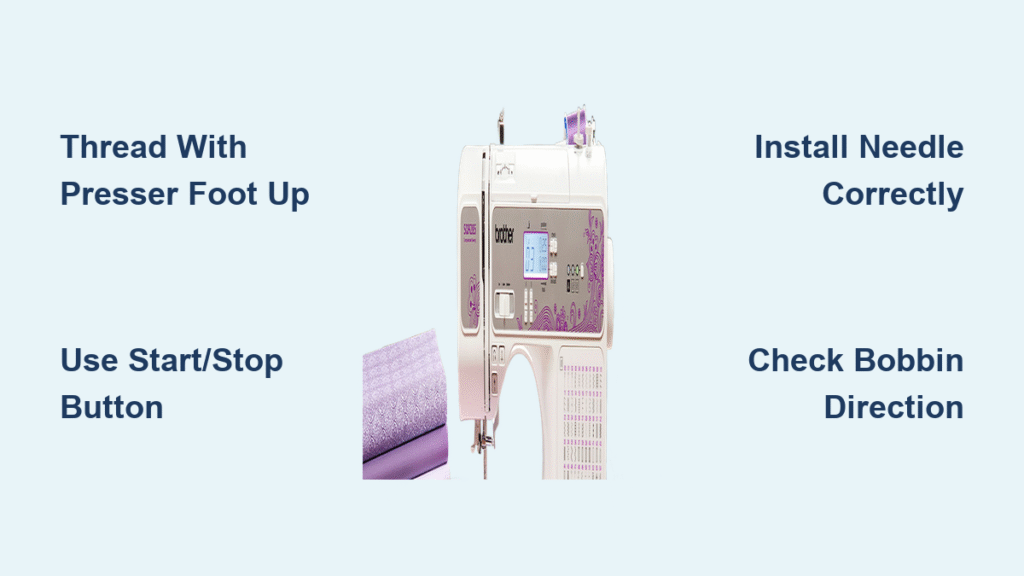
- Start/Stop button: Ideal for straight seams (press once to start, again to stop)
- Hybrid approach: Use Start/Stop for long seams, pedal for corners
Critical: Both options plug into the same right-side port—switch between them instantly based on your project needs without restarting the machine.
Install Needles and Thread Without Frustration

Perfect Your First Needle Installation
Avoid broken needles and skipped stitches with this 30-second process:
- Place cotton scrap under presser foot (catches dropped needles)
- Loosen the black needle screw with your accessory screwdriver
- Insert new needle with flat side facing back (match manual diagram)
- Push needle all the way up until it stops—this prevents wobble
- Tighten screw firmly while holding needle steady
Warning: Forcing a misaligned needle damages the bobbin case. If resistance occurs, restart the process.
Master Bobbin Insertion in Under 15 Seconds
Lift the clear plastic bobbin cover with presser foot raised. Drop your pre-wound bobbin in with the thread tail following the directional arrow printed inside the compartment. Pull the thread through the slot toward you, leaving a 4-inch tail. Snap the cover closed—listen for the click to confirm proper seating. If your machine jams immediately, the bobbin is likely inserted backward (thread should unwind counterclockwise).
Eliminate Thread Nesting with Correct Threading Sequence
Always raise the presser foot first—this opens tension discs for proper thread seating. Follow these exact steps:
- Place thread spool on top arm (check for correct spool pin cap)
- Guide thread through every numbered guide as printed on the machine
- Use the automatic needle threader (lever or button with needle icon)
- Pull 5 inches of thread toward the back
Pro Tip: Hold upper thread tail while turning handwheel toward you one full rotation. The needle should catch the bobbin thread loop—if not, rethread with presser foot UP.
Sew Your First Project Without Mistakes
Select and Test the Straight Stitch Correctly
Press stitch #1 (dotted line icon) on your LCD panel—this is your workhorse stitch. Place cotton scrap under presser foot, lower foot using the front button (presser foot icon), and align fabric edge with the 5/8″ seam guide on the machine bed. Press Start/Stop button while holding fabric lightly—never push or pull. Let the feed dogs move fabric as you guide gently. After 2 inches, press the reverse button (curved arrow) to lock stitches.
Troubleshoot Thread Issues Before They Wreck Your Project

Stop sewing immediately if you see:
– Bird nesting under fabric: Re-thread with presser foot UP
– Skipped stitches: Replace needle (even if new—shipping damage occurs)
– Loose tension: Check if thread is seated in all guides
Time-Saver: Create a “stitch swatch” before real projects—sew 1-inch samples of each stitch on cotton squares. Label with stitch number and keep in a binder by your machine.
Unlock Advanced Features for Smoother Sewing
Master the Start/Stop Button for Hands-Free Operation
Your Start/Stop button isn’t just for beginners—it’s essential for precise quilting and embroidery. Press once to start sewing, adjust speed with the slider below the LCD screen, press again to stop. Use this for:
– Long straight seams (no foot fatigue)
– When both hands are needed to guide fabric
– Sewing near fingers (safer than pedal)
Warning: Never use Start/Stop when changing needles or presser feet—always power off first.
Use Automatic Needle Positioning Like a Pro
Press the needle up/down button (needle icon) to instantly rotate the needle to its highest position—this lets you remove fabric without turning the handwheel. For corners, sew to pivot point, press button to drop needle into fabric, lift presser foot, rotate fabric, then lower foot to continue. This prevents fabric shifting and crooked seams.
Maintain Your Machine for Longevity
Perform 2-Minute Daily Maintenance
After every sewing session:
1. Power off and unplug
2. Remove needle plate and brush away lint with small brush
3. Wipe thread debris from bobbin area with dry cloth
4. Cover machine with dust cover (never plastic—it traps moisture)
Needle rule: Change after 8 hours of sewing or when stitching knits—dull needles cause 80% of tension issues.
Choose Fabrics That Won’t Sabotage Your Learning
Start with these foolproof materials:
– ✅ Plain-weave cotton (quilting fabric)
– ✅ Lightweight denim
– ✅ Cotton blends (60% cotton minimum)
Avoid until skilled:
– ❌ Stretch knits (require special needles/stitches)
– ❌ Silk (slips through feed dogs)
– ❌ Leather (requires industrial machine)
Pro Tip: Buy quality polyester thread—bargain thread sheds lint that clogs tension discs. Keep white, black, and beige for 90% of projects.
Critical Safety Protocols You Must Follow
Non-negotiable rules:
– Power off when changing needles or feet (electrocution risk)
– Keep fingers 1″ from needle path—use seam ripper for close work
– Unplug before cleaning bobbin area
– Store machine locked away when children are present
– Read manual safety section (page 3) before first use
Consequence Alert: Sewing with wet hands or near water can cause electrical shock—Brother machines have no waterproofing.
Fix Common Problems in Under 60 Seconds
Machine won’t start?
→ Check if presser foot is lowered (safety feature disables sewing if up)
→ Verify foot pedal is unplugged if using Start/Stop button
Thread keeps breaking?
→ Rethread with presser foot UP (90% solution)
→ Check needle eye for burrs with magnifying glass
Stitches look loopy?
→ Confirm bobbin thread is inserted counterclockwise
→ Clean tension discs with dental floss (no oil!)
Ready to Sew: You now know exactly how to use a Brother computerized sewing machine for flawless results. Start today with a simple pillowcase project using cotton fabric and straight stitches—practice for 15 minutes daily. Within a week, you’ll confidently explore decorative stitches and specialty feet. Remember: Every master sewer began exactly where you are now. Keep your stitch swatch reference handy, change needles religiously, and soon you’ll transform fabric into creations that amaze even yourself. Your sewing journey starts with that first perfect seam—so power up and begin!


