
Your Brother 1034D serger can transform raw fabric edges into professional seams in seconds, but threading it the first time feels like solving a puzzle blindfolded. After 15 minutes of tangled threads and muttered curses, most beginners stuff this powerful machine back in its box. Don’t let threading intimidation steal your sewing superpowers—this guide breaks down every step from first setup to advanced techniques that’ll make your garments look store-bought. By the end, you’ll know exactly how to use a Brother serger sewing machine to create durable, professional finishes that survive years of wear and washing.
Brother 1034D Machine Capabilities You’re Missing
The Brother 1034D isn’t just another sewing machine—it’s a 3/4 thread overlock system that simultaneously sews, trims, and finishes fabric edges in one fluid motion. Where regular machines leave zigzag edges that fray after three washes, your serger wraps threads completely around raw edges, creating seams that survive years of laundry cycles.
This machine uses up to four threads at once, each following color-coded paths printed directly on the front panel. Think of it as having four tiny sewing machines working in perfect synchronization. The built-in knife blade trims excess fabric automatically, while differential feed prevents stretch fabrics from wavy seams. You’ll immediately notice the difference when working with knits—no more stretched-out necklines or wavy hems that plague beginner garment makers.
Why Your Regular Sewing Machine Can’t Match These Results
Standard machines create seams that unravel with wear, while sergers completely encase raw edges. The multi-thread construction distributes stress across multiple threads, preventing seam failure where regular zigzag stitches would eventually pull apart. Your finished garments will look professionally manufactured rather than homemade, especially when working with delicate fabrics like chiffon or stretchy knits that challenge conventional machines.
Critical Setup Steps Before First Use
Place your serger on a stable table with at least 12 inches of clearance around the thread cones—tangled thread causes 90% of beginner frustrations. Position the machine so the power switch faces you; you’ll need quick access when threads inevitably snap mid-project.
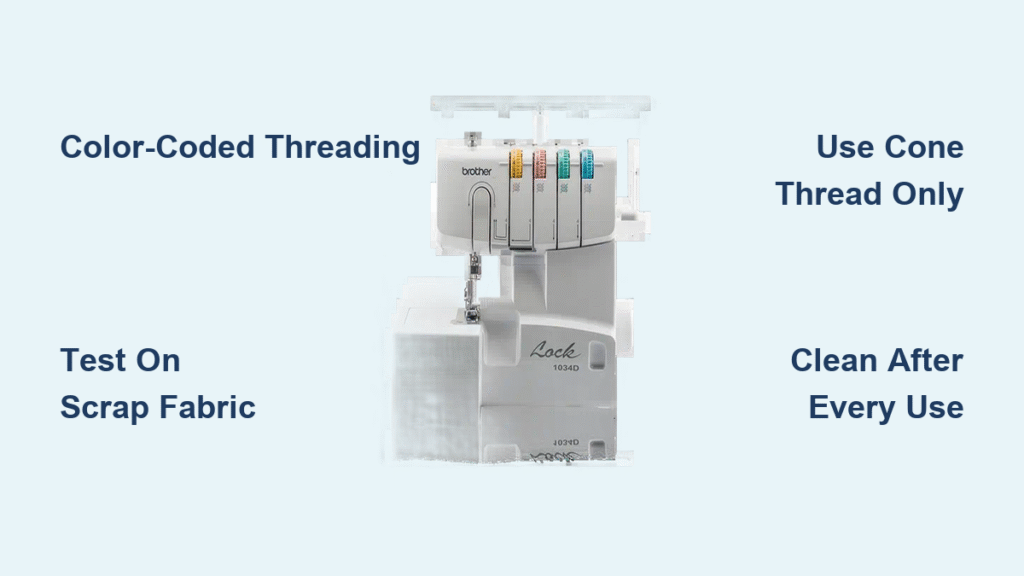
Choose cone-shaped serger thread, not regular spools. Standard sewing thread runs out in minutes and creates tension disasters. Start with black and white cones—they handle 80% of projects. For fabric testing, cut 20 identical scrap pieces from your project material; you’ll need them for tension adjustments. Verify needle installation and condition before threading—bent needles cause skipped stitches that ruin your first attempts.
Essential Pre-Operation Checklist
- Ensure all thread paths are clear of lint and obstructions
- Check blade sharpness and positioning
- Confirm differential feed lever is in neutral position (middle)
- Set stitch length to #3 (middle) and width to #5
- Verify presser foot moves freely up and down
Foolproof Color-Coded Threading System

Threading intimidates everyone initially, but the 1034D’s numbered system makes it foolproof. Each thread path displays its number and color—follow them exactly, left to right, every single time. The printed threading instructions directly on the front panel eliminate guesswork, so keep your fingers off the tension dials until you’ve successfully completed your first test seam.
Left Needle Threading (Purple Path) Without Mistakes
- Place cone on far-left spool pin
- Raise thread guide to highest position
- Follow purple #1 through guide hole
- Snap thread under metal clip #2
- Press purple button #3 while pulling thread
- Trace purple arrow #4 downward and left
- Loop through horseshoe path following arrow #5
- Hook through metal guide before needles
- Thread through left needle eye front-to-back
Pro tip: Use tweezers for the final needle threading—your fingers will thank you after the first dozen attempts. Gently tug the thread to ensure it moves freely through all guides before moving to the next needle.
Lower Looper Threading Made Simple (Where Most Fail)
The lower looper sits hidden inside the machine—this step trips up most users. After threading through blue hooks #1-7, you’ll encounter the infamous blue arrow clip:
- Pull blue clip right to reveal hidden metal piece
- Hook thread around exposed metal using tweezers
- Return clip to position—thread should now disappear inside
- Thread through right horizontal needle
- Position under green thread and behind presser foot
Warning: Forcing the clip back without proper threading creates immediate thread nests and broken needles. If resistance occurs, double-check the thread path before proceeding.
First Test Stitches That Actually Work
Before touching your actual project, test on identical scrap fabric. Set stitch length to #3 (middle) and width to #5—standard starting points for most fabrics.
Raise presser foot lever, slide fabric under with raw edge aligned against cutting blade, lower foot. Hold all four thread tails gently behind the machine—never pull fabric, just guide it. Begin with slow, steady pedal pressure. The machine should create a clean overlock edge while trimming approximately 1/4 inch of fabric.
What perfect tension looks like: Interlocking threads meeting exactly at fabric edge, with no loops or puckers. If your test stitch shows problems, adjust only one tension dial at a time, testing after each quarter-turn. The color-coded dials correspond to thread paths—left needle (purple), right needle (yellow), upper looper (green), lower looper (blue).
Six Essential Stitches Beyond Basic Overlocking

Your 1034D creates professional finishes regular machines can’t match. Master these configurations for different fabrics and applications:
4-Thread Overlock: Use this for woven fabrics—maximum seam security for garments that will withstand repeated washing. Engage all four threads with standard tension settings.
3-Thread Overlock: Perfect for lightweight fabrics or seam finishing only. Disable the right needle by removing its thread while maintaining the other three.
Rolled Hem: Creates tiny, elegant hems on silk scarves or napkins. Switch to 3-thread configuration, increase right needle tension to 6, and set stitch length to 1.5.
Flatlock: Decorative flat seams for activewear. Adjust tension settings to bring threads to fabric surface rather than encasing edges.
Pro Tip: The detailed settings chart printed inside the accessory compartment shows exact tension configurations for each stitch type—consult it before changing setups.
Serging Curves Without Puckering Disaster
Move slowly around curved edges, gently guiding fabric without stretching. For tight curves like necklines, clip into seam allowance every 1/2 inch before serging—this prevents puckering that ruins professional finishes.
When approaching corners, stop with needle down in fabric, raise presser foot slightly, pivot fabric, then continue sewing. Never force fabric through the machine—let the feed dogs do the work. For inside curves, use a seam ripper to gently open clipped areas as you sew to maintain consistent seam allowance.
Maintenance That Prevents Frustration
Clean after every project, not weekly. Remove needle plate using small screwdriver, brush out lint from feed dogs and cutting area. A clogged blade causes uneven cutting and broken threads—the #1 reason for beginner abandonment.
Oil designated points monthly—marked with red dots in your manual. Use only serger oil; sewing machine oil gums up serger mechanisms. Replace needles after 8-10 hours of sewing or when you notice skipped stitches. Dull needles create tension issues that mimic threading problems, sending beginners back to square one unnecessarily.
Four Beginner Mistakes That Ruin Projects
Threading sequence errors: Always thread in exact left-to-right sequence—skipping steps causes mysterious tension issues that waste hours of troubleshooting.
Wrong thread type: Regular thread snaps constantly and creates excessive lint buildup. Cone-shaped serger thread has the strength and consistency needed for high-speed operation.
Pulling fabric: Let the machine feed fabric naturally—pulling stretches seams permanently, especially with knits. Guide fabric gently without applying pressure.
Skipping test swatches: Every fabric behaves differently—test stitches on identical material save ruined projects. Adjust tension before committing to your actual garment.
Storage and Long-Term Care
Cover your serger between uses—dust is the enemy of smooth operation. Store thread cones in sealed plastic bins to prevent dust accumulation and tangling. Keep accessories in the built-in storage compartment; losing the tweezers makes lower looper threading nearly impossible.
With consistent use, threading becomes muscle memory within a month. Most users report dramatically improved project quality and wonder why they waited so long to add a serger to their sewing arsenal. Your Brother 1034D transforms from intimidating metal monster to indispensable creative partner once you master these fundamentals. When you know how to use a Brother serger sewing machine properly, your finished garments will look professionally manufactured rather than homemade—giving you the confidence to tackle more advanced sewing projects with professional results.


