
That foot pedal suddenly feels like a race car accelerator when you’re working with delicate silk or intricate embroidery. When your Brother sewing machine races ahead of your hands, perfect stitches turn into tangled disasters. Whether you’re tackling a wedding gown or teaching a child to sew, mastering speed control transforms frustrating sessions into satisfying sewing experiences. This guide delivers practical, model-specific methods to slow down any Brother sewing machine—from vintage mechanical models to the latest computerized units—using techniques most manuals never mention.
Mastering Foot Pedal Technique for Immediate Speed Control
Light Pressure Feathering Method
Your foot pedal isn’t just an on/off switch—it’s your primary speed control instrument. Apply the lightest possible pressure with the ball of your foot while keeping your heel firmly planted. This feathering technique creates the slowest, most controlled stitching, especially crucial when working with slippery fabrics like satin or chiffon. Practice on scrap fabric until you can maintain a steady 200-300 stitches per minute without jerking.
Pro tip: Place a folded hand towel under your heel to restrict pedal range. This simple barrier prevents accidental speed bursts while maintaining the tactile feedback you need for precise control. For beginners, this physical limitation builds muscle memory faster than unassisted practice.
Optimal Pedal Positioning Strategy
Where you position your pedal dramatically affects your control. Move your sewing chair until the pedal sits directly beneath your foot at a 90-degree angle—never off to the side. This alignment gives you the full range of motion needed for gradual speed adjustments. For ultra-slow work on appliqué or buttonholes, angle the pedal slightly away from you. This position forces your foot into extension, naturally limiting how much pressure you can apply.
Critical insight: Mark your pedal’s “slow zone” with removable tape after finding that perfect spot where gentle pressure delivers your ideal speed. This visual marker eliminates guesswork during complex projects.
Computerized Brother Machine Speed Settings

Front Panel Speed Limiters
Modern Brother machines like the CS6000i feature physical speed control sliders that create an absolute ceiling for your maximum speed. Set the slider to “Slow” (approximately 350 stitches per minute), and your machine won’t exceed this speed no matter how hard you press the pedal. This is particularly valuable when teaching children or when working with expensive fabrics where mistakes are costly.
Model-specific secret: On the Brother SE600/SE625, access Settings > Sewing Settings > Speed Control for 10% precision adjustments. Program a “Delicate Fabrics” profile at 30% speed and switch to it instantly when working with silk or lace—no more frantic menu navigation mid-project.
Half-Speed Mode for Precision Work
High-end Brother models like the CS7000X and XR9550PRW include a game-changing half-speed mode that reduces all speeds by 50% while maintaining full torque. This feature is indispensable when sewing through multiple layers of denim or leather where sudden speed bursts could bend or break needles. Activate it through Settings > Machine Settings > Half Speed Mode for surgical precision on challenging materials.
Pro technique: Combine half-speed mode with needle-down positioning for perfect corner turning. Your fabric won’t shift between stitches, eliminating those frustrating alignment errors that ruin professional-looking projects.
Mechanical Brother Machine Speed Control
Stitch Length Speed Hack
Traditional mechanical Brother machines like the XM2701 lack electronic speed controls, but you can manipulate stitch length to naturally slow your sewing. Set your stitch length to 1.0-1.5mm—the shorter stitch physically slows fabric feeding through the machine. This technique works especially well when combined with light pedal pressure for double control.
Expert trick: Drop your feed dogs (if your model allows) and manually guide fabric for ultimate slow-motion control during free-motion quilting or embroidery. This transforms your mechanical Brother into a precision freehand sewing tool.
Hand Wheel Micro-Control
The hand wheel provides absolute speed control for single stitches or ultra-slow work. Turn counterclockwise (toward you) to advance one stitch at a time with complete precision. While impractical for long seams, this technique shines when:
- Starting stitches in tight corners
- Positioning decorative stitches exactly where needed
- Testing tension on scrap fabric before critical seams
- Teaching beginners to visualize stitch formation
Model-Specific Brother Speed Solutions

Brother CS6000i Speed Mastery
This popular computerized model offers three distinct speed ranges through its front-panel slider. Most sewists make the critical mistake of using “Slow” mode exclusively—it actually limits your control range. Instead, set the slider to “Medium” for variable control within a safe range that prevents accidental full-speed bursts while allowing natural pedal variation.
Hidden feature: Hold the reverse stitch button while powering on to access diagnostic mode, revealing actual stitches per minute for each speed setting—a revelation for precision work.
Brother SE600/SE625 Touchscreen Control
These embroidery-capable machines feature percentage-based speed control through their touchscreen interface. Access Settings > Sewing Settings > Speed Control to find a slider offering 10% increments from 10% to 100%. The SE600 maxes out at 710 SPM at 100% setting, but for delicate embroidery, stay below 400 SPM to prevent design distortion.
Pro technique: Program custom speed profiles for different fabric types. Save “Delicate Fabrics” at 30% speed and “Heavy Denim” at 70%—switch profiles instantly without digging through menus.
Troubleshooting Speed Control Failures
When Your Machine Races Despite Settings
Three culprits cause 90% of speed control failures on Brother machines. First, foot pedal calibration drift—reset through the machine settings menu. Second, firmware glitches—update to the latest version via USB. Third, power supply issues—verify your 110V machine isn’t plugged into a 220V outlet (or vice versa).
Quick fix: Power cycle your machine while holding the needle position button to restore factory pedal calibration—a lifesaver when you’re mid-project.
Consistent Pedal Response Maintenance
Stiff or inconsistent pedal response ruins speed control. Clean pedal contacts quarterly using electrical contact cleaner: disconnect the pedal, spray cleaner into the mechanism, and work the pedal 20-30 times. Let it dry completely before reconnecting. If your pedal feels gritty or catches at certain positions, replacement may be necessary—Brother’s genuine replacement pedals maintain optimal responsiveness.
Advanced Speed Control Accessories
Aftermarket Speed Reducers That Work
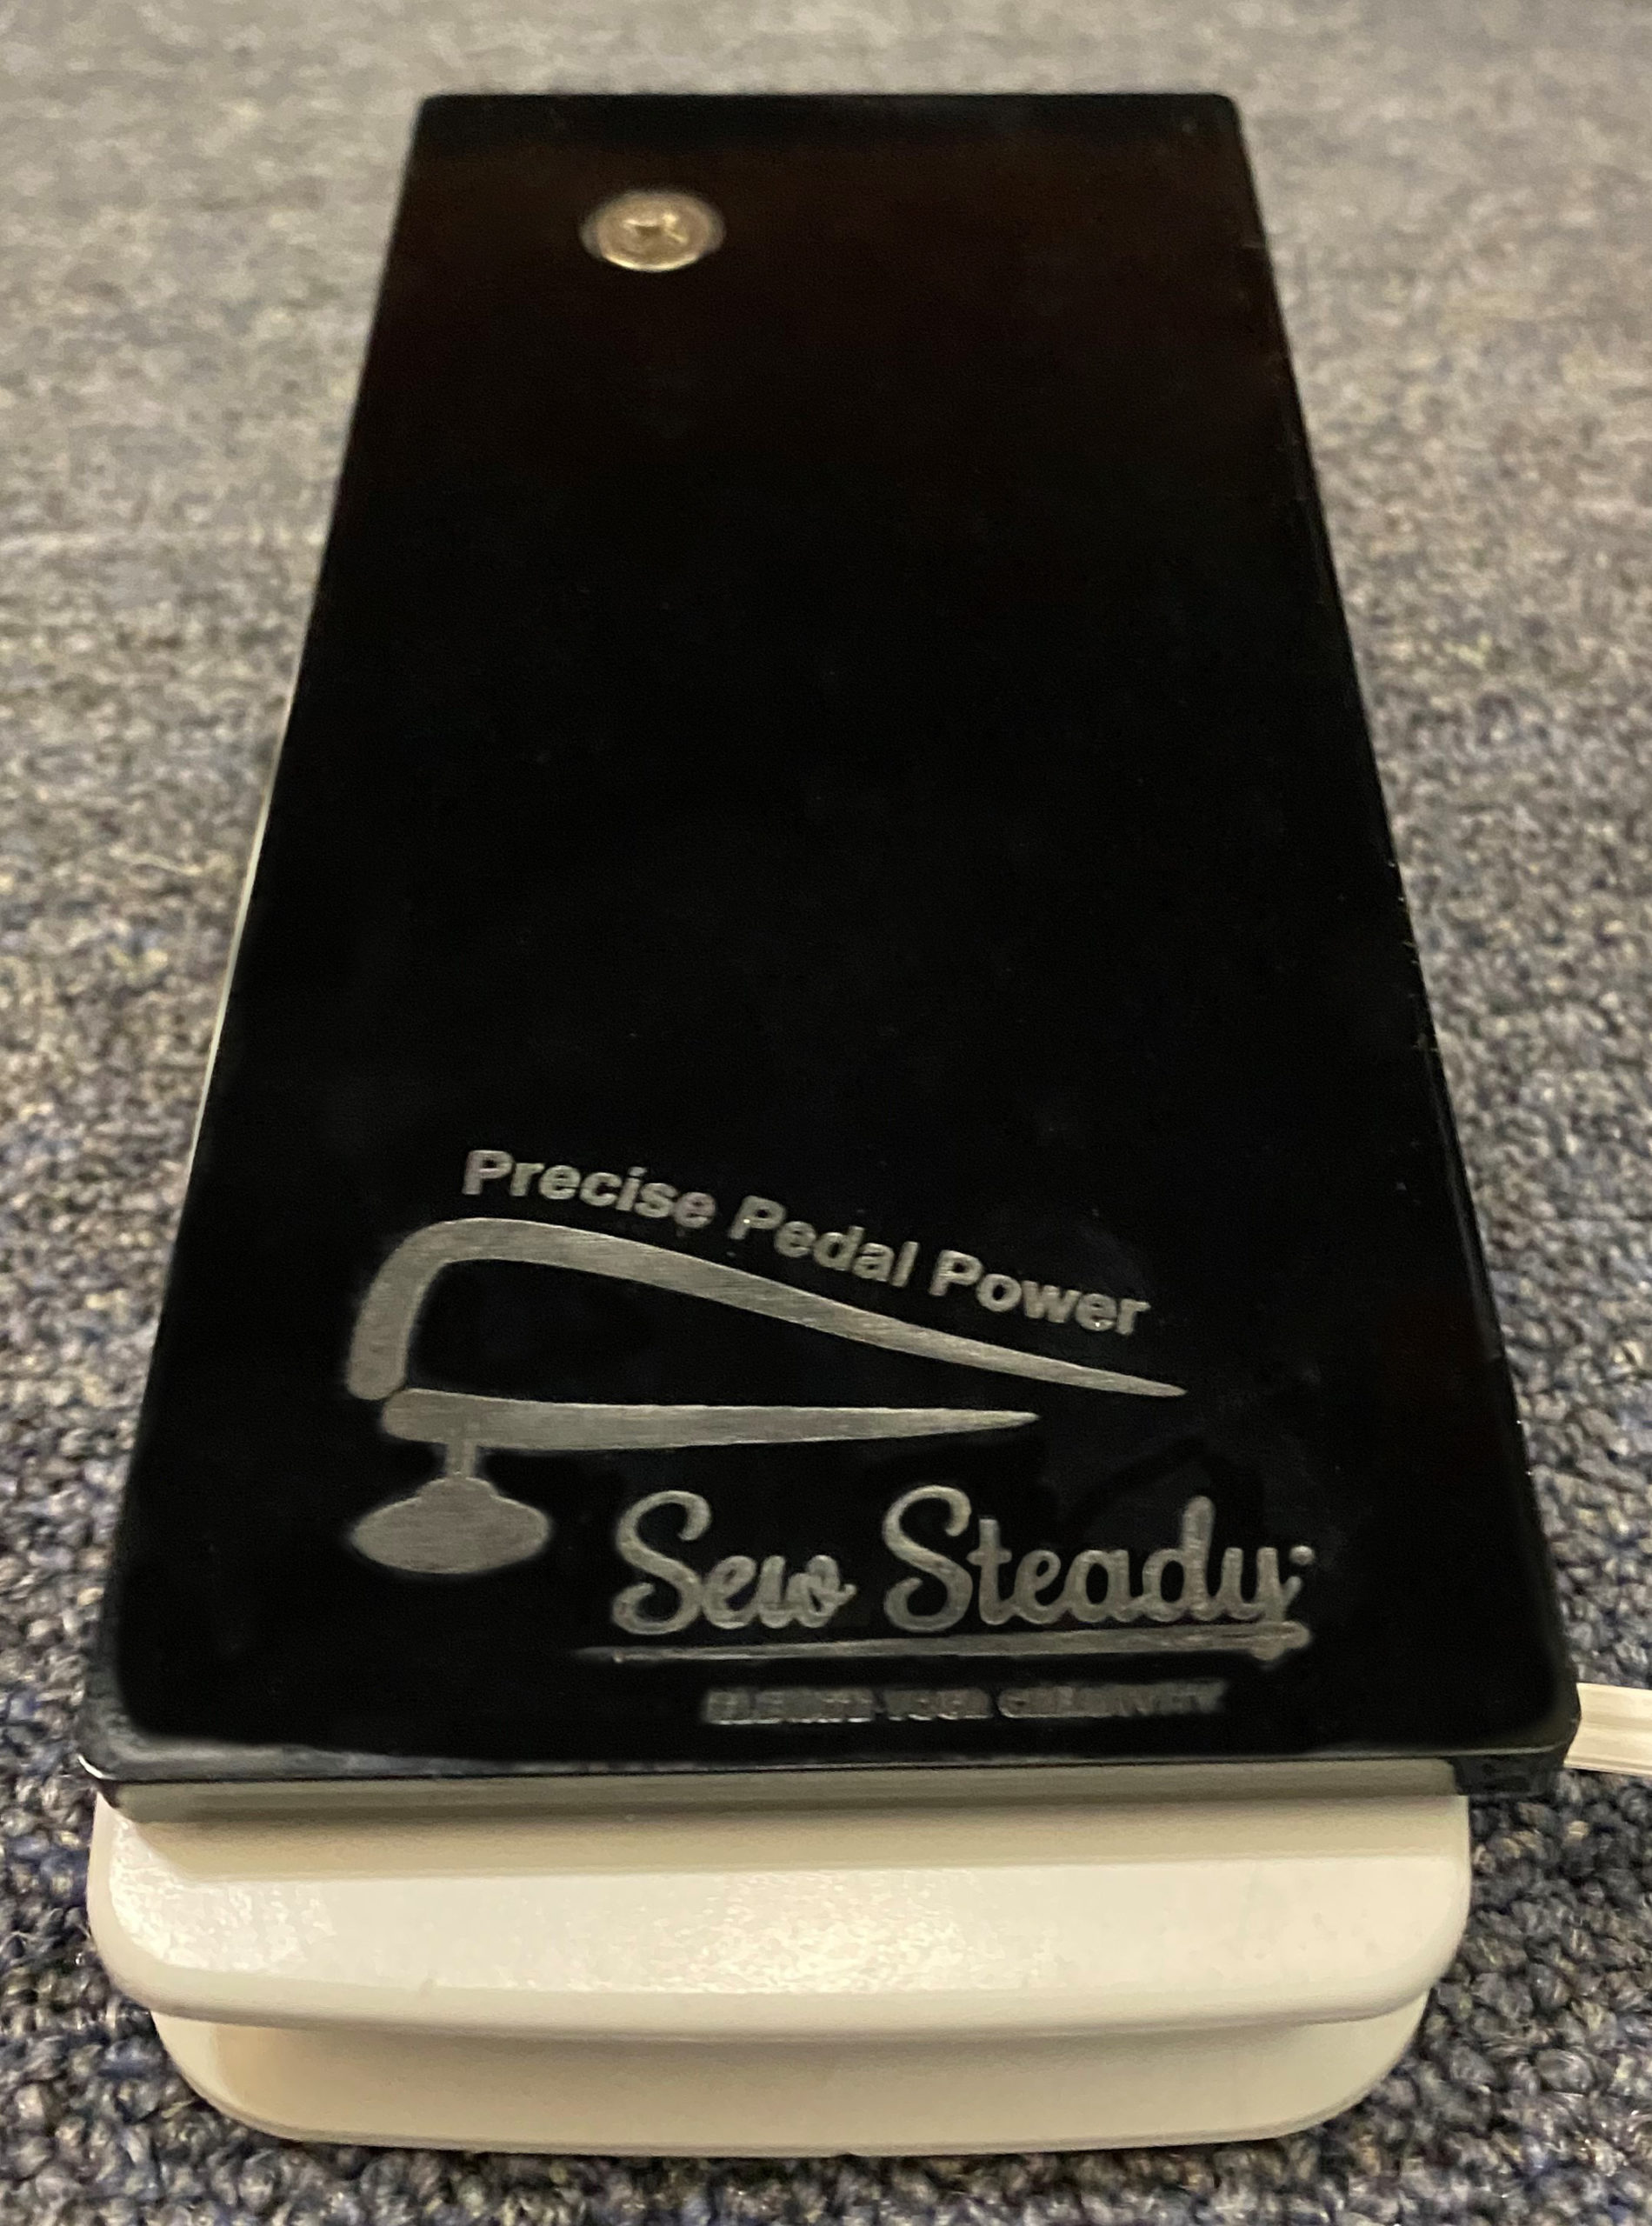
Transform any mechanical Brother with these proven accessories. The Sew Steady Speed Controller plugs between pedal and machine, offering dial-based speed limiting without electronic interference. The Reliable 4000SR is a professional-grade variable resistance pedal with heel-operated slow speed—ideal for quilters who need consistent speed during complex maneuvers.
Installation tip: These accessories work best with mechanical machines—computerized models may experience compatibility issues, so check your manual first.
Fabric-Specific Speed Guidelines
Different fabrics demand different maximum speeds. Memorize these critical thresholds:
- Silk/chiffon: Never exceed 400 SPM (set to 25-30% speed)
- Medium-weight cotton: 450-550 SPM optimal (40-50% speed)
- Denim/leather: 400-500 SPM prevents needle breakage (40-50% speed)
- Quilting layers: 350-450 SPM maintains accuracy (35-45% speed)
Create a speed settings reference card for your machine—tape it inside your accessory storage compartment for instant access. Document your ideal settings for each fabric type to eliminate guesswork on future projects.
Mastering how to slow down your Brother sewing machine transforms frustrating sewing sessions into precise, enjoyable craftsmanship. Start with one technique—perhaps the speed slider on computerized models or pedal feathering on mechanical machines—then layer additional methods as your skills grow. The perfect speed control solution exists for every Brother model and every sewing challenge. Implement these proven techniques today, and you’ll immediately notice cleaner stitches, fewer mistakes, and a renewed love for your sewing projects. Remember: the right speed isn’t about going slow—it’s about going at the speed that gives you complete control over every stitch.


