
That fraying quilt block or curling jersey hem doesn’t need to ruin your project. While true sergers create professional overlock seams with multiple threads, your Brother sewing machine delivers nearly identical edge finishing using its built-in overcasting stitch—no extra machine required. This technique wraps thread around raw fabric edges in one smooth pass, stopping knits from rolling and wovens from unraveling. In under 10 minutes, you’ll master the exact settings, foot alignment, and troubleshooting tricks to achieve store-bought results on any Brother model from the basic CS6000i to the advanced SE1900.
Why Your Brother Sewing Machine Can Fake a Serger
Brother machines don’t true overlock like 3- or 4-thread sergers, but their overcasting stitch plus Foot G creates a near-identical finish for 95% of home sewing projects. The stitch simultaneously wraps thread over the raw edge while sewing forward, eliminating the need for separate zigzag seams or pinking shears. You’ll save up to 50% sewing time compared to traditional methods while preventing the “homemade” look of bulky, fraying seams. Crucially, this works on knits like jersey and interlock where straight stitches would pop—making it essential for T-shirts, leggings, and baby clothes.
Spot the Overlock Stitch Symbol in 10 Seconds (Before You Start Sewing)
Don’t waste time scrolling through stitch menus. The overcasting stitch icon looks like a tiny diagonal ladder: one straight vertical line on the left, a row of connected loops on the right. Find it in these three places:
– Front-panel LCD chart: Directly beside the stitch selection dial on machines like the CS7000X
– Accessory tray card: A quick-reference sheet clipped under the bobbin case lid
– Manual stitch table: Usually page 12-15 with numbered diagrams
Critical mistake to avoid: Confusing it with the cover-stitch symbol (two parallel rows). If your manual lists stitch numbers, write them on painter’s tape and stick it to your machine—stitch #07 on Brother XM2701 or #32 on CS6000i are common overcast choices.
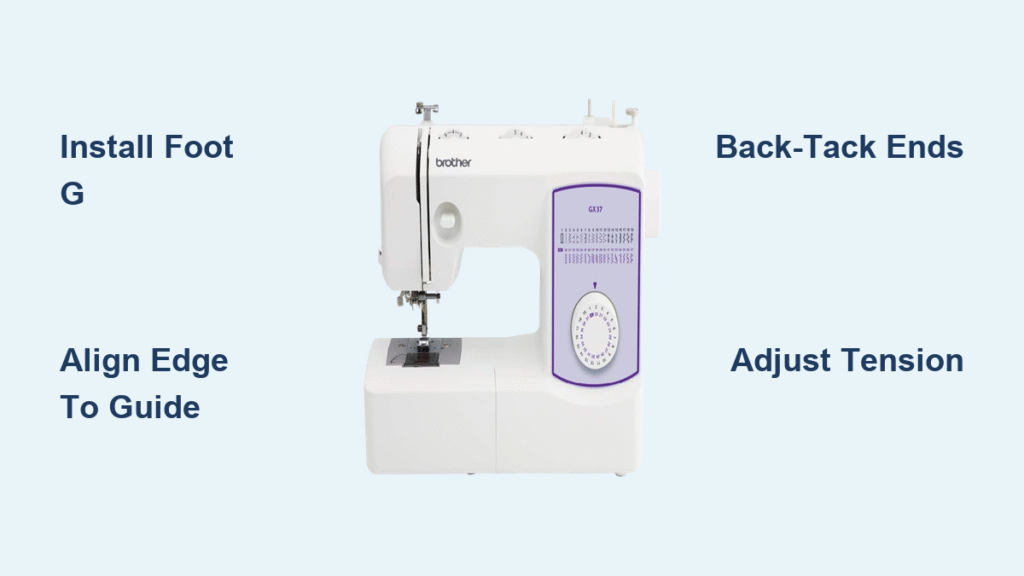
Install Foot G: The Secret Weapon for Perfect Edges

Why Foot G Beats Every Other Presser Foot
Foot G’s thin black guide bar is non-negotiable for clean overlock edges. This central ruler keeps your fabric’s raw edge perfectly aligned while sewing, preventing curling or wobbling. Standard zigzag feet lack this guide, causing uneven stitching that misses the fabric edge.
Installation in 20 seconds:
1. Raise the presser foot lever fully
2. Press the foot release button (usually behind the foot holder)
3. Slide Foot G straight down until it clicks audibly
4. Lower the needle manually to confirm 1mm clearance above fabric
Skip the side-cutter foot unless you own a Brother 1034D serger. On standard sewing machines like the SE400, the optional cutter often snags delicate fabrics. Foot G alone gives identical results when paired with precise edge alignment.
6-Step Setup That Works on Every Brother Model
Align Fabric Like a Professional (Step 3)
Your overlock stitch fails 90% of the time from misalignment—not wrong settings. Place fabric under Foot G so the raw edge kisses the black guide bar. For left-handed sewers, reverse this: guide bar against the fabric’s right edge. Always test on a scrap first—hold the fabric taut but don’t stretch knits.
Back-Tack to Prevent Seam Unraveling (Step 6)
Never sew continuous overlock seams without locking the ends. After starting your seam:
1. Sew 3 stitches forward
2. Hold reverse lever for 2–3 stitches backward
3. Resume forward stitching
4. Repeat at seam end before cutting threads
This creates a secure knot that withstands washing—critical for pillowcases or garment hems. Skipping this causes the entire edge finish to unravel when clipped.
Fabric-Specific Settings That Prevent Disaster

| Fabric Type | Width (mm) | Length (mm) | Tension Fix | Visual Cue to Check |
|---|---|---|---|---|
| Chiffon/Silk | 3.0 | 1.5 | Tension -1.5 | Loops should hug edge without piercing |
| Quilting Cotton | 5.0 | 2.2 | Auto | Straight line sits 0.5mm from raw edge |
| Denim (10oz+) | 6.0 | 2.5 | Needle 90/14 + Tension +1 | No skipped stitches at seam intersections |
| 4-Way Jersey | 4.5 | 2.0 | Tension -2 | Fabric lies flat—no tunneling or ripples |
Pro diagnosis: If loops droop like spaghetti (common on knits), tighten upper tension by ½ step. If fabric puckers like an accordion, widen the stitch by 0.5mm or reduce tension.
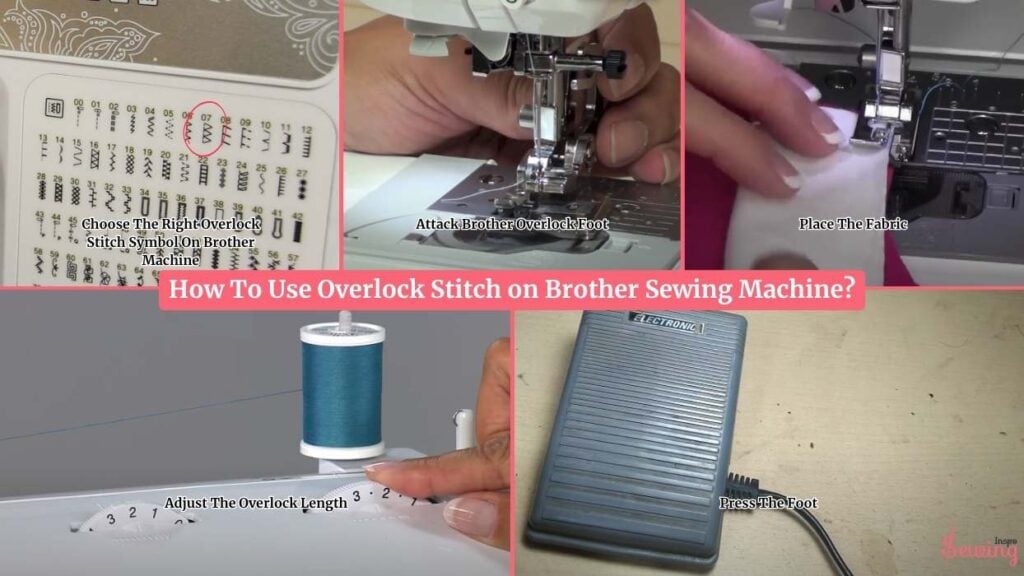
Brother CS7000X: Overlock Stitch Cheat Sheet
This popular $200 machine lacks true overlocking but achieves identical results with one workaround:
- Attach Foot G (included with machine)
- Select stitch #07 (wide overcast) for wovens or #08 (narrow) for knits
- Align fabric edge precisely against Foot G’s guide bar
- Sew at medium speed—never force fabric through
- Back-tack 3 stitches at start/end (critical for security)
You’ll get professional, fray-proof edges on jeans hems and T-shirt neckbands. No serger required.
Troubleshoot Overlock Stitch Failures in 60 Seconds
Stop Loops From Eating Your Fabric Edge
Loops on the right side mean upper tension is too loose. Fix: Turn the tension dial clockwise by ½ number (e.g., from 4 to 4.5). Test on scrap—loops should disappear while the straight left line remains crisp.
Eliminate Fabric Tunneling (Ripples Along Edge)
This happens when stitch width exceeds fabric flexibility. Fix: Reduce width by 0.5mm or lower tension by 1 full number. For jersey, tension -2 is often perfect. If ripples persist, switch to a narrower overcast stitch like #08.
Prevent Skipped Stitches on Seams
Dull needles cause 80% of skipped stitches. Fix: Install a fresh 80/12 universal needle before starting. For denim, use 90/14. If skipping continues, slightly increase presser foot pressure (consult manual for dial location).
Weekly maintenance: After sewing, power off and use the lint brush (included with machine) to clean under Foot G and around feed dogs. Built-up lint causes uneven stitching—especially on fleece or minky.
FAQ: Critical Answers for Real Projects
“Can my Brother machine overlock stretch fabric without popping?”
Yes—but only with tension adjustments. For athletic knits, reduce tension to 2.0 and use wooly nylon thread in the bobbin. The needle thread should be polyester. Test on scrap first: stretch the seam sideways—it should rebound without breaking.
“Why does my overlock stitch look fine but still fray after washing?”
You skipped the back-tack. Without those 2-3 reverse stitches at seam ends, water agitation pulls threads loose. Always lock both ends, then clip threads leaving 1cm tails.
“What needle works for all overlock projects?”
A size 80/12 universal needle handles 90% of fabrics. Switch to 70/10 for silks and 90/14 for denim. Never reuse needles after sewing through vinyl or leather—they develop micro-burrs that shred thread.
Final Pro Tip: The 1-Minute Test That Saves Hours
Keep a 3-inch fabric scrap from your current project taped to your machine. Any time the edge looks uneven:
1. Stop sewing immediately
2. Place scrap under Foot G
3. Sew 2 inches with current settings
4. Inspect—adjust width/tension if needed
This takes 60 seconds but prevents ripping out 20 minutes of seam finishing. Remember: perfect overlock stitches wrap cleanly over the edge like a hug—not piercing through or leaving gaps. With these steps, your Brother machine will deliver serger-quality results that make store-bought garments look shoddy.


