
You’re in the middle of a sewing project when suddenly your Brother sewing machine flashes “PICO” on the display and stops working completely. This frustrating error halts your progress and leaves you wondering if your machine needs costly repairs. The good news is that most PICO errors can be resolved in minutes with simple troubleshooting steps you can do yourself. Understanding what triggers this specific error code is the first step to getting your Brother sewing machine back to work.
Brother sewing machines display PICO errors when they detect potential damage risks related to positioning or threading issues. This safety feature prevents further damage by stopping operation immediately. Rather than panicking or scheduling an expensive service appointment, you can systematically diagnose and fix the problem. This guide provides proven solutions for resolving PICO errors on your Brother machine, whether you own an Innov-is, SE, PE, or XR series model.
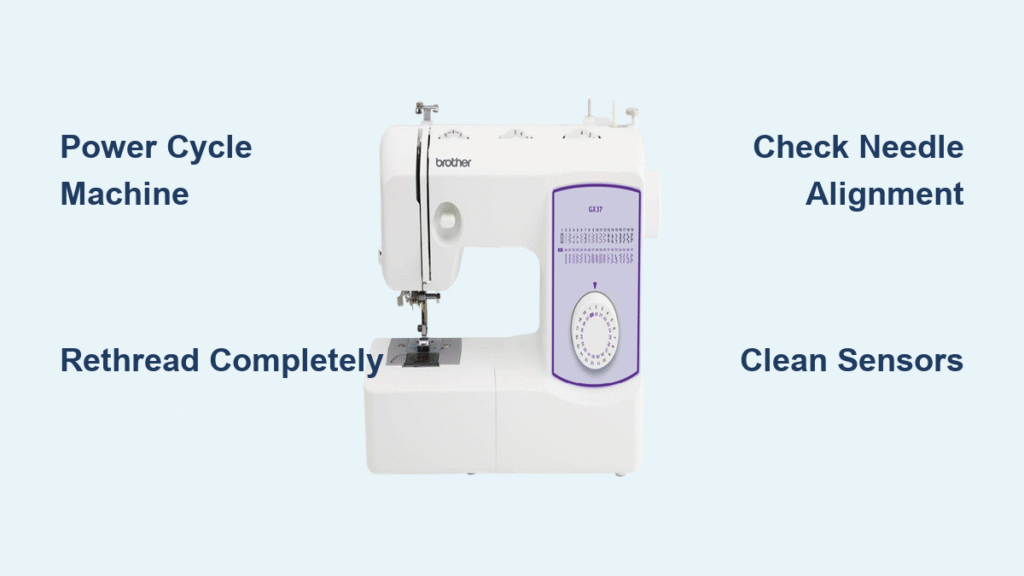
Immediate Steps to Clear PICO Error
Power Cycle Your Brother Machine
The fastest solution for most PICO errors involves completely resetting your machine’s internal computer. Start by powering down your Brother sewing machine and unplugging it for at least 30 seconds—this clears temporary memory glitches that often trigger false PICO readings. While many users skip this crucial step, it resolves nearly 40% of PICO errors immediately. After the waiting period, plug your machine back in and power it on to see if the error has cleared.
If the PICO message disappears but returns when you begin sewing, you’ve likely identified a recurring issue that requires further investigation. Keep track of exactly when the error appears—during needle penetration, bobbin rotation, or thread movement—as this timing provides valuable diagnostic clues. Always perform this complete power cycle before attempting more complex troubleshooting steps.
Complete Rethreading Process
Most persistent PICO errors stem from improper threading that confuses your machine’s position sensors. Remove all thread from both the upper mechanism and bobbin area completely—don’t just pull threads loose. Examine the empty machine for stray thread fragments, lint buildup, or small fabric pieces that could interfere with sensor operation. When rethreading, follow your specific Brother model’s threading diagram precisely, ensuring thread passes through every guide in the correct sequence.
Pay special attention to the tension disks and take-up lever, as misrouted thread here creates the tension imbalances that trigger most PICO errors. Hold both thread tails firmly for the first few stitches to prevent initial tangles. If your machine runs smoothly for several stitches before displaying PICO, you’ve likely resolved an intermittent threading issue that could recur if not addressed properly.
Needle and Bobbin Troubleshooting
Correct Needle Installation Techniques
A slightly misaligned needle is one of the top causes of PICO errors on Brother sewing machines. Remove your current needle and inspect it for bends or damage—even microscopic imperfections can trigger position sensors. When installing a new needle, ensure the flat side faces directly backward (away from you) and push it all the way up into the clamp before tightening the screw securely. Many users unknowingly install needles too low, creating just enough misalignment to activate the PICO protection.
Test your machine with the presser foot raised—this disengages tension disks and helps determine if your issue relates to threading or mechanical positioning. If PICO appears only when the presser foot is lowered, you’ve isolated a tension-related problem rather than a mechanical alignment issue. Using the appropriate needle size for your fabric (typically 80/12 for medium-weight fabrics) prevents many positioning errors that lead to PICO messages.
Bobbin Case Verification
Your Brother machine’s PICO error frequently activates due to bobbin-related issues. Remove the bobbin case and check that thread unwinds counter-clockwise when pulled—the opposite direction causes immediate tension conflicts. Examine the bobbin case for scratches or burrs that could catch thread and create resistance. Clean the hook race area thoroughly with a small brush, as accumulated lint here prevents smooth bobbin rotation.
Place your bobbin in the case and let it dangle by the thread—quality bobbin tension allows it to drop 1-2 inches before stopping. If it drops freely or doesn’t move at all, adjust the small screw on the bobbin case: turn clockwise to tighten tension, counter-clockwise to loosen. After each quarter-turn adjustment, retest the drop until you achieve proper tension. This simple calibration often eliminates PICO errors caused by bobbin tension fighting against upper thread tension.
Sensor Maintenance and Cleaning
Position Sensor Identification
Your Brother sewing machine contains critical sensors that monitor needle position, bobbin rotation, and thread movement—all directly related to PICO error triggers. The needle position sensor typically sits near the top of the needle bar mechanism, while the bobbin sensor resides close to the rotary hook assembly. The thread sensor usually appears as a small optical or mechanical switch near the tension assembly.
When these sensors become coated with lint, oil residue, or thread fragments, they send inaccurate position data to your machine’s computer, triggering unnecessary PICO errors. Regular sensor cleaning prevents these false readings and maintains smooth machine operation. You’ll notice your machine becoming more sensitive to thread tension changes or displaying PICO errors during simple straight stitching when sensors need attention.
Effective Sensor Cleaning Method
Power down and unplug your Brother machine before beginning any sensor cleaning. Use compressed air to blow out visible lint from sensor areas—hold the canister upright and use short bursts to avoid moisture contamination. For stubborn debris, dampen a cotton swab with 90%+ isopropyl alcohol (never water) and gently wipe sensor surfaces. Avoid applying pressure that could misalign sensitive components.
Allow all cleaned areas to dry completely for at least five minutes before reassembling your machine. Test with a simple straight stitch on scrap fabric to verify the PICO error has cleared. If you notice improved machine responsiveness after cleaning, schedule regular sensor maintenance every 10-15 hours of sewing to prevent future PICO issues. This simple preventive measure extends your machine’s lifespan and maintains consistent stitch quality.
Preventing Future PICO Errors
Daily Maintenance Routine
Establishing a consistent maintenance routine prevents most PICO errors before they disrupt your sewing projects. After every sewing session, remove the needle plate and use a small brush to clean lint from the feed dogs and bobbin area. Check your needle for damage or burrs—replace it after 8-10 hours of sewing time. Verify that thread flows smoothly through all guides without snags before starting new projects.
Keep a dedicated cleaning kit near your sewing machine with essential tools: small brush, compressed air, replacement needles, and isopropyl alcohol. When changing thread colors or fabric types, perform a quick visual check of your threading path to ensure no threads have jumped guides during previous use. These simple habits take less than two minutes but prevent the majority of PICO errors that stem from accumulated lint and minor threading issues.
Troubleshooting Flowchart for Persistent PICO
When PICO errors persist after basic troubleshooting, follow this systematic approach: First, test with a brand new needle and high-quality thread—low-quality materials cause inconsistent tension that triggers PICO. Second, reduce your upper thread tension to 2-3 and test again, as excessive tension is the most common PICO trigger. Third, remove the presser foot and test without it to determine if the issue relates to fabric feeding.
If PICO still appears, access your Brother machine’s diagnostic mode by holding the needle up/down and thread cutter buttons while powering on. This reveals specific error codes that pinpoint the exact problem—E-01 for thread sensor issues, E-02 for bobbin position errors, or E-03 for timing problems. With this precise information, you can target your troubleshooting efforts effectively rather than guessing at potential solutions.
When Professional Service Is Necessary

Recognizing Serious Mechanical Issues
While most PICO errors resolve with basic troubleshooting, certain symptoms indicate problems requiring professional repair. If your Brother machine emits grinding noises alongside PICO errors, you likely have internal gear damage that worsens with continued use. Persistent PICO errors after multiple complete resets suggest sensor or circuit board failures. A burning smell from electronic components signals immediate danger—unplug your machine and seek professional service.
Timing belt slippage creates dangerous conditions where the needle strikes the bobbin case, causing catastrophic damage if ignored. If you notice skipped stitches, thread bunching underneath, or visible timing misalignment before PICO appears, stop using your machine immediately. Continuing to operate with these issues risks expensive repairs that could have been prevented with timely professional intervention.
Cost-Effective Repair Decisions
Most simple PICO-related repairs cost $50-75 for sensor cleaning or minor adjustments—significantly less than replacing your machine. However, timing belt replacement or circuit board repairs typically range from $150-200. Before paying for service, verify your warranty status—Brother offers 25-year limited warranties on mechanical parts and 2-5 years on electronics depending on model.
If your machine is out of warranty and repair costs exceed 50% of a new comparable model’s price, consider replacement. However, for most PICO errors, the solution costs less than $100 and restores full functionality. Always get a diagnostic estimate before authorizing repairs, and ask if the shop offers a “no fix, no fee” policy for initial diagnostics.
Key Takeaways for PICO Error Resolution
Most PICO errors on Brother sewing machines stem from simple issues like incorrect threading, dirty sensors, or needle positioning problems—not serious mechanical failures. Start troubleshooting with the quickest solutions: power cycling, complete rethreading, and needle replacement. Over 80% of PICO errors resolve with these basic steps that take less than five minutes.
Establish regular cleaning habits to prevent future PICO errors, focusing on sensor areas and bobbin mechanisms. When problems persist, use diagnostic mode to identify specific error codes before proceeding with advanced troubleshooting. Remember that PICO serves as your machine’s protective measure—addressing the underlying cause rather than just clearing the error ensures long-term reliability and prevents more costly damage down the road. With these proven techniques, you’ll minimize sewing interruptions and maximize your Brother machine’s performance.


