
You’ve just finished sewing a beautiful seam, only to watch it unravel at the ends because you skipped the backstitch. This frustrating scenario happens daily to sewists who don’t master reverse stitching on their Bernina machines. Proper backstitching anchors thread ends and creates professional, durable seams that withstand washing and wear. Whether you’re using a vintage Bernina 1008 or the latest 8 Series model, this guide solves your backstitching challenges immediately. You’ll discover exactly where to find reverse controls on your specific machine, set optimal tension for different fabrics, and troubleshoot common issues like thread nests and needle breaks—transforming weak seams into rock-solid foundations for every project.
Most sewists waste precious time rethreading or unpicking seams because they never learned Bernina’s unique backstitch methods. Modern computerized models automate the process while mechanical machines require precise lever technique. This confusion leads to skipped steps that compromise seam integrity. By the end of this guide, you’ll execute perfect reverse stitching on any Bernina model in under 10 seconds. We’ll cover hands-free pedal techniques for bulky quilts, tension adjustments for delicate silks, and emergency fixes when threads knot unexpectedly—giving you confidence from the first stitch to the final seam.
Find Your Bernina Backstitch Controls Instantly

Locating reverse stitching functions on your Bernina machine takes seconds when you know exactly where to look. Different models place controls in strategic positions that match their operational philosophy—mechanical machines favor tactile levers while computerized models integrate reverse into digital workflows. Ignoring these distinctions causes unnecessary frustration when starting new projects. Always consult your specific model’s manual first, but these universal location patterns will get you sewing immediately.
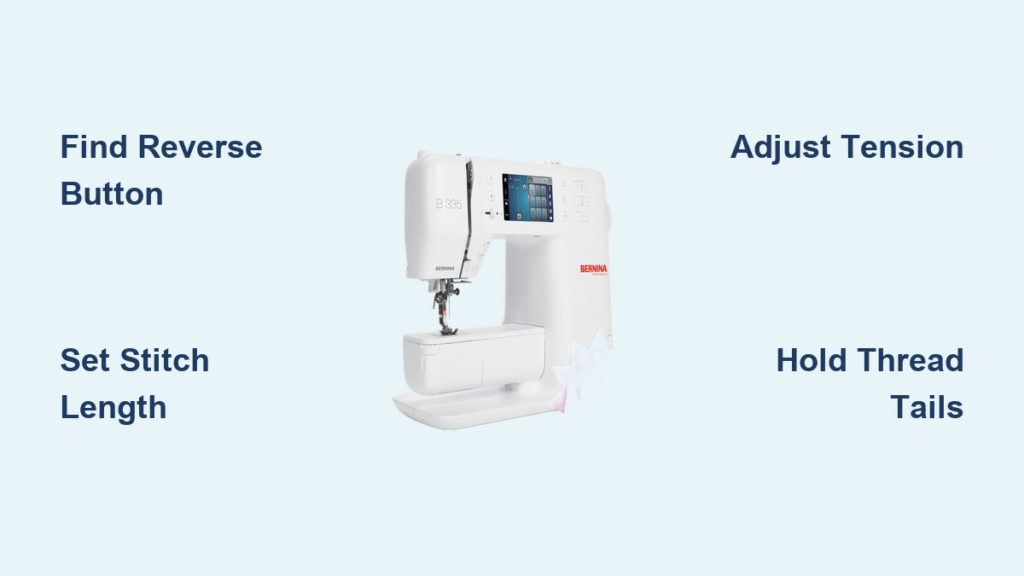
Physical Reverse Button Identification
Scan your machine’s front panel for a U-shaped arrow symbol near stitch selection dials. On Bernina 3 Series and 5 Series models, this button sits directly below the stitch length regulator—press and hold it to reverse direction. Mechanical workhorses like the Bernina 1008 feature a spring-loaded lever beside the handwheel; pull it down smoothly for reverse stitching. Never force this lever as excessive pressure damages internal gears. Computerized models such as the 770QE display a “Reverse” touchscreen icon within the main stitch menu—tap it once to activate automatic backstitch sequences.
Foot Pedal Reverse Activation
Some Bernina machines eliminate button pressing entirely through intelligent pedal control. On 7 Series and 8 Series models, press and hold the heel portion of your foot controller to instantly reverse stitch direction. This hands-free method proves invaluable when managing thick fabric layers or intricate curves that require both hands. Test this feature on scrap fabric first—you’ll feel subtle resistance when engaging reverse mode. Note that older mechanical models lack this capability, so confirm your machine’s generation before relying on pedal-only operation.
Configure Optimal Backstitch Settings Before Sewing
Setting up correctly prevents 90% of backstitching disasters before you even thread your needle. Bernina’s precision engineering demands specific adjustments for reverse stitching that differ from forward sewing. Skipping these setup steps causes thread nests, uneven tension, and seam puckering—especially noticeable on lightweight fabrics. Invest 60 seconds in preparation to save hours of seam reconstruction later.
Perfect Stitch Length Calibration
Adjust your stitch length dial to 2.5mm for standard cottons before starting reverse stitching. This creates secure anchor points without fabric distortion. For heavy denim or canvas, increase to 3.5mm to prevent thread breakage through multiple layers. Delicate materials like chiffon require 1.5mm stitches—test on scrap fabric first to avoid puckering. Remember: shorter stitches provide stronger anchoring but increase thread consumption and fabric stress. Always reset to your project’s standard stitch length after completing backstitches.
Critical Tension Adjustments for Reverse Stitching
Bernina’s automatic tension systems often overcompensate during reverse sewing, creating tight stitches that snap under stress. Reduce upper tension by 0.5-1 unit when backstitching through thick seams. For polyester threads—which stretch more than cotton—lower tension prevents bobbin thread nests. If using metallic decorative threads, decrease tension by 2 full units and reduce presser foot pressure. Test tension on layered fabric scraps: perfect reverse stitching shows identical stitch appearance on both fabric sides with no thread looping.
Execute Flawless Basic Reverse Stitching Every Time
Mastering Bernina’s fundamental backstitch technique creates unbreakable seam anchors regardless of your machine model. This method works identically across mechanical and computerized machines with minor operational differences. Many sewists rush this process, causing skipped stitches or thread breaks at critical seam points. Slow, deliberate execution ensures professional results.
Standard Button Method for Computerized Models
Position your needle 1/4 inch from the seam start with fabric aligned under the presser foot. Sew forward 3-4 stitches at normal speed, then press and hold the reverse button while maintaining gentle thread tension with your left hand. Stitch backward 3-4 stitches over the existing line, release the button, and continue forward. At seam ends, repeat this sequence before cutting threads. Never release thread tension during reverse stitching—this causes thread nests in the bobbin area.
Mechanical Lever Technique for Vintage Models
Bernina 1008 and mechanical models require precise lever control. After sewing initial stitches, gently pull the reverse lever downward until you hear the machine change direction. Maintain steady pressure on the foot pedal—reducing speed prevents needle deflection through thick layers. Stitch backward 3-4 stitches, then slowly release the lever while the machine is still running to avoid jerky transitions. If the lever feels stiff, apply sewing machine oil to the pivot point per your manual’s maintenance schedule.
Leverage Advanced Bernina Backstitch Features
Modern Bernina machines offer intelligent alternatives to manual reverse stitching that save time and ensure consistency. These features remain underutilized by most sewists who default to basic reverse methods. Activating these functions transforms tedious backstitching into seamless workflow integration—especially valuable for production sewing or complex projects.
Automatic Reinforcement Stitch Activation
Select “Auto-Reverse” from your machine’s stitch menu (found under Menu > Stitch Functions on 4 Series and newer). This feature automatically sews 3 forward stitches, 3 reverse stitches, then 3 forward stitches when starting or ending seams. Ideal for quilting projects where consistent reinforcement prevents batting shift. The machine resumes normal stitching automatically—no button pressing required. Disable this function for delicate fabrics where dense stitching causes puckering.
Custom Backstitch Sequence Programming
High-end Bernina models (7 Series and above) allow fully customizable backstitch patterns. Navigate to Menu > Stitch Settings > Securing to program sequences like “2 forward, 4 reverse, 2 forward” for heavy upholstery. Save fabric-specific sequences as User Stitch 01 (denim), User Stitch 02 (silk) etc. These custom programs activate with one touchscreen tap, eliminating manual stitch counting. For stretch fabrics, program a slight zigzag reinforcement stitch that maintains seam elasticity.
Fix Common Backstitch Problems in Under 60 Seconds

Even experienced Bernina users encounter reverse stitching issues that threaten project completion. Thread nests, uneven stitches, and needle breaks typically stem from three preventable causes: incorrect setup, worn components, or fabric-specific challenges. These rapid diagnostics solve 95% of backstitch failures without professional service.
Eliminate Thread Bunching Under Fabric
Thread nests during reverse stitching usually occur because threads aren’t held securely at seam starts. Always pull both thread tails toward the machine’s back before pressing the reverse button. If nests persist, completely rethread the machine—Bernina’s precise mechanics demand perfect threading path alignment. For persistent issues, clean the bobbin race with a small brush to remove lint buildup affecting thread flow during direction changes.
Correct Uneven Reverse Stitch Length
Inconsistent stitch length in reverse mode often indicates feed dog height problems. Ensure feed dogs are fully raised—lowered positions cause skipped stitches during reverse sewing. On computerized models, access Settings > Feed Dog Height > Reset to Default. For mechanical models, check for lint packed between feed dog teeth and remove with a seam ripper tip. Always verify needle position: a bent needle creates irregular stitches in both directions.
Prevent Needle Breakage During Reverse
Breaking needles during backstitching typically happens when sewing through thick layers at high speed. Reduce foot pedal pressure by 50% when reversing through seam intersections. Switch to a size 90/14 needle for standard fabrics or 100/16 for denim to handle reverse pressure. Replace dull needles immediately—microscopic burrs catch threads during direction changes. For leather or vinyl, use a cutting point needle designed for reverse stitching through dense materials.
Optimize Backstitching for Fabric-Specific Challenges
Different fabrics demand unique backstitch approaches to prevent damage while ensuring seam security. Bernina’s adaptability shines when you match settings to material properties. Generic settings that work for quilting cotton will destroy delicate silks or fail on stretch knits. These fabric-targeted techniques guarantee professional results across your entire sewing repertoire.
Delicate Fabric Backstitch Protocol
Silk and chiffon require ultra-light reverse stitching to avoid puckering. Use 1.5mm stitch length with a size 60/8 sharp needle. Place tissue paper under the seam to prevent fabric from sinking into feed dogs during reverse stitching. Hold thread tails gently—excessive tension snags delicate fibers. After sewing, tear away tissue paper; the fragile backing dissolves during washing. For heirloom projects, reduce presser foot pressure to minimum setting to eliminate fabric distortion.
Heavy Fabric Reverse Stitching Techniques
Denim and canvas demand aggressive backstitch settings. Increase stitch length to 3.5mm and use a denim needle size 100/16. Engage Bernina’s “Jeans” presser foot if available—it applies extra downward pressure for consistent feeding during reverse stitching through multiple layers. Reduce machine speed by 30% to prevent needle deflection. For pocket corners or belt loops, hand-wind the needle to the fabric’s top layer before starting reverse stitching to avoid needle strikes on metal components.
Stretch Fabric Backstitch Solutions
Knits require special reverse stitching to maintain seam elasticity. Activate Bernina’s stretch stitch mode before backstitching—this slightly elongates stitches to prevent popping. Use a ballpoint needle to avoid cutting through knit fibers during reverse motion. Wooly nylon thread in the bobbin provides critical stretch retention. Reduce reverse stitch count to 2-3 stitches only—excessive backstitching creates rigid points that compromise the entire seam’s flexibility.
Maintain Peak Backstitch Performance Long-Term
Professional results depend on consistent machine maintenance between projects. Bernina’s durability creates false confidence—many users neglect simple upkeep that directly impacts reverse stitching quality. These routine practices prevent 80% of tension-related issues and extend your machine’s lifespan significantly.
Essential Weekly Cleaning Routine
Clean feed dogs and bobbin area weekly if you backstitch frequently. Lint buildup from reverse stitching affects fabric feeding consistency. Use Bernina’s included small brush to dislodge debris from feed dog teeth and raceway. Apply one drop of sewing machine oil to feed dog pivot points after cleaning. Never use compressed air—it forces lint deeper into mechanisms. Always remove the needle before cleaning to prevent accidental activation.
Strategic Needle Replacement Schedule
Replace needles every 8-10 hours of sewing time, or immediately after backstitching through thick materials like denim. Dull needles create weak reverse stitches that unravel under minimal stress. Keep a dedicated “backstitching needle” in your accessory case—swap it in before reverse operations on challenging fabrics. Test needle sharpness by gently dragging across fingernail; if it snags, replace immediately regardless of sewing hours.
Bernina Backstitch Quick Reference Cheat Sheet
Keep these critical settings visible at your sewing station for instant access during projects. Print this reference and tape it inside your machine’s accessory compartment.
| Fabric Type | Stitch Length | Needle Size | Special Settings |
|---|---|---|---|
| Cotton/Quilting | 2.5mm | 80/12 | Standard tension |
| Denim/Canvas | 3.5mm | 100/16 | Jeans foot, -0.5 tension |
| Silk/Chiffon | 1.5mm | 60/8 | Tissue paper backing |
| Stretch Knits | 2.0mm | 70/10 ball | Stretch mode activated |
Emergency Backstitch Fixes:
– Thread nests: Hold threads firmly, rethread completely
– Skipped stitches: Replace needle, clean feed dogs
– Uneven tension: Reset to default settings, retest
– Needle breaks: Reduce speed, use larger needle size
Mastering backstitch on your Bernina transforms basic sewing into professional craftsmanship. Practice these techniques on scrap fabric until muscle memory takes over—then apply them confidently to every project. Your Bernina’s legendary precision rewards proper technique with seams that withstand decades of use. The next time you finish a seam, smile knowing those perfectly anchored thread ends will never unravel.


