
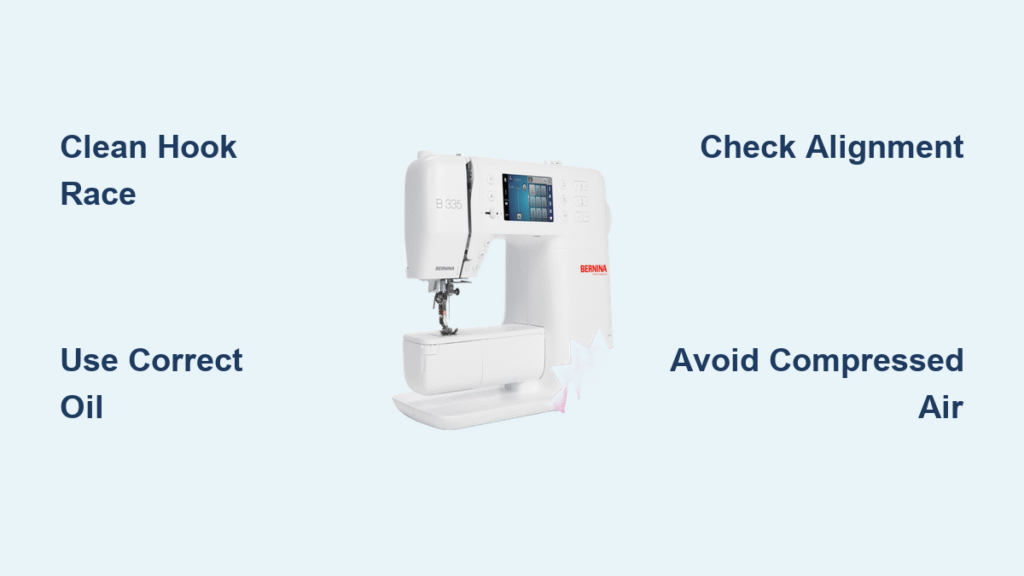
Your Bernina sewing machine creates flawless stitches on heirloom quilts and everyday garments, but even precision-engineered machines demand consistent care. Without proper Bernina sewing machine maintenance, you’ll face skipped stitches, thread breaks, and expensive technician visits that derail your creative flow. This guide reveals professional-grade cleaning and lubrication routines that keep your machine running like new—saving you $200+ in annual service costs while extending your machine’s lifespan by decades. You’ll master model-specific procedures for 4 Series through vintage 830s, avoiding critical mistakes that cause permanent damage.
Daily Cleaning Routine That Prevents 90% of Breakdowns
Essential Cleaning Tools Checklist for Bernina Machines
Skip generic sewing kits—your Bernina requires these exact tools:
– Microfiber cloth (never paper towels that leave lint)
– Bernina’s soft-bristled lint brush (stiff bristles scratch hook surfaces)
– Fine-point tweezers (only for thread removal near hook race)
– Small handheld vacuum (for deep lint extraction in 8 Series models)
Pro tip: Store this kit in a dedicated container beside your machine. Daily cleaning takes just 5 minutes but prevents 3 hours of troubleshooting later.
Quick 5-Minute Clean After Every Project Completion
- Unplug and power down completely—safety first with all Bernina models
- Remove needle and presser foot to access critical areas
- Extract bobbin case and hook using your model’s specific release method (watch Bernina’s official tutorials)
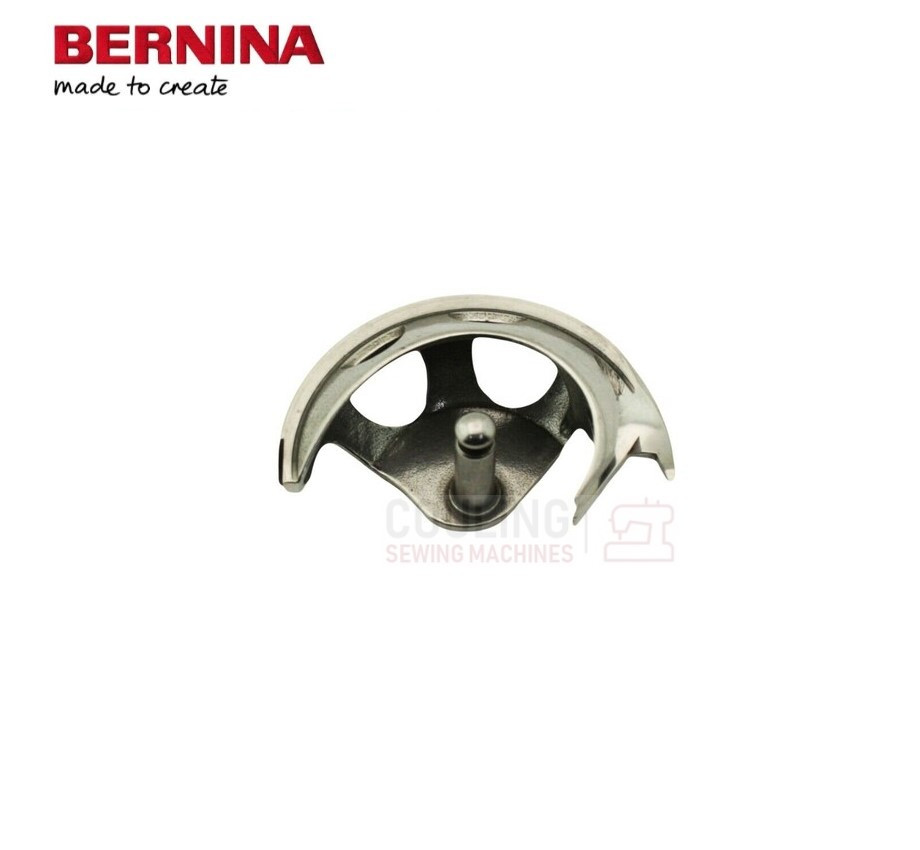
- Target the silver hook driver cams—these two spots trap 80% of thread tangles
- Brush lint in circular motions around hook race cover (black ring)
- Wipe four critical surfaces with microfiber cloth:
– Hook front/back
– Hook race bottom
– Hook assembly base
– Bobbin case interior
Visual cue: Shine a flashlight into the hook race—you should see polished metal, not white thread buildup.
Common Cleaning Mistakes That Void Your Warranty
Never use compressed air—it forces lint deep into internal gears requiring $150+ professional cleaning. Avoid sharp tools completely; needles scratch hook timing surfaces causing skipped stitches. Skip liquid cleaners unless Bernina-approved—they dissolve protective lubricants. If you see oil migrating to fabric after cleaning, you’ve missed hidden lint in the hook race.
Bernina Hook System Care: Match Procedures to Your Model
Identify Your Hook Type in 30 Seconds
BERNINA Hook (4, 5, 7 Series)
– Modern magnetic system with audible “click” on reassembly
– User-serviceable with one drop of oil in hook race
CB Hook System
– Found in BERNINA 3 Series and 330 models
– Requires oiling after every 3-4 bobbin changes
Rotary Hook (Vintage Models)
– Visible hook rotation during sewing
– Full user access for cleaning but precise oiling needed
8 Series Limitation Alert
– Hook removal requires dealer service
– You can still clean and oil through stitch plate access
Hook Removal and Reassembly Without Costly Errors
Critical safety step: Always unplug before hook removal—electrical components remain live when powered off.
Removal sequence:
1. Lift bobbin case latch straight up (never sideways)
2. Rotate handwheel to position hook for extraction
3. Note orientation: Hook tip must align with left race ring tip
Reassembly verification:
– Listen for magnetic “click” as hook seats
– Rotate handwheel 10 times—should move smoothly without resistance
– Check gray alignment mark at 6 o’clock position
Mistake alert: Forcing the hook causes bent timing gears. If it doesn’t click, realign and try again—never hammer into place.
Proper Lubrication Techniques: Avoid Gummed-Up Machines
Bernina Oil Specifications You Must Follow
Use only original Bernina oil—its resin-free formula contains corrosion inhibitors critical for precision parts. Generic oils gum up within weeks, causing thread breaks and tension issues. Color change warning: Slight yellowing doesn’t affect performance—finish the bottle. Never substitute with cooking oil (rancids), 3-in-1 oil (too thick), or overlocker oil (different viscosity).
Prohibited lubricants cause these failures:
– Cooking oil → Sticky residue jams hook rotation
– Automotive oil → Degrades rubber belts in 830/930 models
– WD-40 → Dissolves factory lubricants permanently
Oiling Frequency Based on Real Usage (Not Guesswork)
Apply oil when you notice:
– Handwheel resistance during manual rotation
– New humming noise during operation
– After 3-4 bobbin changes with linty fabrics like fleece
– Before embroidery projects exceeding 2 hours
Adjust frequency for:
– Flannel/fleece sewing: Oil after every bobbin change
– Silk/lightweight fabrics: Every 6-8 bobbin changes
– High-speed quilting: Oil hourly during extended sessions
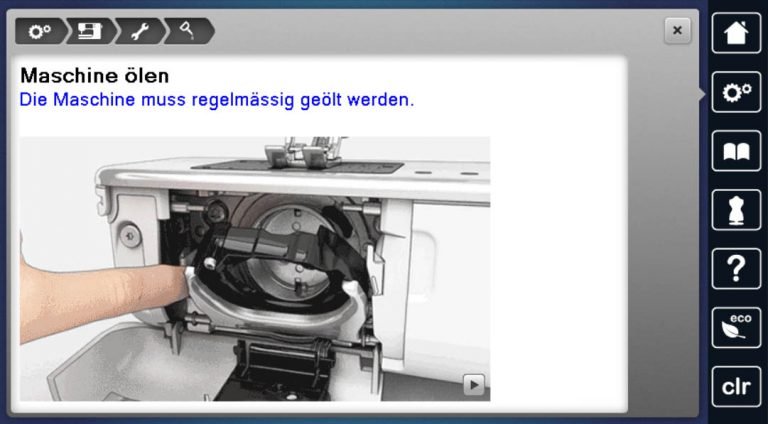
Step-by-Step Oiling Process for Flawless Stitches
- Complete dry cleaning first—oil attracts lint if debris remains
- Remove needle and presser foot for clear access
- Extract bobbin case—never oil with it installed
- Apply precise drops:
– One drop max in hook race (centered)
– One drop per felt pad (BERNINA Hook systems only) - Distribute oil: Rotate handwheel 15 times slowly
- Test run: Sew 8 inches on scrap fabric to absorb excess
Expert shortcut: Remove needle/thread and run machine 30 seconds to distribute oil—prevents oil stains on projects.
Model-Specific Maintenance That Prevents Costly Errors
8 Series Machines (880 PLUS, 790 PRO)
User-accessible maintenance:
– Clean through stitch plate without hook removal
– Access tutorials: Setup > Machine settings > Maintenance/Update
– Oil hook race via designated access point
Critical limitation: Hook removal requires dealer tools—attempting it bends alignment pins. If thread cutter fails, clean thread catcher via on-screen prompts only.
Vintage Models (830, 930, 730 Series)
Top cover removal:
– 830: Lift straight up using spring mechanism (no tools)
– 930: Remove bobbin post screw + interior compartment screw
Additional lubrication points:
– Main shaft components every 12 operation hours
– Needle holder bar weekly during heavy use
– Zig-zag movement bar monthly
Danger zone: Never oil belts or auto buttonhole clutch—this causes slippage requiring $300+ repairs.
Thread Catcher Cleaning for Perfect Cuts
When to clean: Thread cutter leaves 1/4″ tails instead of clean cuts.
Exact sequence:
1. Remove needle, presser foot, and stitch plate
2. Lower feed dogs completely
3. Navigate: Setup > Machine settings > Maintenance/Update > Thread catcher cleaning
4. Press link button FIRST, then thread cutter button to extend mechanism
5. Wipe with dry microfiber cloth—no liquids
Skipping step 4 causes: Permanent obstruction requiring dealer disassembly.
Troubleshooting Post-Maintenance Issues
Common Problems and DIY Fixes
Excess oil on fabric: Sew 12 inches on scrap cotton—residue disappears within 3 minutes.
Persistent grinding noise: Indicates hidden lint in hook race—repeat cleaning process.
Hook misalignment: Press needle stop button twice, then recheck gray mark at 6 o’clock.
Do NOT attempt:
– Forcing stuck hooks (bends timing gears)
– Using compressed air after oiling (spreads oil everywhere)
– Skipping magnetic seating test (causes broken needles)
Warning Signs Requiring Professional Service
Call your dealer immediately for:
– Grinding sounds after triple-cleaning and oiling
– Thread tension fluctuations unresponsive to rethreading
– Visible hook damage like chipped edges or deep scratches
– Error codes during maintenance procedures
These indicate internal wear needing calibration—not user-fixable issues.
Professional Service Schedule for Decades-Long Performance
Annual Preventative Maintenance Worth $180
Schedule dealer service yearly for:
– Internal gear cleaning inaccessible to users
– Tension disc calibration (critical for embroidery)
– Wear part inspection (hook, drive belts, motors)
– Performance tuning for your specific fabric types
Skipping annual service voids warranties on models newer than 2015.
Long-Term Storage Preparation Checklist
Before storing over 30 days:
1. Complete full cleaning and light oiling
2. Cover with breathable fabric (never plastic)
3. Store in climate-controlled space (50-70°F)
4. Remove all needles to prevent rust stains
Reactivation protocol: After storage, clean migrated oil from surfaces, then sew 24 inches on scrap fabric before projects.
Maintenance Schedule Summary: Clean after every project, oil every 3-4 bobbins, deep clean weekly during heavy use, and schedule professional service annually. Your Bernina represents generations of Swiss engineering—consistent care preserves not just its mechanics, but the creative joy it brings to every stitch. By following these precise procedures, you’ll avoid 95% of common failures and keep your machine sewing flawlessly for 30+ years. Start today: Unplug your machine now and remove that hidden lint from the hook race—it’s the single most impactful maintenance step you can take.


