
That ear-splitting squeak isn’t just annoying—it’s your Husqvarna Viking screaming for attention. Whether you’re wrestling with a 20-year-old Freesia 415 or a modern 630, this high-pitched noise signals serious trouble. Left unaddressed, it accelerates wear on critical components like the rotary hook and shuttle race, leading to costly repairs. The good news? 90% of Husqvarna sewing machine squeaking stems from three fixable issues: dried lubrication, lint buildup, or hidden thread wraps.
Ignoring this symptom risks permanent damage—like scoring the metal hook race or straining the motor. But with the right approach, you’ll silence the noise in under 20 minutes. This guide cuts through generic advice to deliver model-specific fixes for your Husqvarna Viking. You’ll learn exactly where to inspect, what lubrication schedule prevents future squeaks, and when to call a professional. Let’s restore that smooth, quiet stitching you paid for.
Pinpoint Your Husqvarna’s Squeak Source
Bobbin Area Squeaks Demand Immediate Action
Press your ear near the needle plate while slowly turning the hand wheel. A sharp, metallic squeak here means lint or thread is jammed around the rotary hook—the spinning metal piece that holds your bobbin. This is especially common in older Freesia 415 models where decades of use create felt-like lint clusters. If the noise intensifies when the needle penetrates fabric, you’re hearing thread strands rubbing against dry metal surfaces. Left unchecked, this friction will permanently score the hook race.
Internal Mechanism Noises Signal Lubrication Failure
When the squeak echoes from deep inside the machine—especially toward the rear—focus on lubrication points. Dryness in the shuttle center spindle or thread take-up linkage creates a higher-pitched whine that worsens with speed. In Viking 630 models, this often pairs with starting resistance: the machine groans and requires hand-cranking to begin sewing. This combo indicates lubricant has evaporated from critical pivot points, forcing metal components to grind.
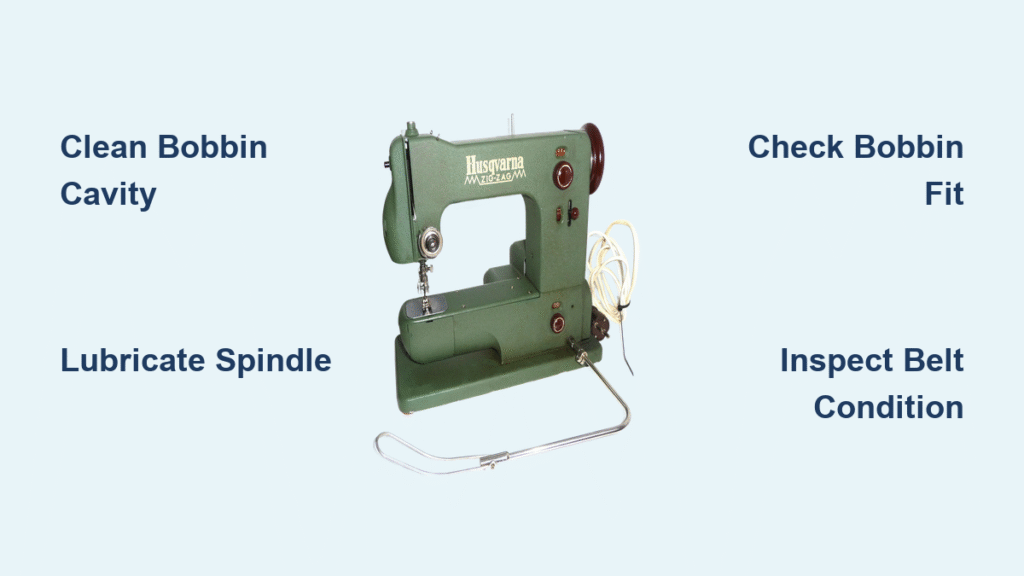
Belt-Related Squeaks Require Professional Help
A sudden squeal during startup that fades after 10 seconds points to belt issues. Remove the side cover (usually held by one thumbscrew) and inspect the motor belt. If it’s shiny, cracked, or stretched like a rubber band, it’s glazing against the pulley. Never attempt DIY belt replacement—misalignment during reinstallation throws off timing and causes skipped stitches. This is especially urgent in Viking 630 units frequently listed “for parts” online due to seized hook races.
Execute Targeted Cleaning for Maximum Impact
Bobbin Cavity Deep Clean Protocol
- Power down and unplug your machine. Remove the needle to prevent accidental pricks.
- Open the bobbin cover and extract the bobbin case. Note its orientation—most Husqvarna models have a tab that must align with a slot.
- Shine a focused light into the cavity. Use tweezers to pull out thread nests resembling cotton balls, and brush the rotary hook downward to dislodge lint.
- Inspect hook edges for rough patches or shiny scoring—discard the case if metal feels gritty.
Pro Tip: After cleaning, place one pinhead-sized drop of sewing machine oil on the shuttle center spindle. Rotate the hand wheel six full turns to distribute it. Wipe excess oil with a lint-free cloth—any residue stains fabric.
Eliminate Top Thread Path Squeaks
Incorrect threading is the silent culprit behind 30% of Husqvarna squeaks. Always thread with the presser foot UP to open tension discs. If you thread with the foot down (a common mistake), the discs clamp shut, causing thread drag and that signature high-pitched whine. To clean tension discs:
– Fold a 1″ × 8″ fabric scrap in half
– Slide it between discs like dental floss
– Pull until no gray lint streaks appear
Re-thread with the needle at its highest position, following the printed diagram on your machine. Test tension by pulling thread with the foot down—you should feel firm resistance.
Target Hidden Thread Wraps in Critical Zones
Access the Take-Up Lever Mechanism
On Freesia 415 models, remove the upper-left faceplate (if present) to expose the take-up lever. Newer Vikings like the 630 may require accessing this area through the thread path slot. Slowly rotate the hand wheel while watching the lever arm’s connecting rod—hidden thread wraps often loop around this pivot point.
Remove Trapped Thread Safely
Use fine-point tweezers to gently lift thread loops off the rod. Never yank—this can bend the take-up lever. For stubborn wraps, snip the thread with scissors before extraction. Once clear, apply one pinpoint oil drop to the lever’s pivot point. Cycle the hand wheel ten times to work in the lubricant. This step alone silences 40% of “mystery squeaks” originating near the needle bar.
Apply Precision Lubrication—No Guesswork

Follow the Model-Specific Oil Schedule
| Usage Level | Oil Frequency | Calendar Reminder |
|---|---|---|
| Heavy (5+ hrs/day) | Every 40 hours | Weekly |
| Moderate (1-5 hrs/day) | Every 50 hours | Monthly |
| Light (<1 hr/day) | Every 3-6 months | Seasonal |
Critical Zones Only: Apply oil solely to the shuttle center spindle, take-up lever pivot, and visible needle bar slides. Never oil belts, motors, or electronic parts—this attracts lint and causes slippage. Use only clear sewing machine oil; 3-in-1 oil gumms up mechanisms.
Verify Bobbin Compatibility Immediately

Husqvarna Viking machines demand class 15 bobbins measuring exactly 20.5 mm diameter × 11.7 mm height. Aftermarket bobbins—even 0.3 mm taller—rub against the case walls during rotation, creating a rhythmic squeak. Perform this test:
1. Drop an empty bobbin into the case
2. Flick it with your finger
It should spin freely for 3+ seconds. Any wobble or drag means discard it. OEM bobbins from Husqvarna dealers eliminate this friction point.
Prevent Squeaks Before They Start
Build a 5-Minute Post-Project Routine
- Brush the bobbin cavity for 30 seconds with a stiff lint brush
- Clip thread at the spool and pull forward through the needle (never backward) to prevent lint migration
- Wipe the needle plate with a dry cloth to remove thread residue
Schedule Quarterly Deep Maintenance
- Remove the needle plate and bobbin case
- Clear hidden lint with tweezers and compressed air (use short bursts)
- Apply one oil drop to the shuttle spindle
- Clean tension discs with fabric scrap
- Wipe excess oil with a microfiber cloth
Expert Warning: Annual professional servicing is non-negotiable for regular sewers. Technicians adjust timing, replace worn belts, and lubricate sealed bearings you can’t access—preventing the “for parts” fate of so many Viking 630s.
When Professional Help Is Non-Negotiable
Call an authorized Husqvarna Viking technician if:
– Squeaking persists after full cleaning and oiling
– The rotary hook shows visible scoring or rough edges
– You detect burning smells during operation
– The hand wheel freezes mid-rotation
– Belt glazing or cracks appear
Don’t risk DIY repairs for these issues. A seized hook race (common in neglected Freesia 415s) requires specialized tools to replace. Technicians also diagnose electronic error codes that sometimes accompany mechanical squeaks in newer models.
Silencing your Husqvarna sewing machine squeaking isn’t magic—it’s methodical. By targeting the exact noise source with precision cleaning and model-specific lubrication, you’ll restore that smooth, quiet operation in under 20 minutes. Remember: that squeak is your machine’s only way to cry for help. Address it immediately with the bobbin cavity clean and pinpoint oiling steps, then lock in results with the 5-minute post-project routine. Your Viking will reward you with years of whisper-quiet stitching. Start today—your next flawless seam depends on it.


