
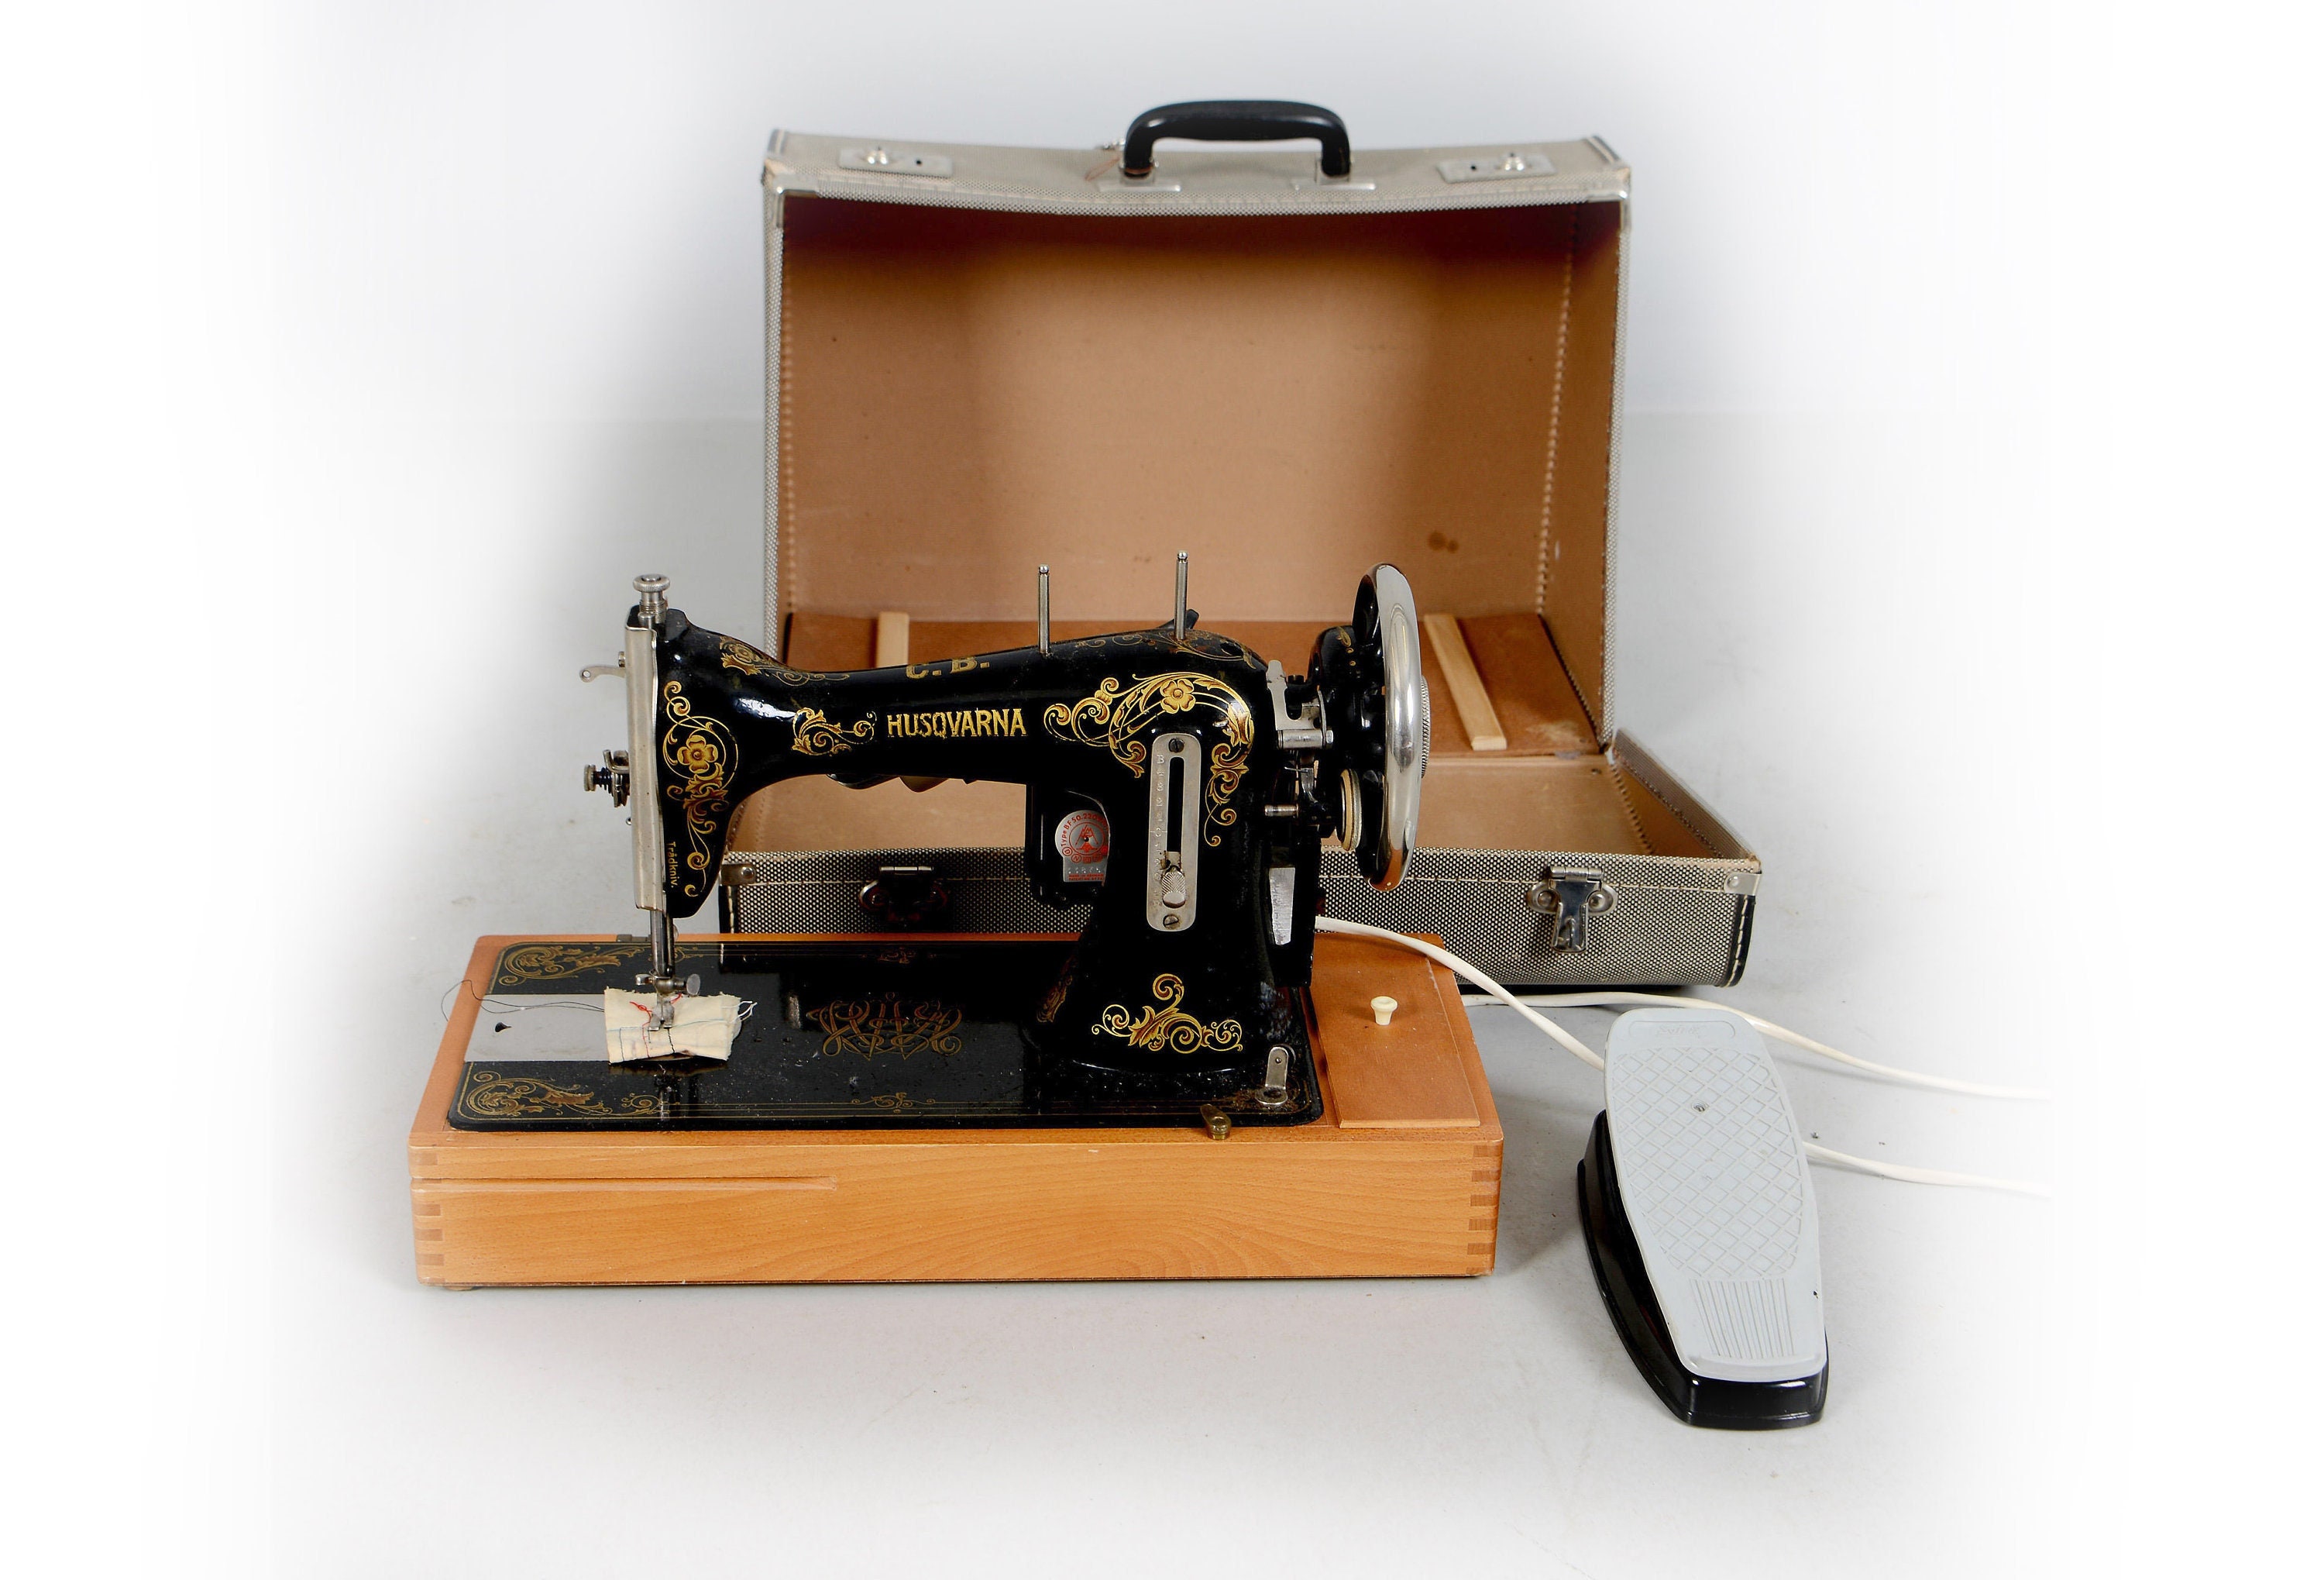
That frustrating squeak from your grandmother’s old Husqvarna sewing machine might have you reaching for the oil bottle—but stop right there. You could be making a costly mistake that damages your beloved machine. The truth about how to oil Husqvarna sewing machine models varies dramatically depending on whether you’re working with a vintage pre-1972 model or a modern machine. Most sewing enthusiasts don’t realize that oiling the wrong Husqvarna model can cause more harm than good, potentially gumming up precision mechanisms designed to run oil-free.
Here’s the critical distinction you need to know before applying a single drop: all Husqvarna Viking machines manufactured after 1972 use sealed bearings and self-lubricating systems that require no oiling. In fact, adding oil to these modern machines can attract lint, create sticky residue, and even void any remaining warranty coverage. But if you’re working with a classic Model 2000, Class 20, or Husqvarna Zig-Zag from the 1950s-1960s, proper monthly oiling is essential maintenance that keeps these vintage workhorses running smoothly for decades.
This comprehensive guide cuts through the confusion by showing you exactly how to oil Husqvarna sewing machine models that actually need it—while protecting your modern machine from unnecessary damage. You’ll learn to identify your specific model, select the right oil, apply it to precise locations, and avoid the most common oiling mistakes that ruin vintage machines.
Identify Your Husqvarna Model Before Touching That Oil Bottle

Locate and Decode Your Serial Number Plate
Flip your machine carefully onto its back and examine the metal plate typically found near the bottom. This plate holds the key to determining your oiling requirements. Machines manufactured after 1972 will prominently feature “Viking” branding alongside the Husqvarna name, often with model designations like “Designer,” “Sapphire,” or “Opal.” Crucially, their maintenance instructions explicitly state “No oil required.” If your machine displays only “Husqvarna” without Viking branding and lacks computerized controls, you’re likely working with an oil-requiring vintage model.
Three Vintage Models That Actually Need Monthly Oiling
Model 2000: This sleek 1960s workhorse features a distinctive chrome faceplate and mechanical stitch selection. Its precision gears require one drop of oil at three specific points monthly to prevent metal-on-metal wear.
Class 20: The heavy-duty straight-stitch machines from the 1950s-1960s have cast iron bodies and visible external gears. These tanks need oil at five strategic points to maintain their legendary durability.
Husqvarna Zig-Zag: Early zig-zag models with external motor drives require special attention to their complex cam mechanisms. Monthly oiling prevents the zig-zag function from seizing up.
Any machine with electronic controls, LCD displays, or model names starting with modern series designations absolutely does not need oiling. When in doubt, consult your machine’s manual or contact a certified Husqvarna technician—never guess when it comes to oiling.
Essential Supplies for Proper Husqvarna Oiling
Selecting the Right Oil (And Avoiding Dangerous Substitutes)
Use only high-grade sewing machine oil specifically formulated for vintage machines. This oil remains clear, flows easily at room temperature, and won’t stain your fabric projects. The wrong oil choice can permanently damage your machine—never substitute with household oils like WD-40, 3-in-1 oil, or cooking oils. These alternatives thicken over time, attract lint like a magnet, and eventually create an abrasive paste that wears down precision parts.
Must-Have Tools for Safe Application
- Precision oiler with fine needle tip: Allows exact drop placement without spills
- Lint-free microfiber cloths: Prevents fibers from contaminating mechanisms
- Small soft-bristled brush: For removing dust before oiling
- Magnifying glass: Helps identify tiny oil points on vintage models
- Small container: For catching accidental drips during application
Having the right tools prevents over-application, which is the most common mistake beginners make when learning how to oil Husqvarna sewing machine models.
Step-by-Step Oiling Procedure for Model 2000
Prepare Your Machine Safely
Unplug your machine and remove the needle to prevent accidental injury. Lower the presser foot completely and hand-wheel the machine through one full rotation to bring all mechanisms to their neutral position. This ensures oil reaches the points under proper tension.
Apply Oil to Critical Points (Exactly Where Needed)
Hook race: After removing the bobbin case, locate the silver rotating hook. Apply one single drop where the hook race meets the machine housing. Any more will cause oil to spray onto your fabric.
Needle bar: Raise the presser foot and find the vertical needle shaft. Place one drop at the top entry point where the bar disappears into the machine head. Hand-wheel slowly to distribute the oil.
Take-up lever: Follow the thread path upward to find this moving lever. Apply one tiny drop at its pivot point only—excess here will stain every project you sew.
Proper Oiling Technique for Class 20 Machines
Access Bottom Mechanism Safely
Tilt your heavy Class 20 machine carefully onto its side, supporting the weight with both hands. Use your soft brush to remove visible lint from the exposed gears before applying oil—never oil a dirty machine.
Target the Correct Lubrication Points
Gear intersections: Apply one drop where each gear tooth meets its counterpart. Focus on the three main gear junctions visible through the bottom access.
Main drive shaft: Locate the long horizontal shaft running through the machine. Apply two drops total along its length where it rotates within metal housings.
Shuttle race: After removing the shuttle, place one drop on the curved track where it moves back and forth. Too much oil here causes erratic stitching.
Special Considerations for Husqvarna Zig-Zag Models

Access the Zig-Zag Mechanism Properly
Remove the top cover (typically secured by two screws) to expose the cam stack. These vintage zig-zag mechanisms have multiple moving parts that seize without proper lubrication. Apply one drop to each visible cam follower point and one drop at the zig-zag lever’s pivot point.
Motor Maintenance for External Motor Models
If your Zig-Zag has a separate external motor (common on 1950s-60s models), locate the small metal caps on either side of the motor housing. Remove these caps carefully and apply one drop inside each bearing point. Replace caps immediately after oiling—exposed motor bearings attract damaging dust.
Critical Mistakes That Ruin Husqvarna Machines
Over-Oiling Warning Signs to Watch For
- Oil stains on test fabric: Immediate sign of excess application
- Inconsistent stitch formation: Caused by oil reaching tension discs
- Grinding noises after oiling: Indicates oil mixed with lint creating abrasive paste
Never oil these parts on any Husqvarna model:
– Tension discs (causes thread slippage)
– Bobbin winder tire (makes it slip)
– Rubber belts (degrades the material)
– Electrical components (fire hazard)
Post-Oiling Verification Process
Test Your Machine Thoroughly
Hand-wheel through 30 stitches on scrap muslin before plugging in. Listen for smooth operation—any residual squeaking indicates you missed a lubrication point. If the machine sounds muffled, you’ve applied too much oil.
Clean Up Before Regular Use
Run your machine at medium speed for two minutes on scrap fabric to absorb any stray oil. Inspect your test fabric—any oil stains mean you need to reduce your application amount next time. Replace your needle after oiling to ensure no residual oil contaminates your next project.
When to Absolutely Skip Oiling Your Husqvarna
Modern Machine Identification Checklist
Do not oil your machine if it has any of these features:
– Computerized stitch selection buttons
– Digital display screens
– Model numbers starting with Designer, Sapphire, or Opal
– “Viking” branding alongside Husqvarna name
These post-1972 machines contain sealed bearings that require professional servicing if they develop issues. Attempting to oil them can force contaminants past seals and cause permanent damage.
Long-Term Care for Oiled Vintage Husqvarna Models
Proper Storage Between Uses
Cover your vintage machine with a breathable cotton cover after oiling—never use plastic, which traps moisture and promotes rust. Store in a climate-controlled environment away from direct sunlight, which can degrade oil quality.
Seasonal Maintenance Schedule
For vintage models requiring oil:
– Monthly: Light oiling at critical points
– Quarterly: Complete cleaning plus oiling
– Annually: Professional servicing recommended
Modern Husqvarna Vikings need only regular cleaning and occasional professional servicing—never schedule oiling for these machines.
Key Takeaway: Knowing how to oil Husqvarna sewing machine models properly separates preservation from destruction. Only three vintage models—Model 2000, Class 20, and Husqvarna Zig-Zag—require monthly oiling, while every modern Husqvarna Viking manufactured since 1972 runs best without any oil. By identifying your specific model first, using the right oil in precise amounts at correct locations, and avoiding common over-oiling mistakes, you’ll keep your vintage machine running smoothly for generations. When in doubt about whether to oil, consult a certified Husqvarna technician—your machine’s longevity depends on getting this critical maintenance step exactly right.


