
Your Husqvarna Viking hums through delicate silks one minute—then suddenly skips stitches through flannel, tangles threads, or emits that terrifying grinding noise. These aren’t random malfunctions; they’re your machine screaming for attention. Most critical Husqvarna sewing machine maintenance issues stem from preventable lint buildup, not mechanical failure. The good news? Consistent 15-minute cleaning sessions after major projects prevent 90% of service calls that cost $120-$200.
This guide transforms you from a frustrated quilter into a proactive machine caretaker. Whether you own an Emerald 116 or Designer Epic, you’ll learn exactly how to extend your Husqvarna’s lifespan by decades. No vague advice—just model-specific steps to keep your investment running flawlessly while avoiding common DIY disasters.
Why Lint Buildup Triggers Expensive Husqvarna Repairs
Your machine’s internal tolerances measure thousandths of an inch. Every stitch sheds microscopic fibers that migrate into critical zones like the hook race and tension discs. When lint accumulates, it creates friction that causes skipped stitches, thread breaks, and tension imbalances. Left unchecked, this progresses to motor strain and irreversible wear on feed dogs and shuttle assemblies.
The domino effect is predictable: First, you notice uneven tension on heavy fabrics. Then thread nests form under your quilt top. Finally, the motor overheats and triggers automatic shutdown. Professional service averages $150 per visit—while a proper 10-minute cleaning after every 8-10 sewing hours costs nothing but prevents these interventions for years. Think of it as insurance: 15 minutes of maintenance saves hours of repair downtime.
Your Essential Husqvarna Cleaning Toolkit (No Canned Air!)
Assemble these specific tools before touching your machine—never substitute household items:
- Husqvarna’s original lint brush (supplied with machine) for safe debris removal
- Microfiber cloth (paper towels leave fibers that worsen clogs)
- Model-specific screwdriver (Emerald 116 requires Phillips; check manual)
- Low-suction hand vacuum with crevice tool (household vacuums damage sensors)
- Needle-nose tweezers for stubborn thread nests
Critical exclusions:
❌ Canned air (drives lint into circuit boards)
❌ WD-40 or 3-in-1 oil (gums mechanisms permanently)
❌ Cotton swabs (shed fibers into tension discs)
Pro Tip: Keep unwaxed dental floss handy—it cleans tension discs without scratching. Track cleaning sessions in a maintenance log to spot usage patterns.
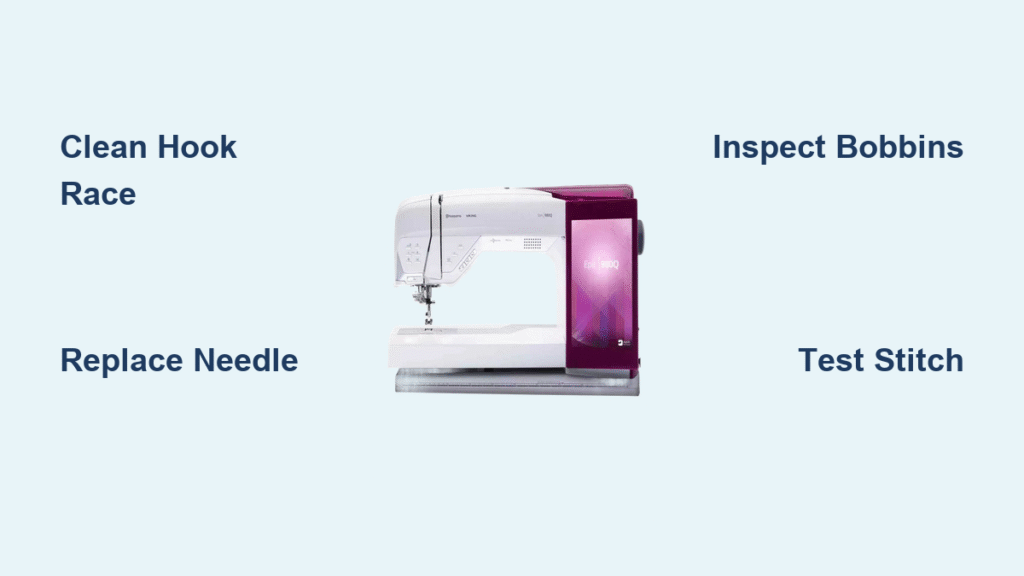
Deep Clean Your Husqvarna in 7 Critical Steps

Power Down and Disassemble Safely
Never skip this shutdown sequence:
1. Turn power switch OFF and unplug at the wall
2. Lower presser foot and needle to lowest position
3. Remove needle by loosening clamp screw (pull straight down)
4. Detach presser foot via thumb screw or quick-release lever
Needle plate removal varies by model:
– Emerald 116: Loosen left-side screw marked ‘a’
– Designer Epic: Remove two rear screws
– All models: Lift plate straight up to avoid bending guide pins
Target Hidden Lint Hotspots
Hook race and shuttle area: Rotate hand wheel slowly while brushing with short, firm strokes. You’ll extract surprising lint clumps even after light sewing—this area causes 60% of skipped stitches.
Feed dogs: Brush between each metal tooth while advancing hand wheel manually. Lint here prevents smooth fabric feeding, especially on denim or fleece.
Bobbin case inspection: Hold up to light to spot thread fragments in the finger and tension spring. Any visible debris causes tension chaos—common in quilters using 50wt thread.
Visual Cue: Shine a flashlight into the bobbin area. Lint glows white against metal parts—don’t stop until surfaces gleam.
Reassemble and Test Like a Pro
Critical alignment checks:
– Bobbin case knob must seat against stopper inside hook assembly
– Needle plate guide pins slide precisely into housing holes
– Insert new needle with flat side facing rear (unless manual states otherwise)
Test sequence:
1. Re-thread top and bobbin with doubled cotton scrap
2. Run 15 stitches at medium speed
3. Verify:
– No grinding/clicking noises
– Identical stitch formation on fabric front/back
– Smooth fabric feeding without puckering
Time Saver: Log test results—consistently perfect stitches confirm proper reassembly.
When Your Husqvarna Actually Needs Oil (Spoiler: Rarely!)

Modern Husqvarna reality: Designer, Epic, Opal, Sapphire, and Emerald 116/118/122 models are factory-sealed and self-lubricating. Adding oil attracts lint and damages electronic sensors—never oil these.
Only oil vintage mechanicals:
– Rose series (1990s)
– 5000/6000 series
– Models with red/yellow oil ports
Oil application rule: One drop of clear sewing machine oil per marked port after 8-10 sewing hours. Wipe excess immediately—over-oiling causes 30% of “mystery” tension issues. When in doubt, skip it; modern machines rarely need user lubrication.
Prevent Breakdowns with These Replacement Schedules

Needles: Replace every 8 sewing hours OR at project start. Warning signs: Skipped stitches, shredded thread, popping sounds. Use 80/12 for cotton; switch to 70/10 for silks.
Bobbins:
– Metal: Inspect for scratches during cleaning (rough edges snag thread)
– Plastic: Replace at first crack appearance (causes tension inconsistency)
Light bulbs: BA15d base, 15W, 120V for most models. Replacement tip: Unplug machine, remove side cover, push in and twist counterclockwise. Flickering lights indicate imminent burnout—replace proactively.
5 Costly Cleaning Mistakes That Destroy Husqvarna Machines
Never commit these errors:
– Using canned air—drives lint into motors (causes $200+ circuit board repairs)
– Skipping needle changes—a worn needle mimics mechanical faults (costs $180 service call)
– Over-tightening screws—cracks needle plates (common on Emerald 116)
– Applying household oil—WD-40 permanently gums mechanisms
– Waiting for symptoms—by then, internal damage is already done
Real Example: A quilter brought her Designer Epic for “tension problems.” The culprit? A needle used for 200+ hours. A $0.40 replacement fixed it—preventing a $180 service bill.
When to Call Husqvarna Professionals (Not DIY)
Schedule certified service only if these persist after thorough cleaning:
– Repeated thread jams under fabric despite new needle
– Consistent tension imbalance with correct threading
– Grinding/knocking noises from hook area
– Motor overheating or automatic shutdown
– Needle jerking side-to-side (classic Rose model symptom)
– Unresponsive touchscreen or error codes
Find authorized help: Use Husqvarna Viking’s Repair Locator with your zip code. Confirm centers offer computerized diagnostics for electronic models before authorizing repairs.
Protect Your Investment During Storage
Long-term storage protocol:
1. Cover with hard or soft dust cover (never plastic—it traps moisture)
2. Store in climate-controlled space (avoid basements/attics)
3. Remove needle and loosen tension discs to prevent spring fatigue
4. Run machine slowly for 5 minutes every 3 months if stored >6 months
Environmental enemies:
– Direct sunlight (fades LCD screens)
– Humidity above 60% (corrodes metal parts)
– Temperatures below 40°F (stiffens lubricants)
Pro Tip: Place silica gel packs near stored machines in humid climates.
Your 60-Second Husqvarna Maintenance Checklist
Print and keep this near your machine:
[ ] Power off and unplug
[ ] Remove needle, foot, plate, bobbin case
[ ] Brush lint from hook race and feed dogs
[ ] Inspect needle—replace if 8+ hours used
[ ] Reassemble with precise alignment
[ ] Test-stitch on scrap fabric
[ ] Log date and hours sewn
Bottom line: Your Husqvarna sewing machine is engineered for 30+ years of service—but only with consistent maintenance. That 15-minute cleaning routine after major projects prevents 90% of costly repairs and transforms frustrating breakdowns into decades of flawless stitching. The machines that outlive their owners aren’t lucky; they’re meticulously maintained. Start today: Your next quilt deserves a perfectly tuned partner.


