
You’ve admired embroidered monograms on towels and intricate designs on denim jackets, wondering if your Singer sewing machine can create similar magic. The good news? How to use Singer sewing machine for embroidery is simpler than you think—even if you’ve only used it for basic stitching. Whether you own a vintage model or the latest computerized unit, this guide unlocks professional results without expensive upgrades. Discover exactly which Singer models transform into embroidery powerhouses, the critical stabilizer tricks most beginners miss, and the precise threading sequence that prevents frustrating thread breaks. Within minutes, you’ll be creating personalized gifts, custom apparel, and heirloom-quality projects with confidence.
Stop wasting hours searching fragmented tutorials. We’ve distilled years of embroidery expertise into actionable steps verified across Singer’s most popular models. You’ll learn why your fabric puckers (and the exact stabilizer solution), how to load designs without USB headaches, and why needle choice makes or breaks your finished piece. Most importantly, you’ll avoid the top three mistakes that cause 90% of embroidery failures—saving you time, thread, and frustration. Let’s turn your reliable Singer into a creative studio today.
Pick Your Singer Model for Flawless Embroidery
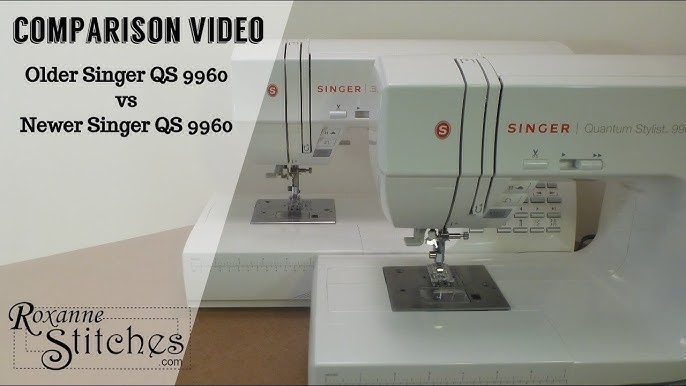
Quantum 9960: Embroider While You Learn
This model eliminates guesswork with its guided embroidery workflow. Select “Embroidery” mode on the touchscreen, choose from 600 built-in designs, and the machine automatically stops for color changes. Its 13 decorative buttonholes double as border stitches for pillowcases or tote bags. Beginners love how it prevents common errors—you set the design size, and it adjusts stitch density automatically to avoid fabric puckering on lightweight cotton.
Legacy SE300: Big Designs Made Simple
When embroidering jacket backs or large tote bags, the SE300’s 6.5″ x 11″ embroidery field shines. Load complex patterns via USB, then let the machine handle color sequencing without rethreading. Pro tip: Use its “needle-up stop” feature during color changes to prevent thread snags. This model excels for intermediate users creating multi-color logos—it even beeps when you need to trim jump threads between colors.
Heavy Duty 4452: Free-Motion Powerhouse
Don’t assume your mechanical Singer can’t embroider! Drop the feed dogs using the side lever, attach a darning foot, and transform it for free-motion work. Set the stitch length to “0” and zig-zag width to 2-3mm for satin stitches. This technique creates custom lettering on leather belts or organic floral designs on denim jackets. Start slow—practice guiding fabric in smooth circles on scrap material before tackling projects.
Must-Have Embroidery Supplies for Singer Machines

Stop Using Sewing Thread: Choose the Right Embroidery Thread
Regular sewing thread lacks the sheen and strength for embroidery. Switch to 40-weight rayon or polyester embroidery thread—it glides through Singer machines without shredding. For metallic designs, use 60-weight thread with a size 90/14 needle to prevent breakage. Never substitute all-purpose thread; its inconsistent thickness causes tension disasters that show as bird nests under your design.
Needle Size = Perfect Stitches Chart
- 75/11 embroidery needle: Essential for quilting cotton, linen, or silk scarves
- 90/14 embroidery needle: Prevents skipped stitches on denim, canvas, or twill
- 100/16 embroidery needle: Mandatory for leather, upholstery fabric, or multiple layers
Change needles after every 6 hours of stitching time. A dull tip creates visible holes in delicate fabrics and causes thread breaks mid-design.
Set Up Your Singer for Embroidery in 4 Minutes
Threading Sequence That Prevents Thread Breaks
- Raise the presser foot to open tension discs
- Thread through all guides (listen for the click when seated correctly)
- Insert needle from front—flat side back—until it stops
- Wind the bobbin with 60-weight thread at half-speed for even tension
- Insert bobbin case counterclockwise (critical for Singer machines)
Computerized models like the SE9180 have automatic needle threaders—use them! Manual threading often leaves threads between tension discs, causing inconsistent stitches.
Feed Dog Settings: Computerized vs. Free-Motion
- Computerized models (SE9180/9960): Leave feed dogs UP—the machine moves the hoop automatically
- Free-motion (4452/SE300): Slide the feed dog lever to “0” or press the SE9180’s dedicated button
Test feed dog position by turning the handwheel slowly. If the hoop moves during stitching, feed dogs are incorrectly positioned—this causes design distortion.
Hoop Fabric Without Puckering: The Right Way
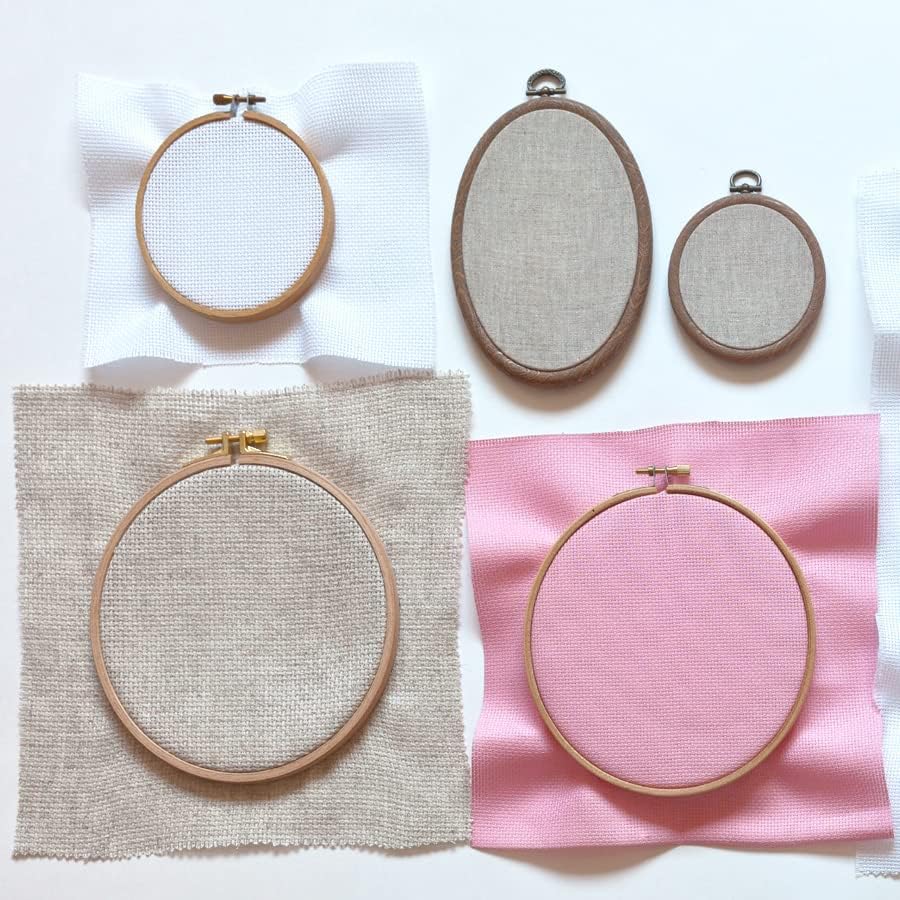
Tension Test: Drum-Tight or Disaster
Your fabric should sound like a drum when tapped. Over-tightening stretches knits permanently; too loose causes stitches to sink into fabric. Perform this test: Gently pull fabric edges near the hoop. If wrinkles appear, re-hoop immediately. For stretchy t-shirts, use cut-away stabilizer plus temporary adhesive spray to lock fabric in place.
Layer Order That Prevents Pile Poking Through
Stack materials bottom-to-top:
1. Hoop bottom frame
2. Cut-away stabilizer (1″ larger than hoop)
3. Fabric (right side up)
4. Water-soluble topper (for towels/fleece only)
5. Hoop top frame
For terrycloth towels, skip the topper—water-soluble stabilizer alone prevents loops from snagging stitches.
Start Embroidering: From Loading to First Stitches
Load Designs Without USB Headaches
- Computerized models: Insert USB → Menu → Embroidery → Load Design → Select PES file
- SE9180 Wi-Fi: Connect via mySewnet → Browse 9,000+ designs → Download wirelessly
Before stitching, use the “trace” function to preview design boundaries. If lines extend beyond the hoop graphic on screen, resize up to 20%—larger adjustments distort stitch density.
First 20 Stitches: Make or Break Your Project
Start at 400 stitches per minute (SPM) for complex fills. Monitor these critical signs:
– Top thread looping underneath? Loosen tension dial by 0.5 increments
– Bobbin thread showing on top? Tighten tension slightly
– Skipped stitches? Replace needle immediately
After color changes, clip jump threads close to the fabric—long tails cause snags during next color sequence.
Fix Common Singer Embroidery Problems in Seconds
Thread Breakage: The 3-Second Diagnosis
Symptom: Thread snaps during satin stitches
Cause: Wrong needle size for thread weight
Fix: Switch to 90/14 needle for metallic thread or dense fills
Symptom: Thread shreds at tension discs
Cause: Thread not seated between discs during threading
Fix: Rethread with presser foot UP, then lower foot before stitching
Fabric Puckering: Stabilizer Emergency Kit
For puckered cotton shirts:
1. Remove hoop immediately
2. Add second layer of cut-away stabilizer
3. Re-hoop fabric using centering marks
4. Reduce design density 15% in machine settings
Prevent future puckering by testing designs on fabric scraps with your chosen stabilizer combination.
Skipped Stitches: The Hidden Lint Culprit
Bent needles cause 70% of skipped stitches, but lint buildup is the silent killer. After every project:
1. Remove needle plate with screwdriver
2. Brush bobbin area with soft brush (included with Singer machines)
3. Check tension discs for thread fragments using flashlight
If stitches still skip, replace the needle—never bend it back into shape.
Professional Finishing in 5 Minutes
Stabilizer Removal Without Damaging Stitches
- Tear-away: Tear against stitch direction for clean edges
- Cut-away: Trim ⅛” from design edge with embroidery scissors
- Water-soluble: Rinse under cool water until clear (no rubbing!)
For delicate silk, air-dry flat before trimming threads—heat from blow dryers melts stabilizer residue.
Pressing Without Flattening Stitches
Place embroidery face-down on a terry towel. Hover iron 1″ above fabric using steam burst function. Never press directly—this creates shine and distorts 3D stitches. For stubborn wrinkles, place a clean cotton cloth between iron and towel.
Transform ordinary fabric into heirloom-quality pieces using your existing Singer machine. Start with simple monograms on pre-washed cotton using 75/11 needles and tear-away stabilizer—master these fundamentals before attempting complex multi-color designs. Remember the golden rule: perfect hooping prevents 80% of embroidery failures. When in doubt, re-hoop fabric drum-tight and test tension on scrap material. Within three projects, you’ll understand how to use Singer sewing machine for embroidery with professional precision. Ready to create? Load a built-in design today and watch your machine transform from basic stitcher to creative powerhouse.


