
Your Singer sewing machine has faithfully stitched through countless projects, but now it’s jamming or making that ominous grinding noise. Instead of rushing to a repair shop, you can save $150+ by safely accessing its interior for cleaning or troubleshooting. Whether you’re wrestling with a modern computerized model or a vintage Singer 99k locked in its iconic bentwood case, this guide delivers the exact techniques professional technicians use. You’ll learn to remove needle plates without stripping screws, unlock stubborn vintage cases without damage, and clean critical components—all while avoiding the top three mistakes that turn simple maintenance into expensive repairs.
Power Down Before You Begin
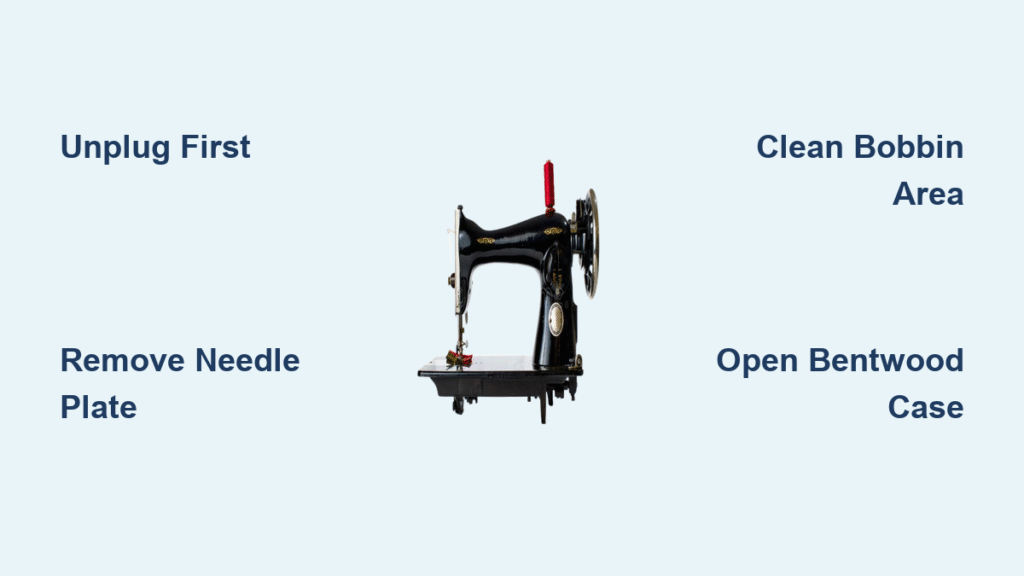
Unplug immediately—this single step prevents electrical shock and protects delicate circuitry from accidental activation. Modern Singer machines (1980s-present) often have hidden capacitors that retain charge, so wait 5 minutes after unplugging before proceeding. For vintage models without cords, confirm the treadle mechanism is fully disengaged.
Gather these essentials first: a magnetic parts tray (to catch tiny screws), LED headlamp (for shadow-free visibility), and model-specific screwdrivers. Never skip the parts tray—nearly 40% of DIY repair failures stem from misplaced screws during reassembly. Work on a non-slip mat to prevent components from rolling, and photograph each step with your phone before removing parts. This creates a visual roadmap for reassembly, critical for complex vintage models where parts orientation matters.
Open Needle Plate and Bobbin Area

Remove Needle Plate Screws
Locate the two needle plate screws at the front edge of your machine bed—they’re often caked in thread lint. Modern Singers (like the Quantum Stylist) use Phillips #0 screws, while pre-1950 models require flathead screws. Use the exact screwdriver size; a mismatched tool will strip these tiny fasteners permanently. Apply downward pressure while turning counterclockwise—if stuck, tap the screwdriver handle once with a small hammer to break corrosion. Never force it; stripped screws require professional extraction.
Lift the needle plate straight upward with needle-nose pliers if it’s stuck. Watch for hidden springs beneath the plate on some Featherweight models—they’ll launch across the room if released unexpectedly. Place the plate and screws in your magnetic tray with the screws positioned exactly as removed.
Access Bobbin Case Components
Identify your bobbin system immediately after needle plate removal:
– Top-loading models (most modern Singers): Lift the bobbin case straight out
– Front-loading models (Singer Confidence series): Slide the case left to disengage the latch
– Vintage models (Singer 66/99): Remove a single securing screw before lifting
Support the bobbin case from below as you release it—dropping this precision component bends the hook race, causing skipped stitches. Never pull vertically on front-loading cases; slide them horizontally to avoid damaging the tension spring. If resistance occurs, check for hidden thread snags around the case rim—use tweezers to remove them.
Remove Bobbin Housing
Find the release tab at the back of the bobbin area—on modern machines it’s a small plastic lever, while vintage models use a metal pin. Press and hold the tab while lifting the housing straight up. If it won’t budge, your model likely has a hidden screw beneath the bobbin case (common on Singer Tradition machines). Reinstall the bobbin case temporarily to access this screw.
Never pry with metal tools—the housing rides on delicate nylon gears that crack under pressure. For stuck vintage housings, apply 2 drops of Tri-Flow oil to the seam and wait 5 minutes before retrying. You’ll know it’s properly released when the entire shuttle assembly lifts cleanly, revealing the feed dogs and hook race.
Clean Internal Mechanisms Safely

Approved Cleaning Methods
Use only these tools on exposed components:
– Nylon brush (old toothbrush works perfectly) for lint removal
– Compressed air held vertically with 2-second bursts (prevents oil displacement)
– Lint roller wrapped around a chopstick for tight spaces
– Dry microfiber cloth dampened with 1 drop of sewing machine oil
Avoid these critical errors:
– ❌ Water or household cleaners (causes rust on steel hook races)
– ❌ Metal picks (scratches tension discs, ruining stitch quality)
– ❌ Vacuum attachments (static electricity damages circuit boards)
– ❌ Excessive air pressure (forces lint deeper into mechanisms)
Focus Your Cleaning Efforts
Target these high-impact zones first:
1. Hook race (the circular track beneath the bobbin case): Brush clockwise to follow natural rotation
2. Feed dogs (metal teeth under needle plate): Use compressed air between teeth at 45-degree angles
3. Thread path from tension discs to needle bar: Run a dry pipe cleaner through guides
4. Shuttle race (on vintage models): Polish with a chamois cloth to prevent thread snags
Work in 15-minute intervals—longer exposure to air dries out lubricants. After cleaning, apply 1 drop of Singer oil to the hook race and turn the handwheel 10 times to distribute it. Test stitch on scrap fabric before full reassembly.
Open Bentwood Cases Without Keys
Identify Your Lock Type
Examine the round keyhole on your vintage Singer case (1920s-1950s)—it uses a simple hook system with two opposing metal tongues, not complex tumblers. Never insert keys sideways; these locks operate with a quarter-turn rotation. If your case has a square keyhole, it’s likely a non-Singer replacement—proceed with extreme caution as mechanisms differ.
Screwdriver Opening Technique
Use a 3mm flathead screwdriver as your key substitute:
1. Shine a flashlight into the keyhole to locate the internal slot
2. Insert the screwdriver tip fully while applying light downward pressure
3. Turn clockwise gently—you’ll feel resistance as tongues engage
4. If no movement occurs, try counterclockwise rotation (some models reverse)
5. Listen for two distinct clicks signaling both tongues have retracted
Apply 3 drops of penetrating oil if stuck, then wait 15 minutes before retrying. Work the screwdriver in minute back-and-forth motions—never force rotation. On stubborn cases, warm the lock area with a hair dryer for 90 seconds to expand the metal slightly.
Troubleshoot Stubborn Locks
When standard methods fail:
– Try a narrower screwdriver (2.5mm) if the 3mm binds
– Clear debris with a toothpick dipped in mineral spirits
– Tap the case base firmly with a rubber mallet while turning—this jolts seized tongues
– Stop immediately if you feel metal scraping; forcing it cracks the bentwood frame
Never attempt destructive methods like sawing or chiseling—these vintage cases use steam-bent maple that splinters easily. Replacement locks cost $45 from Singer Heritage dealers, but damaged cases require $300+ cabinetmaker repairs.
Reassemble Components Correctly
Bobbin Housing Replacement
Align the housing tab with its slot while applying upward pressure—modern machines require a slight clockwise twist to lock. Test security by gently tugging downward; it should resist movement. If loose, the housing is misaligned—remove and retry. Turn the handwheel slowly to verify the needle clears the housing.
Bobbin Case Installation
Insert the case until it clicks into place—on front-loaders, slide it right until resistance stops. Never force it shut; misaligned cases cause thread nests. For screw-secured vintage cases, tighten just until snug—over-tightening cracks plastic housings. Test by pulling gently; it should stay seated but release with firm pressure.
Needle Plate Securing
Position the plate front-edge first, then press down the rear. Hand-tighten screws in a cross pattern to prevent warping—modern Singer plates warp at just 15 inch-pounds of torque. Final tighten with a screwdriver using only your index finger pressure. Verify even seating by sliding a business card under the plate; it should meet uniform resistance.
Model-Specific Opening Variations

Check Your Manual First
Download your exact manual from Singer’s heritage site using the model number stamped on the bedplate (e.g., “Singer 401A”). Pre-1950 manuals detail hidden screws under decals, while modern PDFs show snap-fit plastic covers. Never assume—a Singer Curvy 8770 requires removing the entire front panel, unlike the drop-in bobbin Quantum Stylist.
Common Variations by Era
Vintage models (pre-1950):
– Flathead screws throughout (sizes #2-#5)
– Separate side plates secured by 4+ screws
– Belt covers requiring removal before motor access
Mid-century models (1950-1980):
– Phillips screws mixed with flatheads
– Snap-fit plastic components (press inward to release)
– Rear access panels with wing nuts
Modern models (1980+):
– Torx screws on computerized machines
– Tool-free bobbin access (slide levers)
– Sealed motor compartments (professional service recommended)
Essential Tools Checklist
Basic Opening Kit
• Precision screwdrivers (Phillips #00, #0, #1; flathead 1.5mm-3mm)
• 5x magnifying lamp for spotting stripped screws
• Lock lubricant (Tri-Flow) for vintage mechanisms
• Sewing machine oil for post-cleaning lubrication
Professional-Grade Additions
• Digital calipers to measure screw depths
• Magnetic pickup tool for dropped components
• Service manual binder with model-specific diagrams
• Anti-static wrist strap for computerized models
Prevent Future Opening Issues
Regular Maintenance Schedule
Clean internals every 8 hours of sewing—that’s after finishing a quilt top or three garment projects. Focus intensely on the bobbin area; it collects 70% of lint. Use a lint roller wrapped around a pencil to extract debris from feed dog grooves. After cleaning, run the machine for 2 minutes to distribute new oil before your next project.
Storage Best Practices
For modern machines: Store under a breathable cotton cover—not plastic—to prevent moisture buildup. Unplug completely during storage to avoid phantom power drain. Remove the bobbin to relieve tension spring pressure.
For vintage machines: Operate the case lock monthly even when unused to prevent seizing. Store keys in a labeled pill bottle inside the case—original keys cost $35+ to replace. Place silica gel packets in the case to combat humidity-induced rust.
Mastering these techniques transforms you from a frustrated sewer into a confident machine caretaker. Remember: Singer’s 170-year engineering legacy means every component has a purpose—never force, always research your specific model, and when in doubt, consult Singer’s free heritage manuals. By performing this maintenance yourself, you’ve added years to your machine’s life while saving repair costs. Now thread that needle and get back to creating—your perfectly tuned Singer awaits.


