
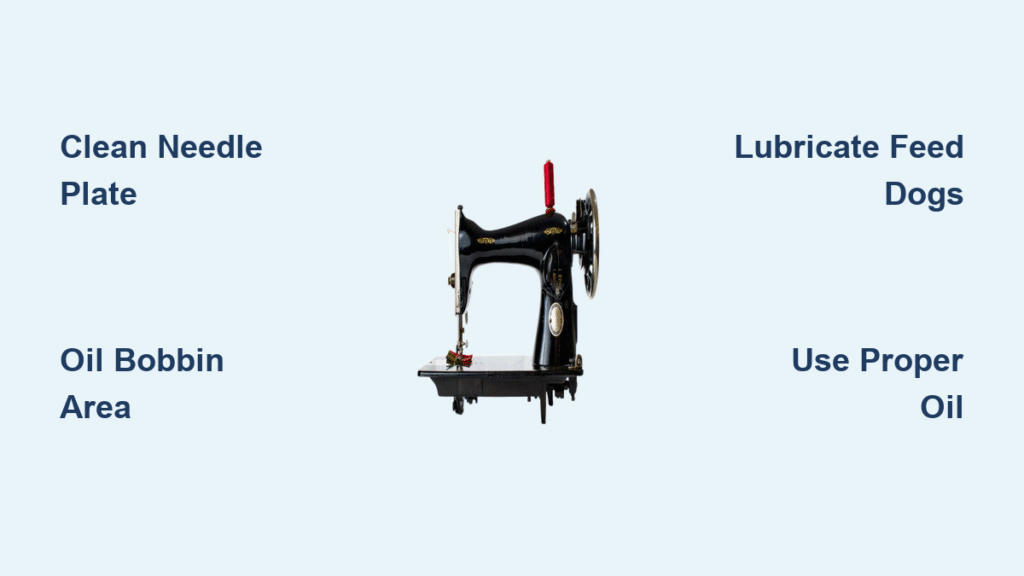
Your Singer sewing machine was humming along perfectly—until it started skipping stitches and making that dreaded grinding noise. Before you panic about expensive repairs, the solution might be as simple as proper cleaning and oiling. Regular maintenance prevents 90% of common sewing machine problems, from thread jams to motor strain, while keeping your stitches perfectly consistent. Whether you’re working with a vintage 1950s Singer or a modern electronic model, this guide walks you through the exact steps professionals use to clean and oil Singer sewing machine components safely.
Essential Tools for Cleaning and Oiling Your Singer Machine
Must-Have Cleaning Supplies
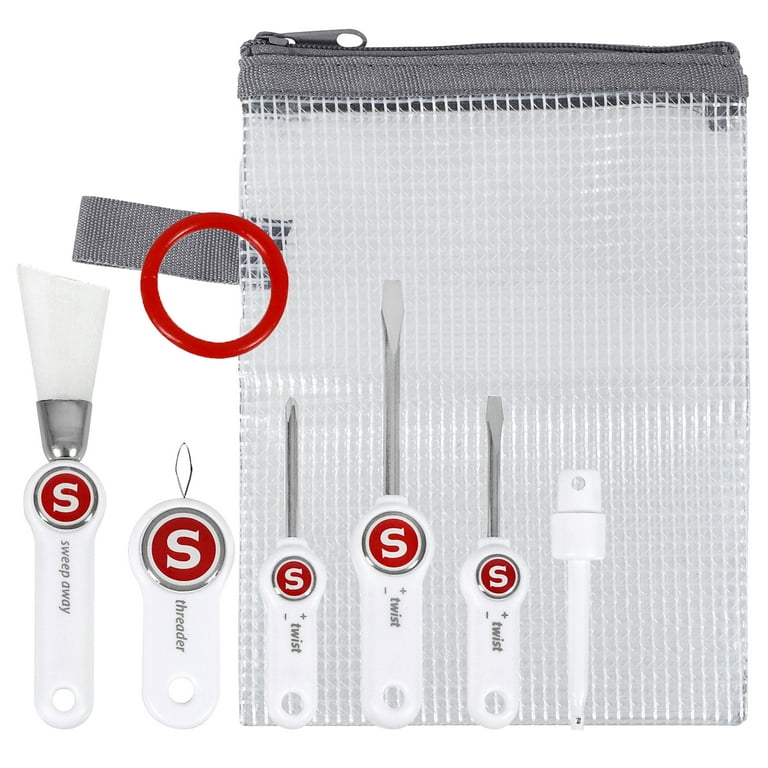
Power off and unplug your machine before gathering these critical tools. You’ll need a small lint brush (included with most machines), compressed air with extension tube, flathead and Phillips screwdrivers, tweezers for stubborn thread pieces, and soft lint-free cloths. An old toothbrush works wonders for feed dogs while a handheld vacuum with crevice attachment removes deep-seated lint that brushes miss.
Pro tip: Create a dedicated maintenance kit in a small container. This prevents scrambling for tools and keeps everything organized for your regular clean and oil Singer sewing machine sessions. Having everything ready makes maintenance less daunting and ensures you won’t skip critical steps.
Oil Selection That Won’t Damage Your Machine
Never use household oils like WD-40 or 3-in-1 oil—they become gummy at sewing machine temperatures, attract more lint, and eventually seize mechanisms. Only use high-quality Singer sewing machine oil designed specifically for these machines. Check your oil’s freshness: fresh oil appears clear and flows easily. If it looks yellowish or thick, replace it immediately—old oil causes more problems than no oil at all.
Daily Cleaning Routine That Takes Just 5 Minutes
Quick Needle Plate and Feed Dog Cleaning
Power off and unplug your machine first—always. Remove the needle plate by unscrewing the two front screws with your flathead screwdriver. The plate lifts straight up, revealing accumulated lint beneath. Use your lint brush in short, firm strokes between the feed dog teeth while turning the handwheel slowly to expose all areas. You’ll be shocked how much lint hides here—even after light sewing sessions.
Bobbin Area Refresh That Prevents Thread Jams
Remove the bobbin case completely. Brush away lint clusters, checking for tangled thread pieces wrapped around the case edges. Wipe the bobbin case exterior with your lint-free cloth. Warning sign: If you see metal shavings mixed with lint, schedule professional service immediately—this indicates internal wear that regular cleaning and oil Singer sewing machine procedures can’t fix.
Critical Oil Points You Mustn’t Miss

Front Access Lubrication Points
Needle Bar: Apply exactly one drop where the needle bar enters the bushing—too much oil stains fabric permanently. Presser Foot Bar: One small drop at the guide opening. Work the presser foot up and down to distribute. Take-Up Lever: Target the pivot joint where the lever connects to the needle bar mechanism. Use a precision-tip oil dispenser for control—never pour oil directly from the bottle.
Bobbin Area Lubrication Done Right
Remove the bobbin case completely. Apply one tiny drop on the outer edge of the hook race—the metal ring the bobbin case sits in. Spin the handwheel to spread the oil evenly. Common mistake: Oiling the bobbin case itself. This creates oil stains on every project and attracts lint. After oiling, run your machine slowly for 2-3 minutes without thread to distribute oil throughout the mechanisms.
Hidden Internal Points That Affect Performance
Feed Dog Linkages: Access through the bobbin opening. Oil the joints visible when you turn the handwheel—usually 2-3 points maximum. Handwheel Shaft: Where the handwheel enters the machine body—one drop prevents squeaking during operation. Never force parts during this process; if something won’t budge, check for additional screws before proceeding with your clean and oil Singer sewing machine routine.
Model-Specific Maintenance Guidelines
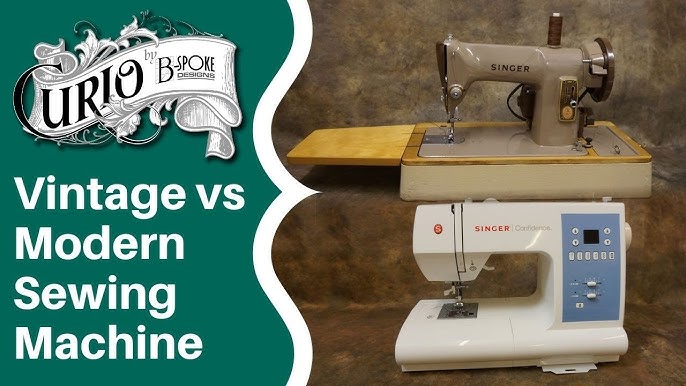
Vintage Singer Machines (Pre-1960)
These workhorses require more frequent attention due to open gear systems. Use non-detergent oil only—detergent oils damage bronze bushings. Check oil wicks monthly; they may need re-saturation. Critical: Remove any hardened grease from gears using a wooden toothpick—metal tools scratch surfaces. Vintage models need more frequent clean and oil Singer sewing machine sessions due to their mechanical design.
Modern Electronic Models
Limit oiling to designated points only. Never oil electronic components, circuit boards, or plastic gears. Use lighter oil formulations designed for plastic compatibility. Modern machines have fewer oil points but require more precision—over-oiling can damage sensors and create electrical issues that a standard clean and oil Singer sewing machine procedure won’t fix.
Singer Heavy Duty Models
Higher speeds mean more frequent lubrication. Focus extra attention on the hook and bobbin area. After heavy fabric projects (denim, canvas), check for metal shavings requiring immediate cleaning. Heavy duty models need oiling after every 10-15 hours of use rather than monthly—neglecting this causes premature wear that even professional servicing can’t reverse.
Troubleshooting Common Post-Maintenance Issues
Thread Breakage After Cleaning
If threads break after your clean and oil Singer sewing machine session, check for residual oil on the needle. Run scrap fabric through until stains disappear. Verify correct needle insertion—flat side faces the back on most models. Also check tension settings; cleaning can sometimes shift tension discs slightly, requiring minor adjustment.
Persistent Machine Noise After Oiling
Over-oiling creates more noise than under-oiling. Clean excess oil with lint-free cloths. If noise continues, a bearing may need professional replacement—don’t ignore grinding sounds. Sometimes the noise comes from oil not reaching all necessary parts; reapply one drop to critical points and run the machine slowly to distribute.
Skipped Stitches After Service
Confirm the needle faces the correct direction and sits fully inserted. Check bobbin case orientation—it should click firmly into place. Verify feed dogs returned to proper height after cleaning. Sometimes during the clean and oil Singer sewing machine process, feed dogs get stuck in the down position, causing skipped stitches until properly reset.
Maintenance Schedule by Usage Frequency
Light Use (Weekly Projects)
For occasional sewers, follow this schedule: Daily: Quick lint removal from needle plate. Weekly: Bobbin area cleaning. Monthly: Complete oiling routine. This basic maintenance prevents 90% of problems even with infrequent use. Always run your machine for a few minutes before major projects to ensure everything’s functioning properly after storage.
Heavy Use (Daily Sewing)
Daily sewers need more attention: Daily: Full lint removal and needle plate cleaning. Weekly: Deep cleaning and oiling. Monthly: Professional inspection consideration. Heavy users should keep a maintenance log tracking clean and oil Singer sewing machine sessions—this helps identify patterns before minor issues become major problems.
Vintage Machine Owners
For antique Singers, adjust your schedule: Before Storage: Complete cleaning and oiling. Before Use: Light oiling and test stitching. Mid-Season: Deep clean if projects exceed 20 hours. Vintage machines need special care—never store them without proper lubrication as this causes rust in critical components that modern clean and oil Singer sewing machine procedures can’t fix.
Safety Protocols Every Sewer Must Follow
Electrical Safety Rules
Always unplug before any maintenance—this simple step prevents 95% of accidents. Keep liquids away from power connections and check cord condition monthly—frayed cords cause fires. Ensure hands are dry when handling electrical components. Never attempt to clean or oil Singer sewing machine components while the machine is plugged in, no matter how tempting it seems to save time.
Mechanical Safety Practices
Remove needles before deep cleaning to prevent finger injuries. Use proper screwdrivers to avoid damaging screw heads. If parts seem stuck, stop and reassess—never force mechanisms. Keep long hair and loose clothing away from moving parts during testing after maintenance. These precautions ensure your clean and oil Singer sewing machine sessions remain safe and productive.
Long-Term Performance Strategies
Maintenance Log System That Works
Track these details in a simple notebook: Cleaning and oiling dates, needle changes (type and size), unusual sounds or performance changes, and professional service dates. This log helps you identify patterns and prevents over-maintenance or neglect. When performing your regular clean and oil Singer sewing machine routine, note any observations that might indicate developing issues.
Environmental Storage for Machine Longevity
Store your Singer in temperature-controlled spaces. High humidity causes rust; direct sunlight dries lubricants. Use your dust cover even inside cabinets—lint settles everywhere. Avoid basements or attics where temperature fluctuations damage internal components over time. Proper storage means less frequent deep cleaning and oiling sessions while maintaining optimal performance.
Key Takeaway: Consistent, gentle maintenance prevents 90% of sewing machine problems. Your Singer will reward proper care with decades of reliable service. Start with the 5-minute daily routine, then progress to monthly deep cleaning as your confidence grows. Remember—when in doubt, less oil is always safer than more. Ready to maintain that perfect stitch quality? Your fabric stash is waiting.


